

Create an AWS account with MFA, an admin IAM user group and enable billing alerts, Free Tier limit alerts, and setup up a CloudWatch Billing Alarm.
In the following walkthrough we will go over
- Signing up for an AWS account
- Adding Multi-factor Authentication (MFA) to the Root User account
- Creating an IAM User with an Administrator policy and MFA in order to provision resources.
- Enabling billing alerts and Free Tier limit alerts.
- Creating a billing alarm in order to be notified when exceeding $5.00 in your AWS account.
AWS Free Tier
Before beginning, it's important to callout that the AWS Free Tier account is NOT entirely Free. Certain resources and usages fall under the AWS Free Tier limits, but the account itself is no different than any other account.
It is up to YOU, the Customer to understand which resources fall under the Free Tier or will cost money. Make sure you have read through the AWS Free Tier documentation on which resources and usages fall under the AWS Free Tier
We will go over setting up a Billing Alarm within your account in order to get notified if your accrue charges over a certain threshold.
Sign Up for AWS
Navigate to AWS
Click the following link or enter it into your browser https://aws.amazon.com/free and you should see the AWS Free Tier page.
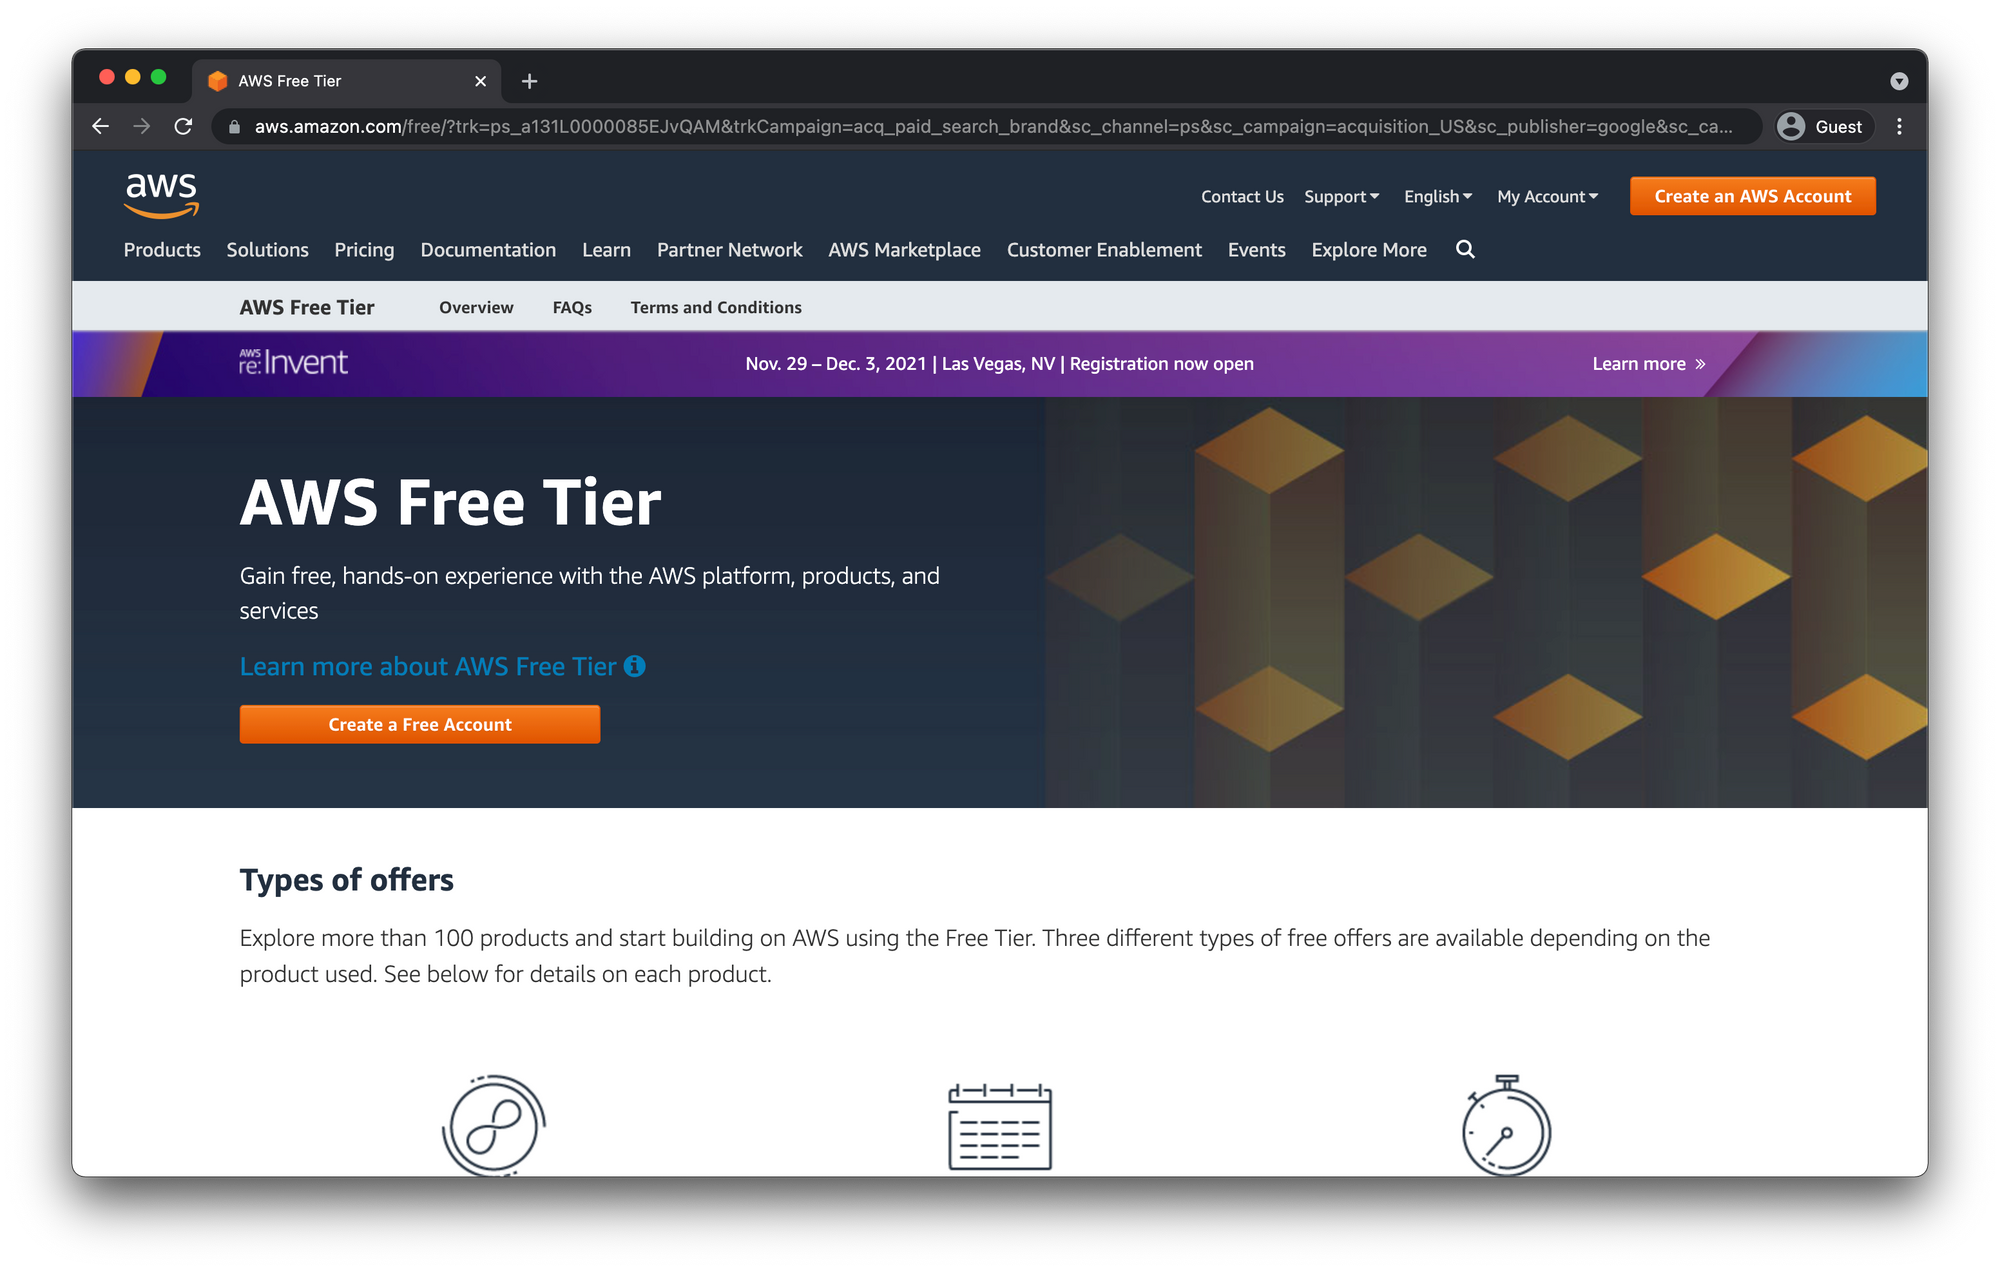
Now you'll see an orange button that says "Create a Free Account." Click this button and you'll be taken to the sign up page.
Sign up for AWS
Fill out the prompted fields.
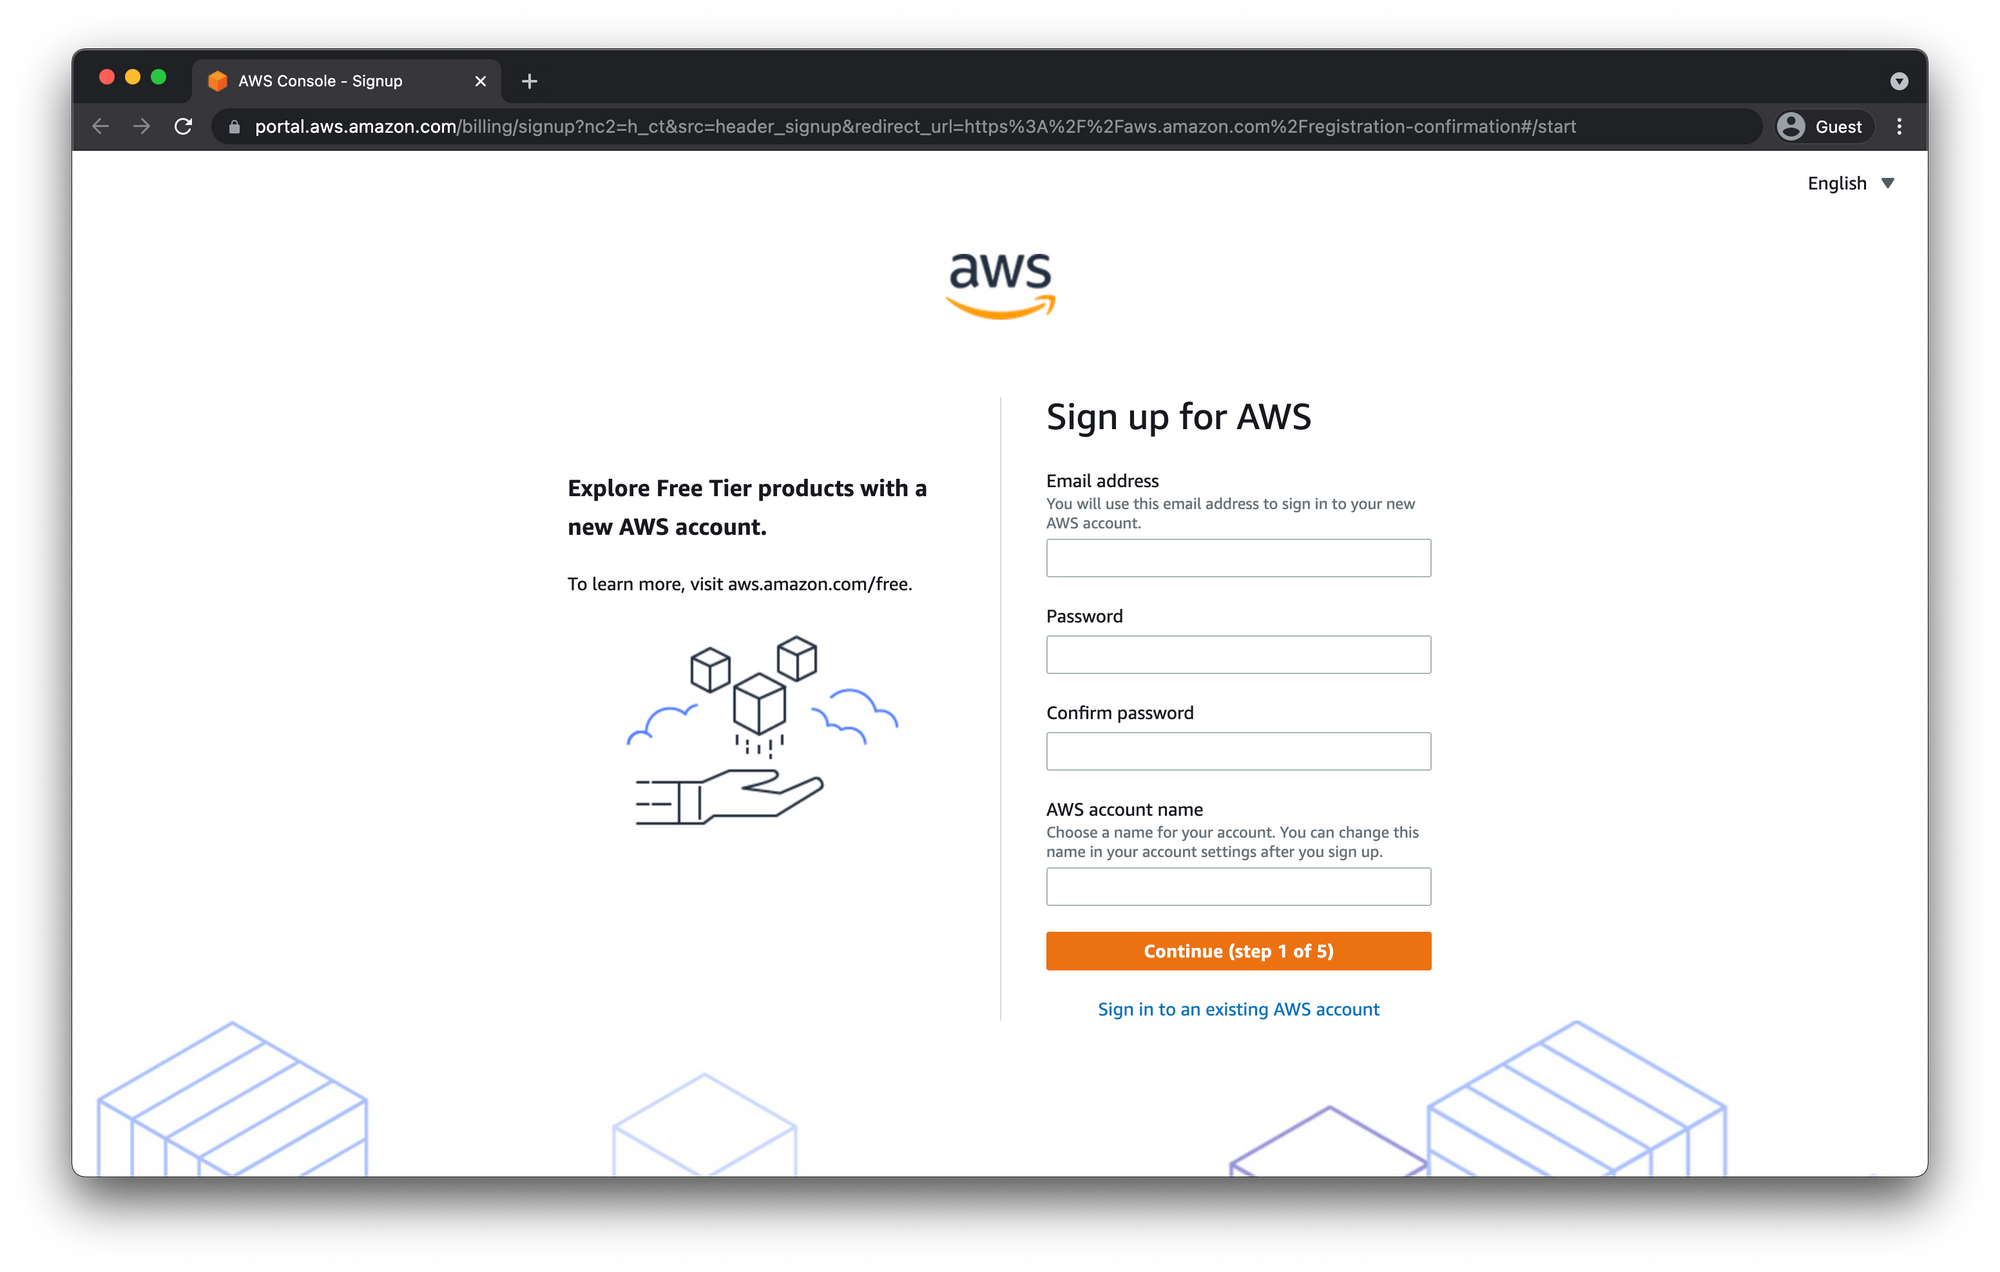
The email address and password you enter here will be used as your Root User account so make sure you choose a secure password and don't lose these credentials.
The Root User will have complete administrative access to your account which means they can create and or delete any resource in your AWS account and you will be held responsible for any charges.
Click "Continue (step 1 of 5)"
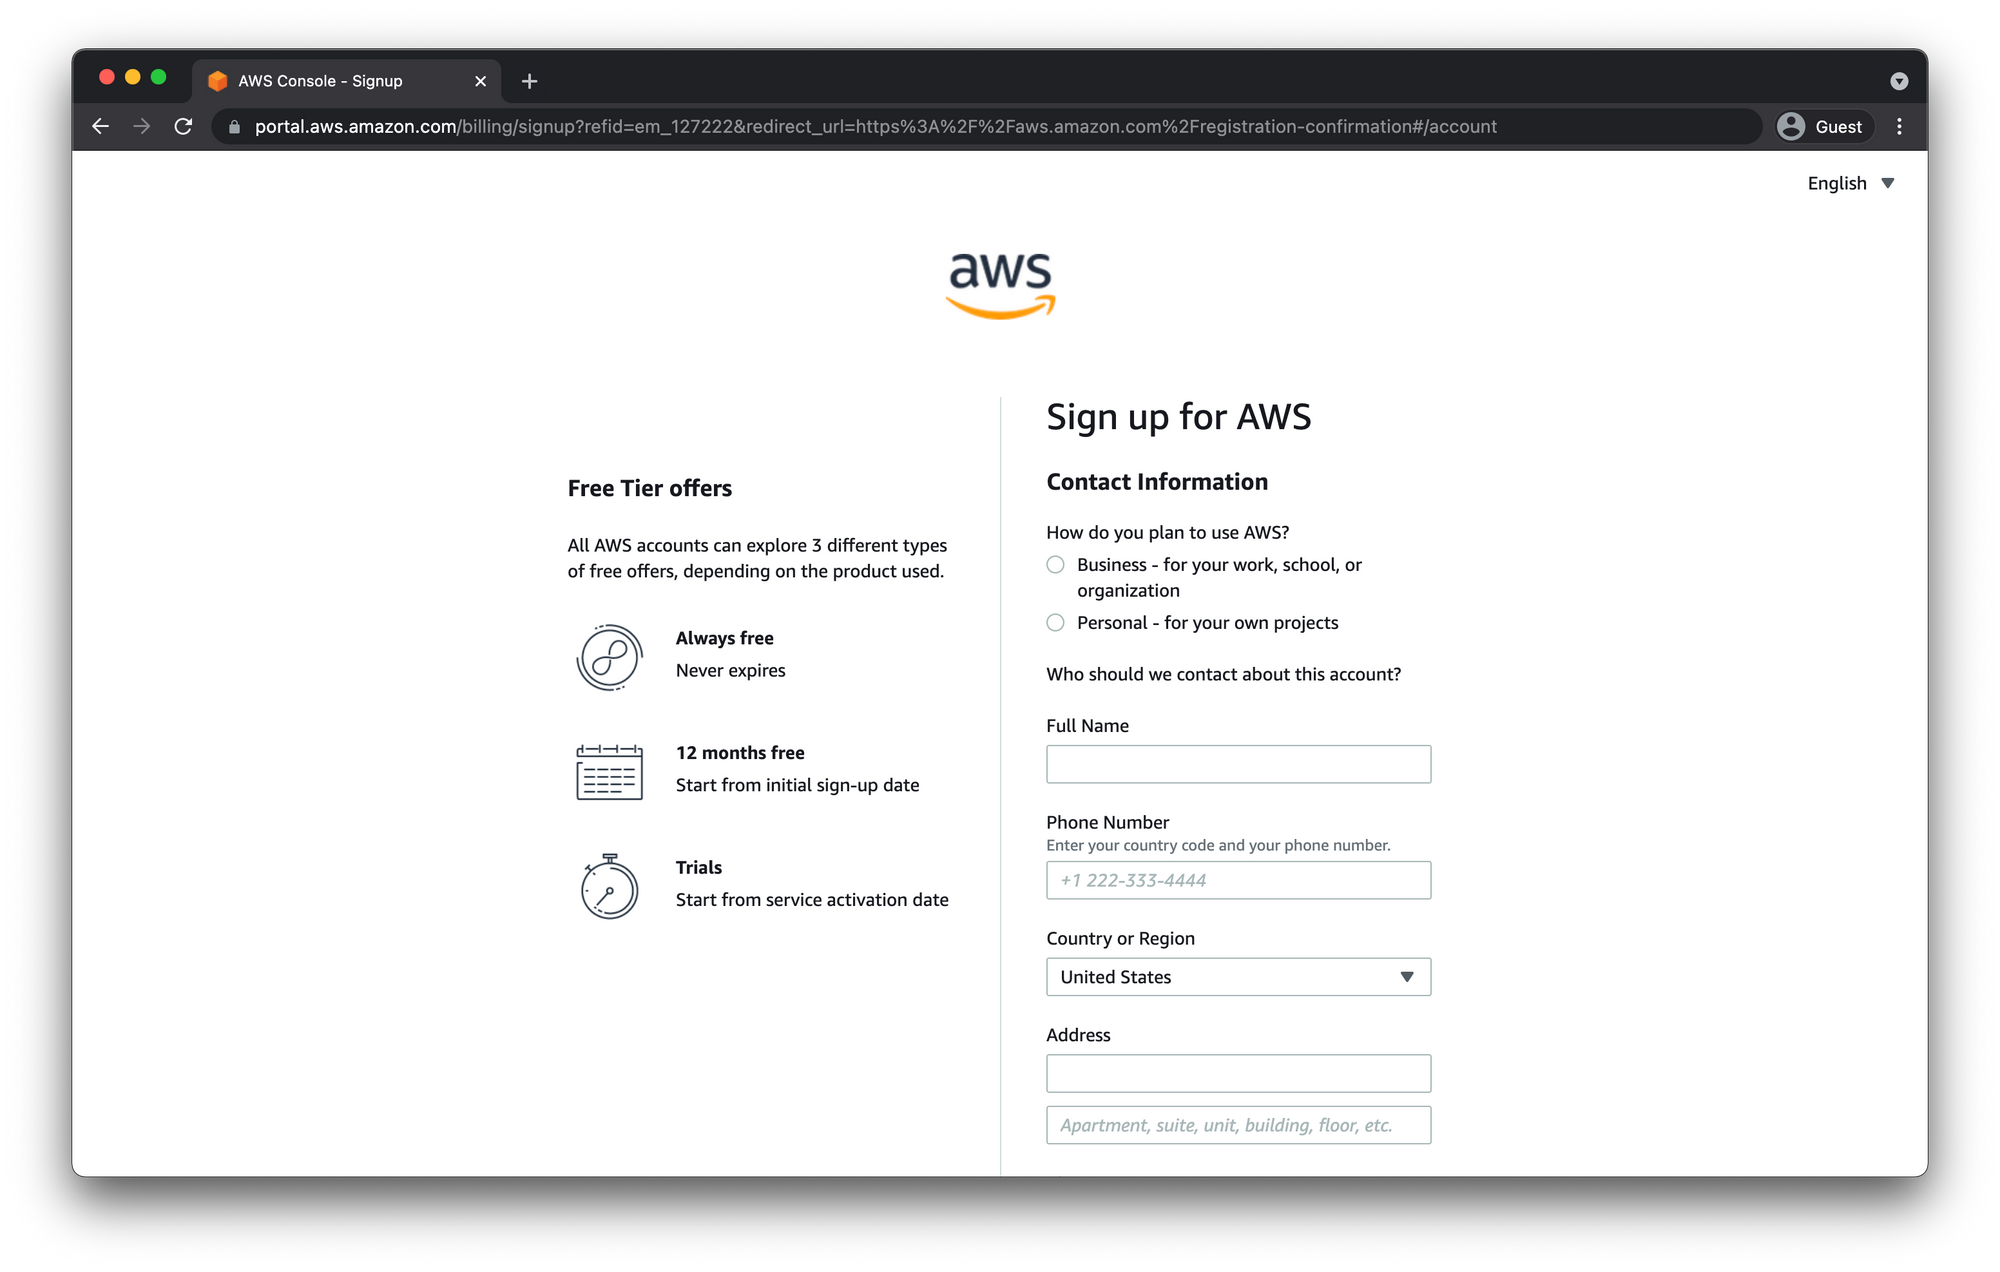
Contact Information
Fill out your contact information and click "Continue (step 2 of 5)
Billing Information
You will not be charged at this point but this is the card that will be charged if you accrue any charges while using AWS resources.
Fill out your billing information and click "Verify and Continue (step 3 of 5 )"
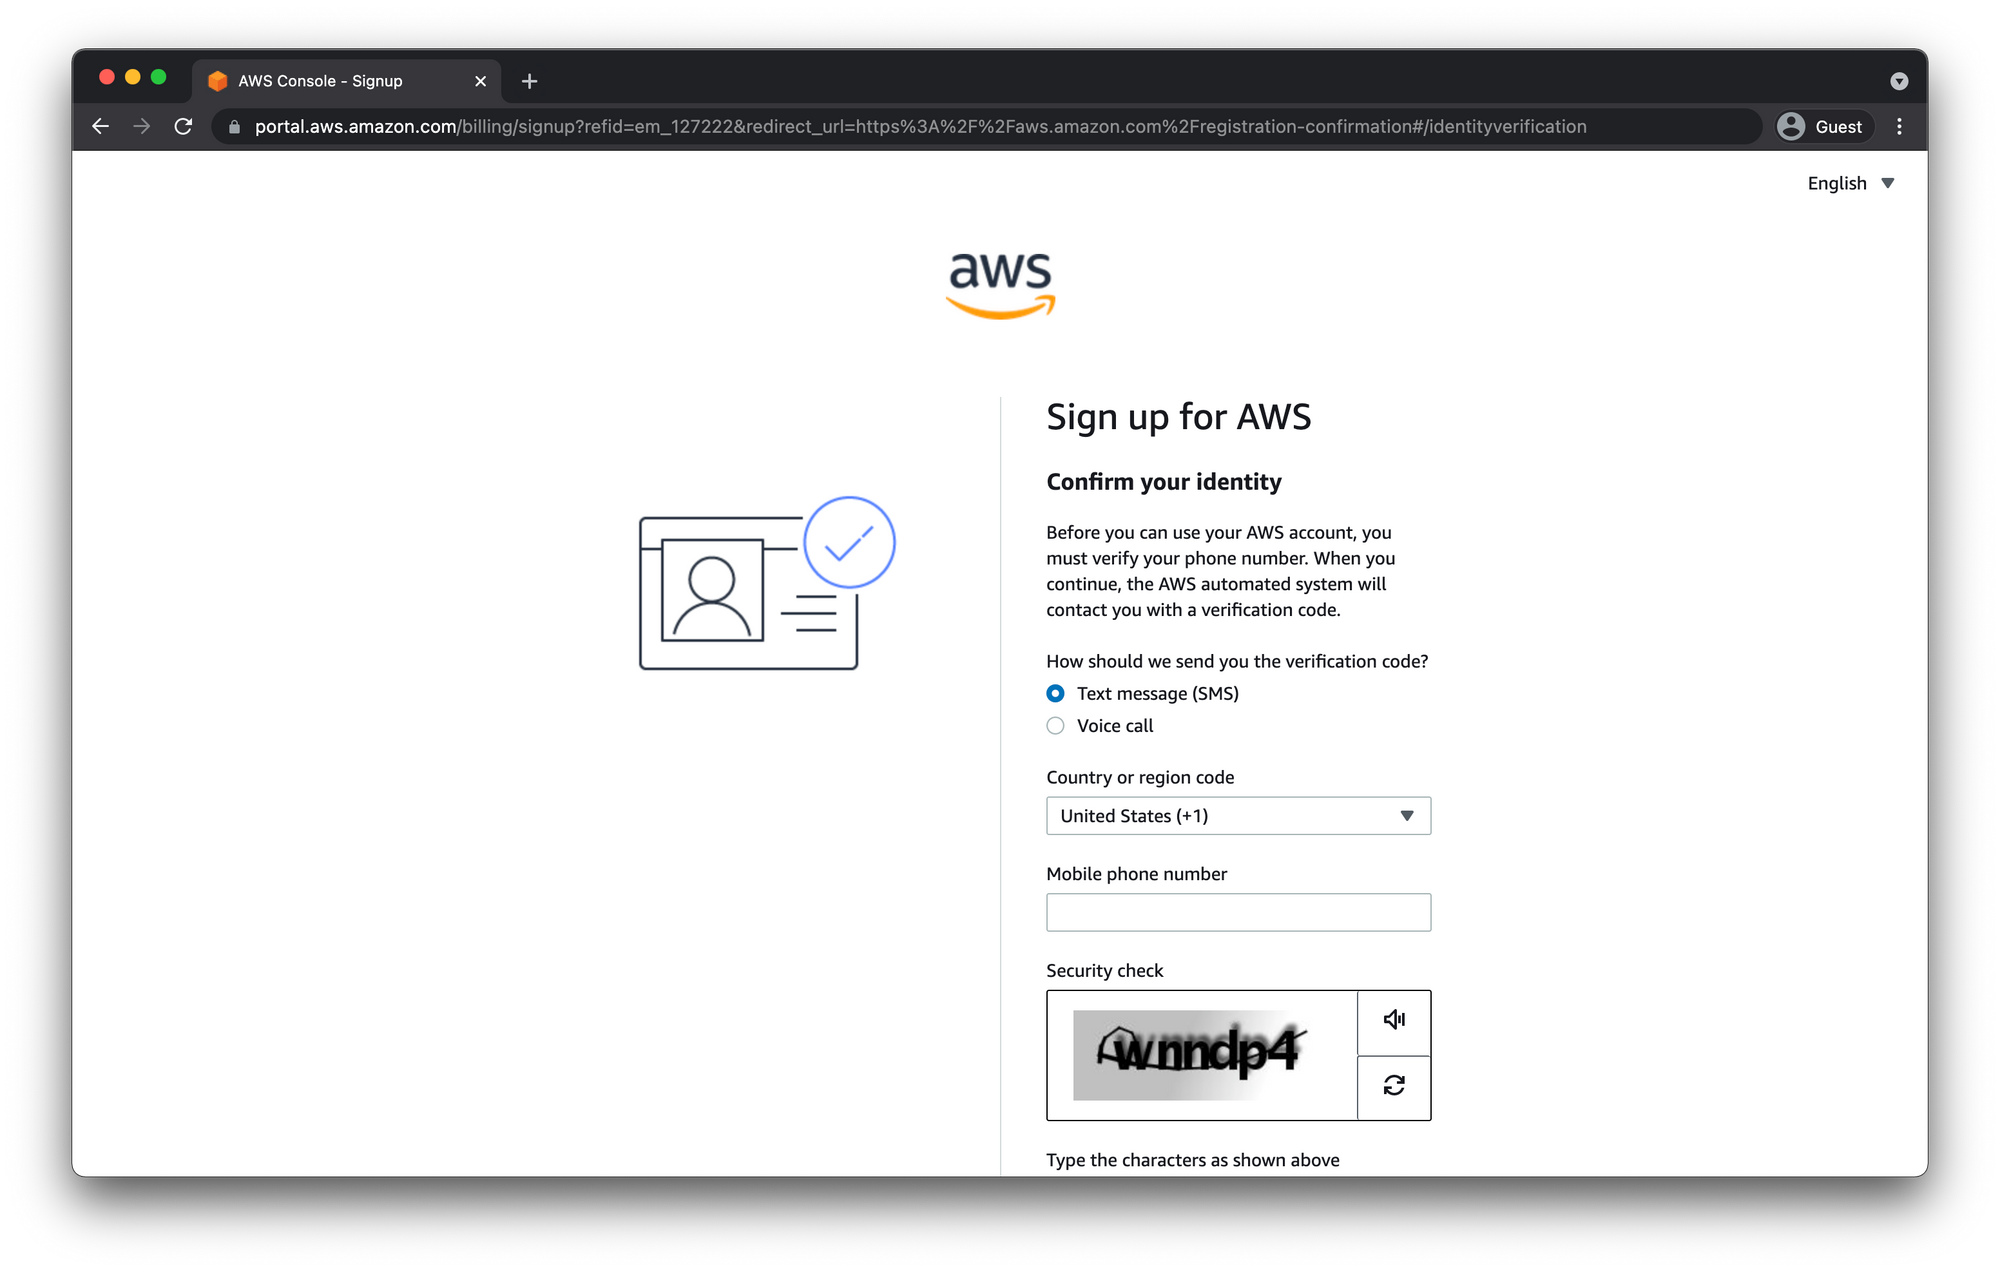
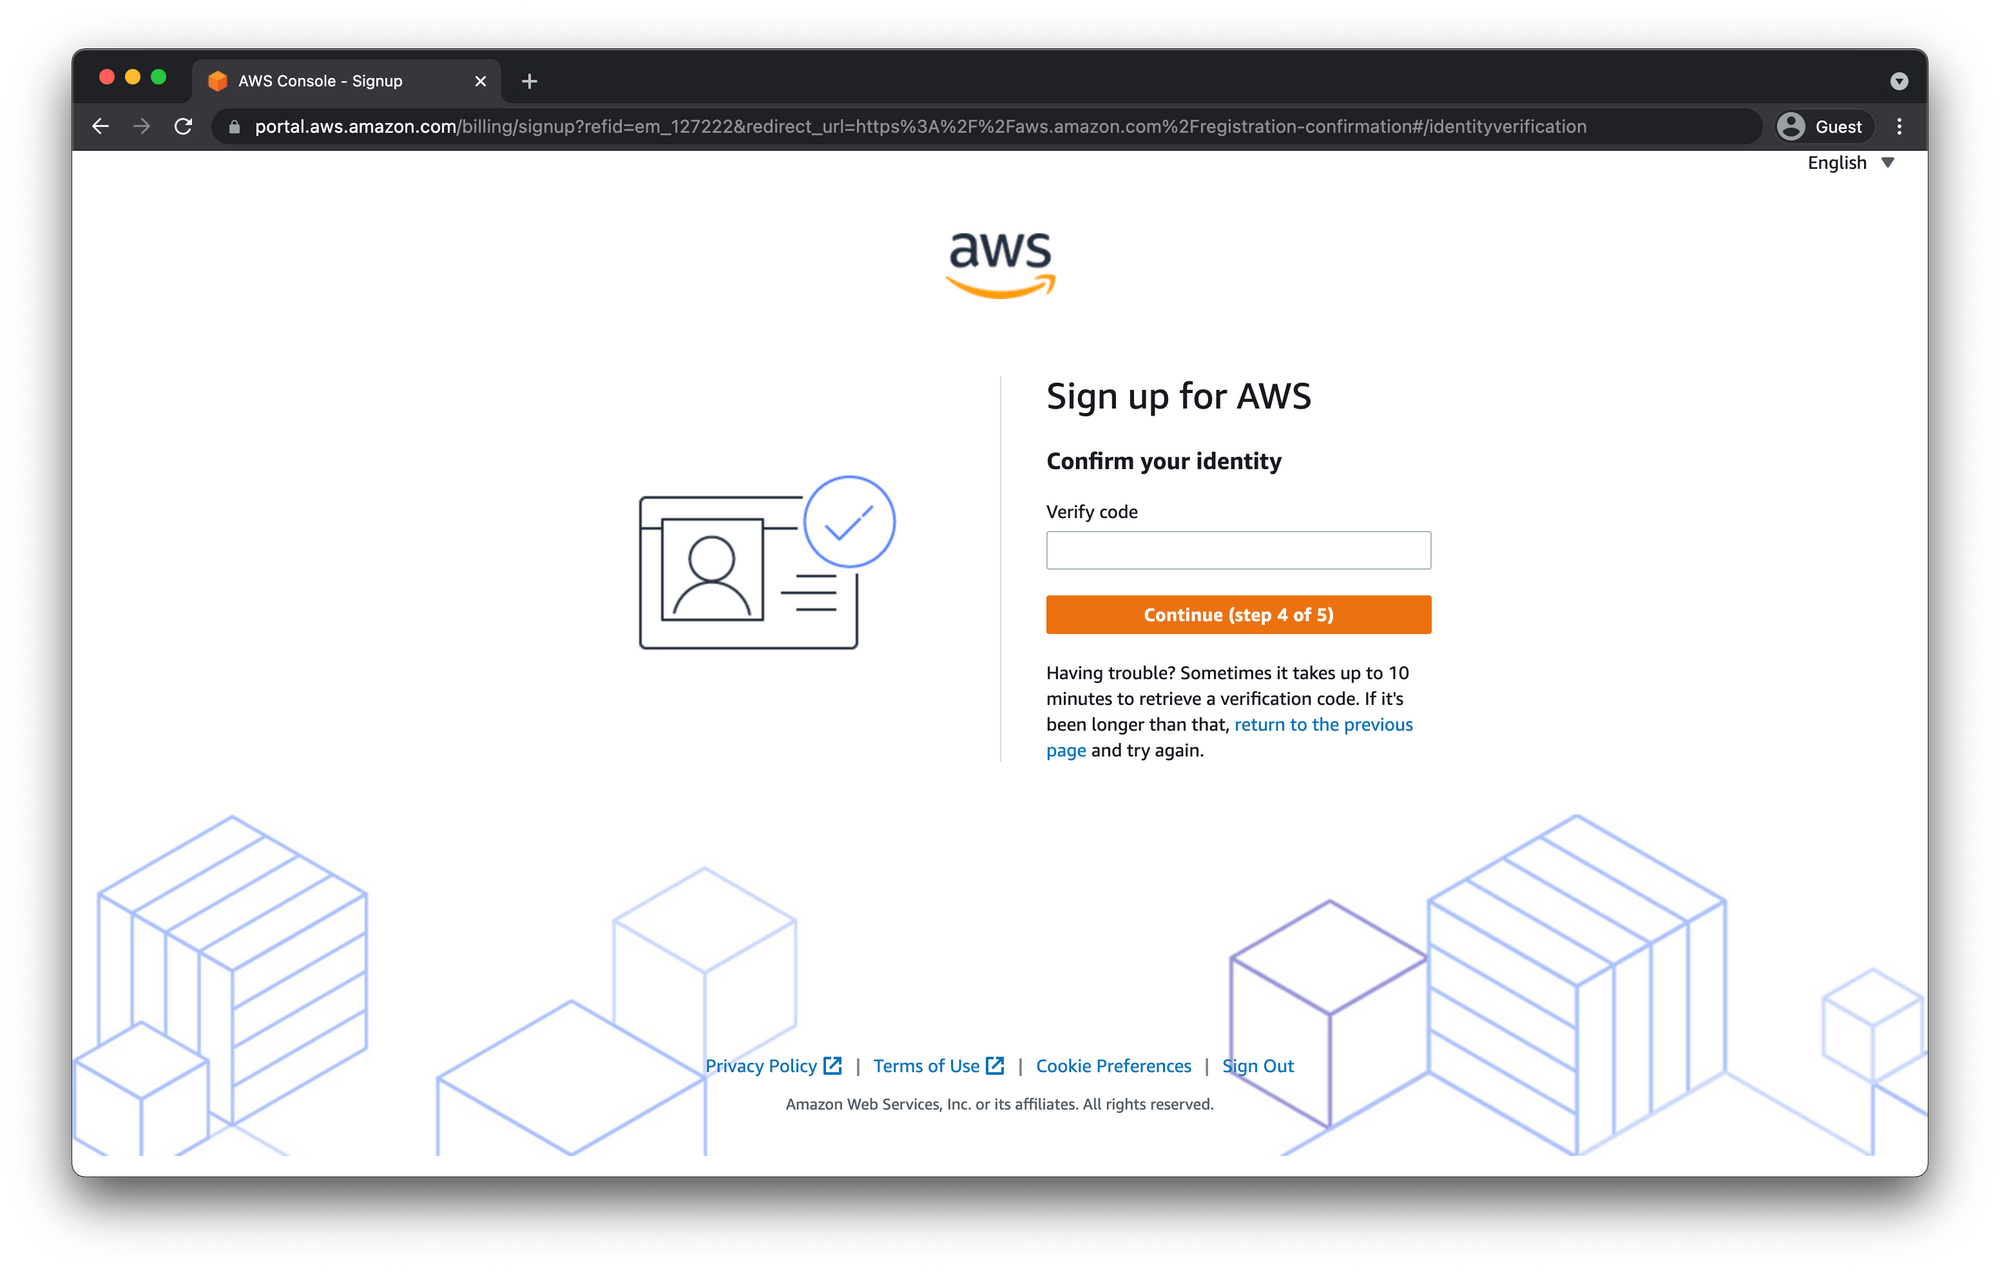
Confirm Your Identity
After filling out your billing info you will be asked to confirm your identity by either SMS text message or a phone call.
Since talking to people on the phone usually stresses me out I always choose SMS whenever I can.

Select Support Plan
Finally you will be asked to select which Support Plan you want. The different plans are just support you get from Amazon for your account. They do not have any bearing on resources you have access to.
If you are reading this, chances are, you are probably just getting started and the Basic Support - Free plan is what you want.
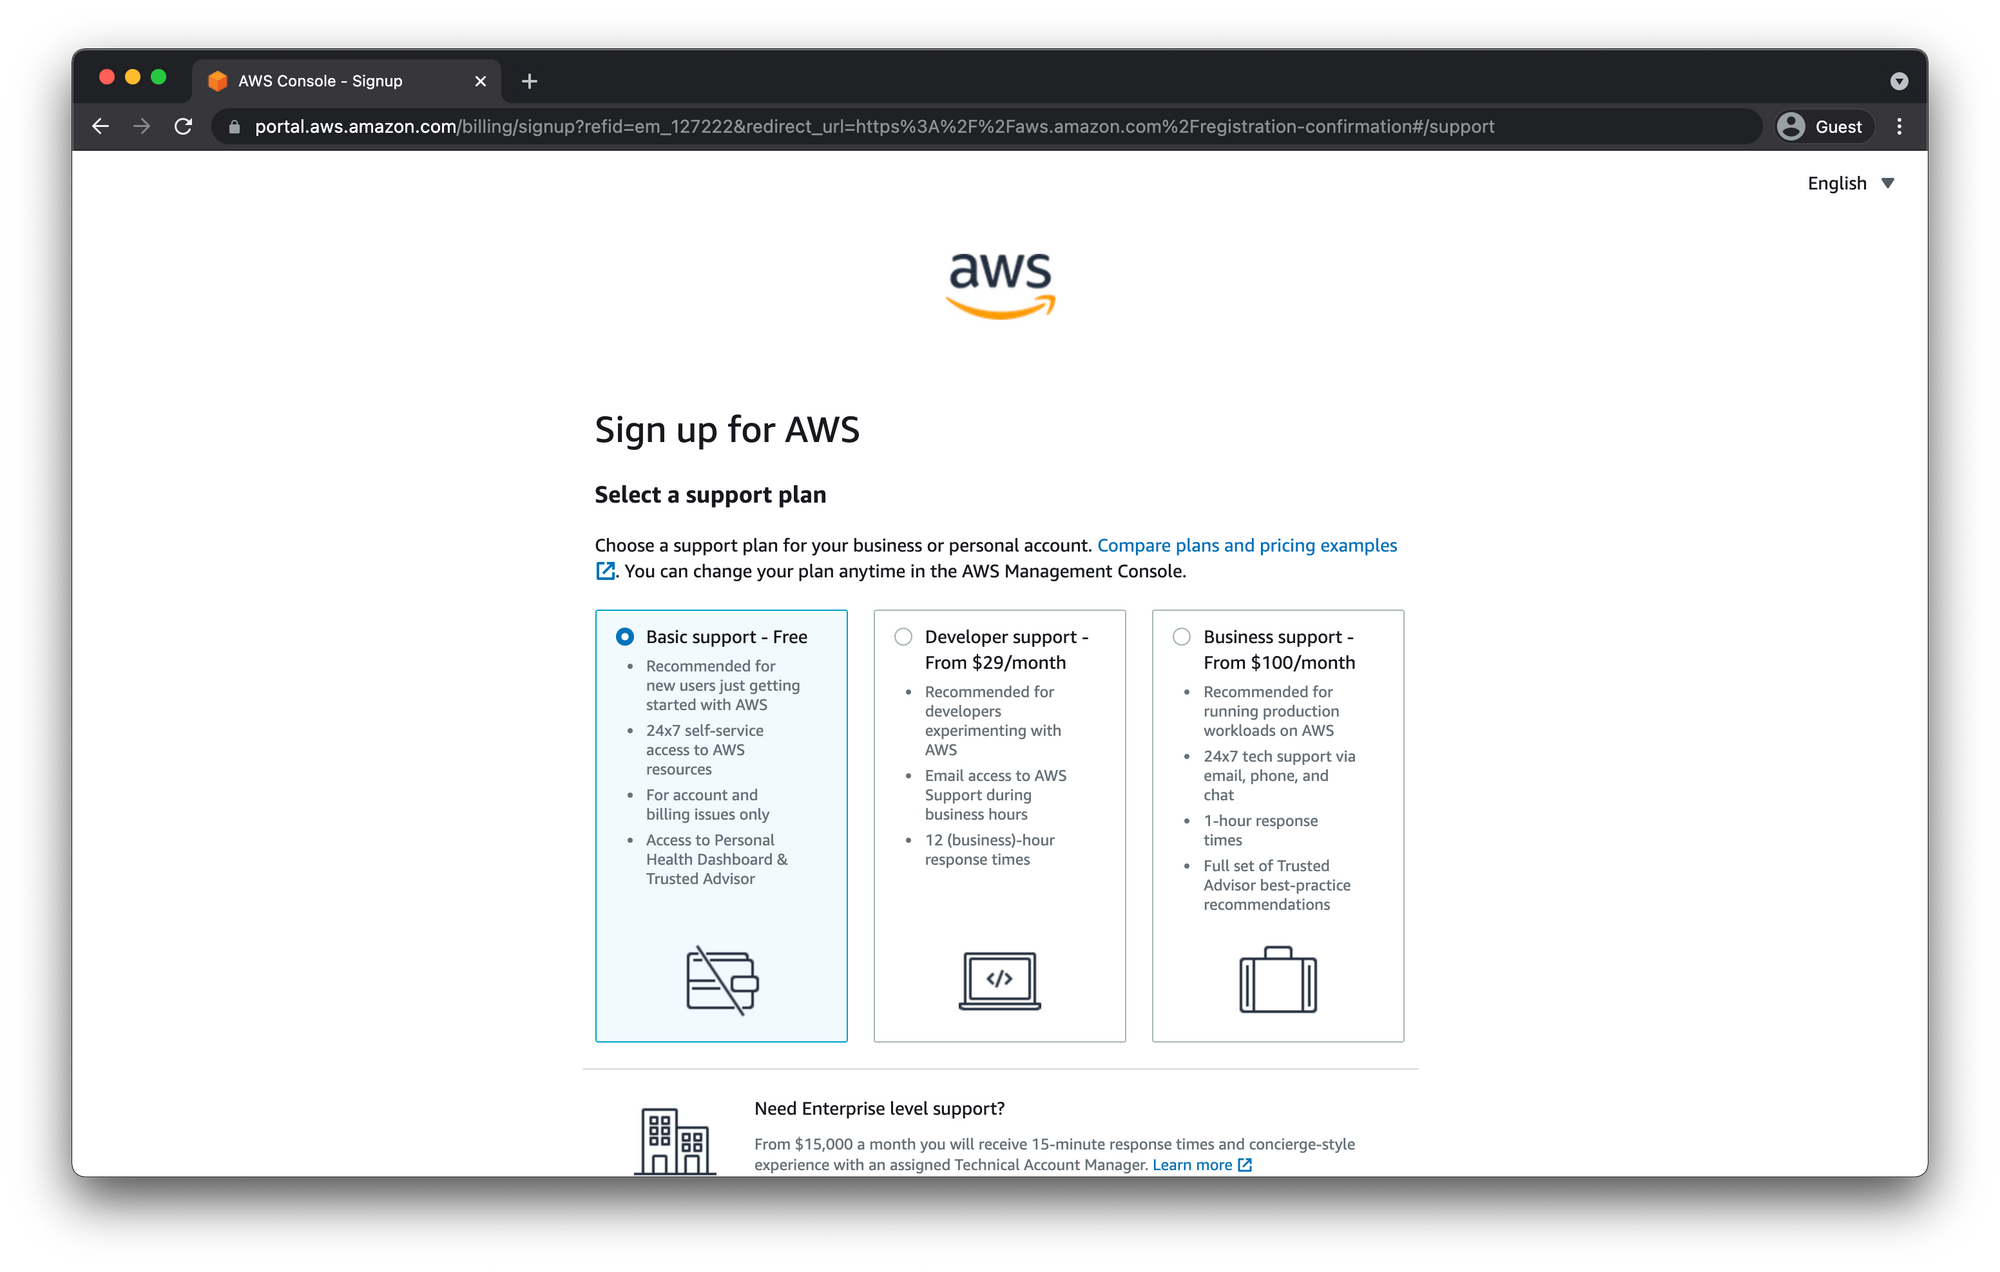
Click "Complete sign up" and on the "Congratulations" page click "Go to the AWS Management Console"

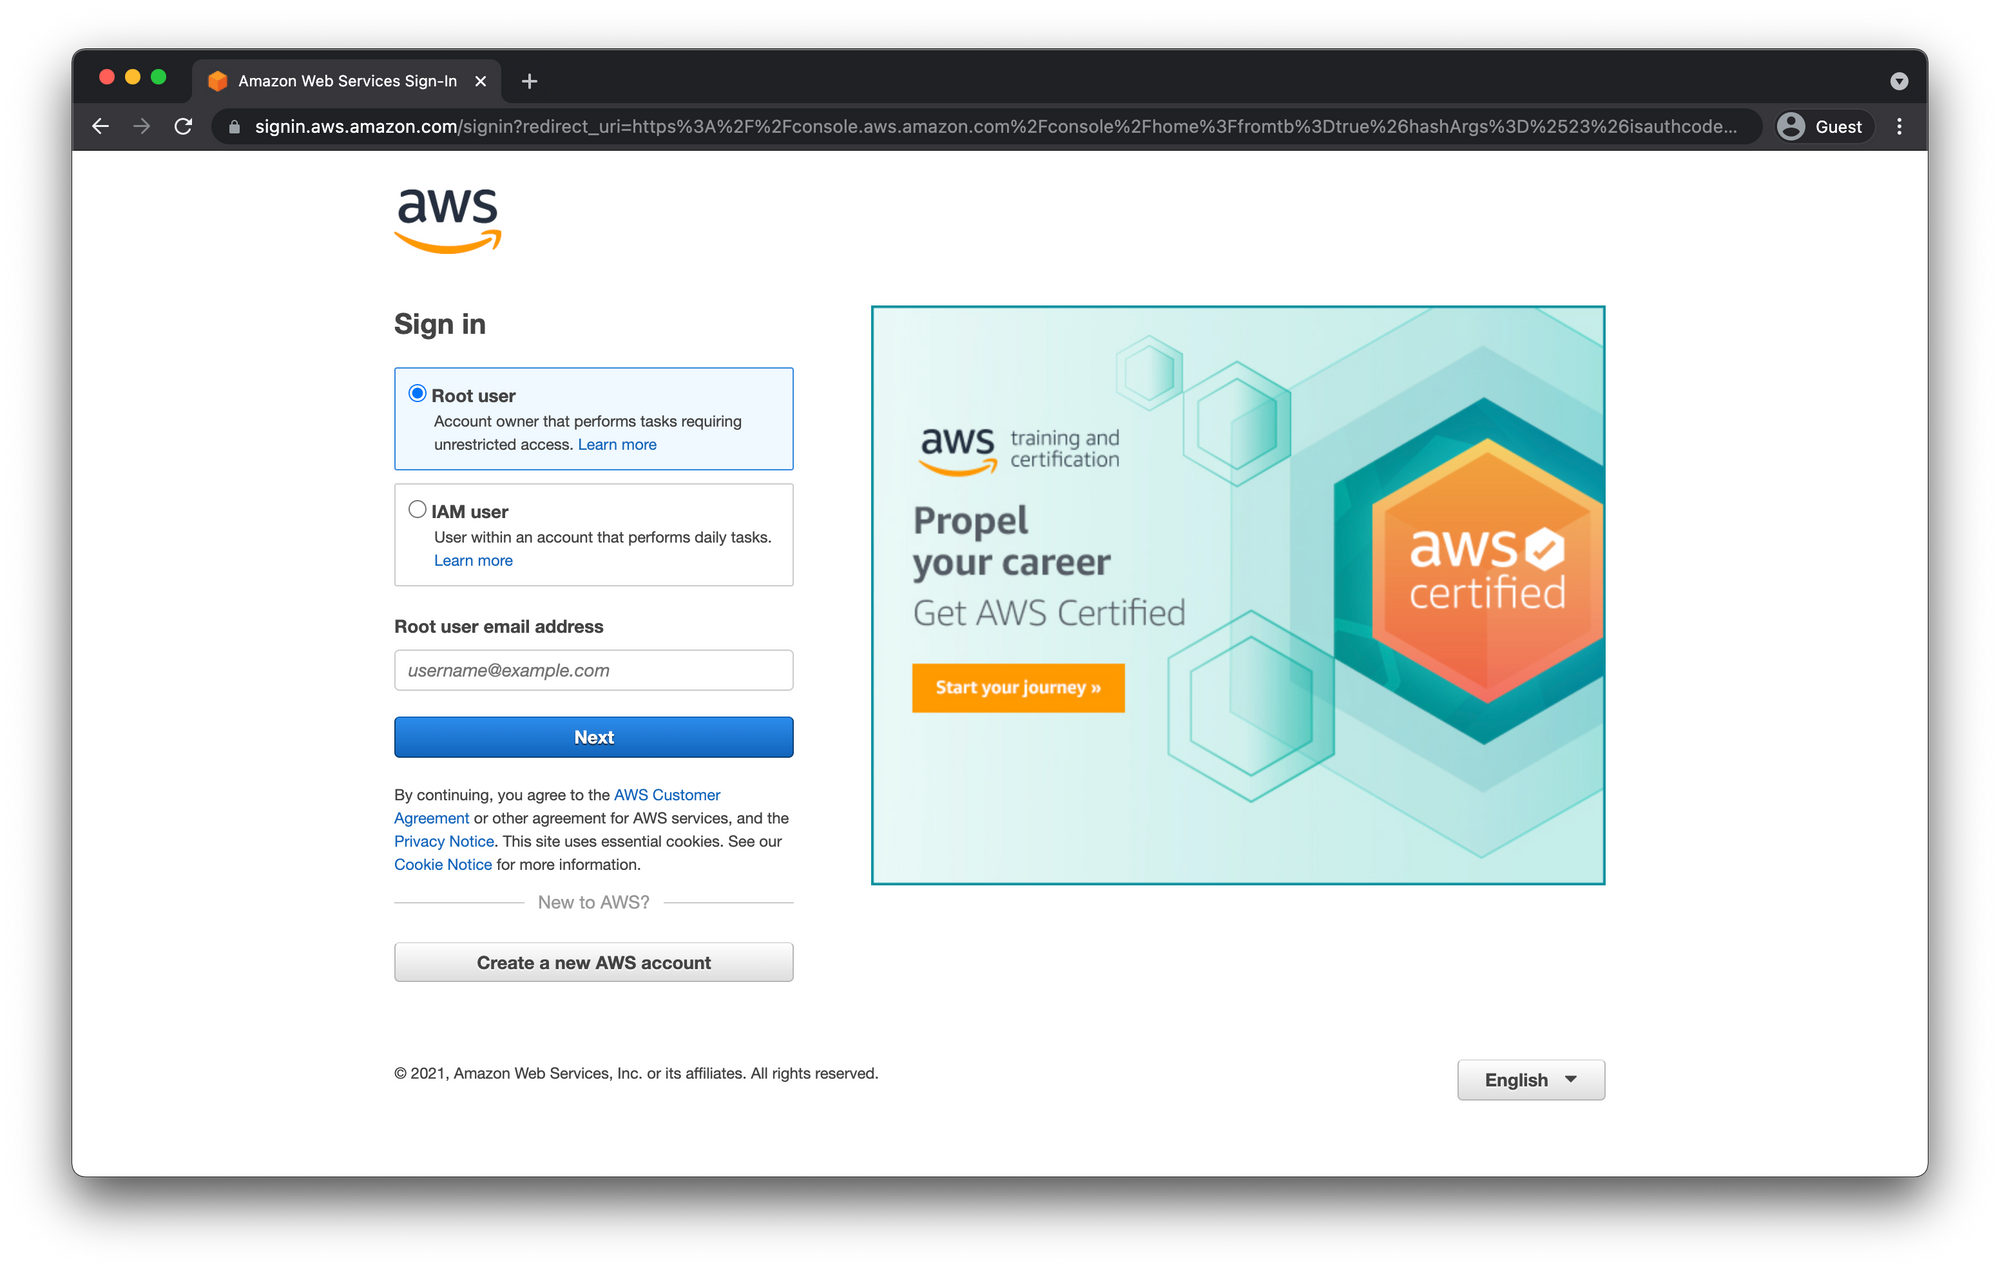
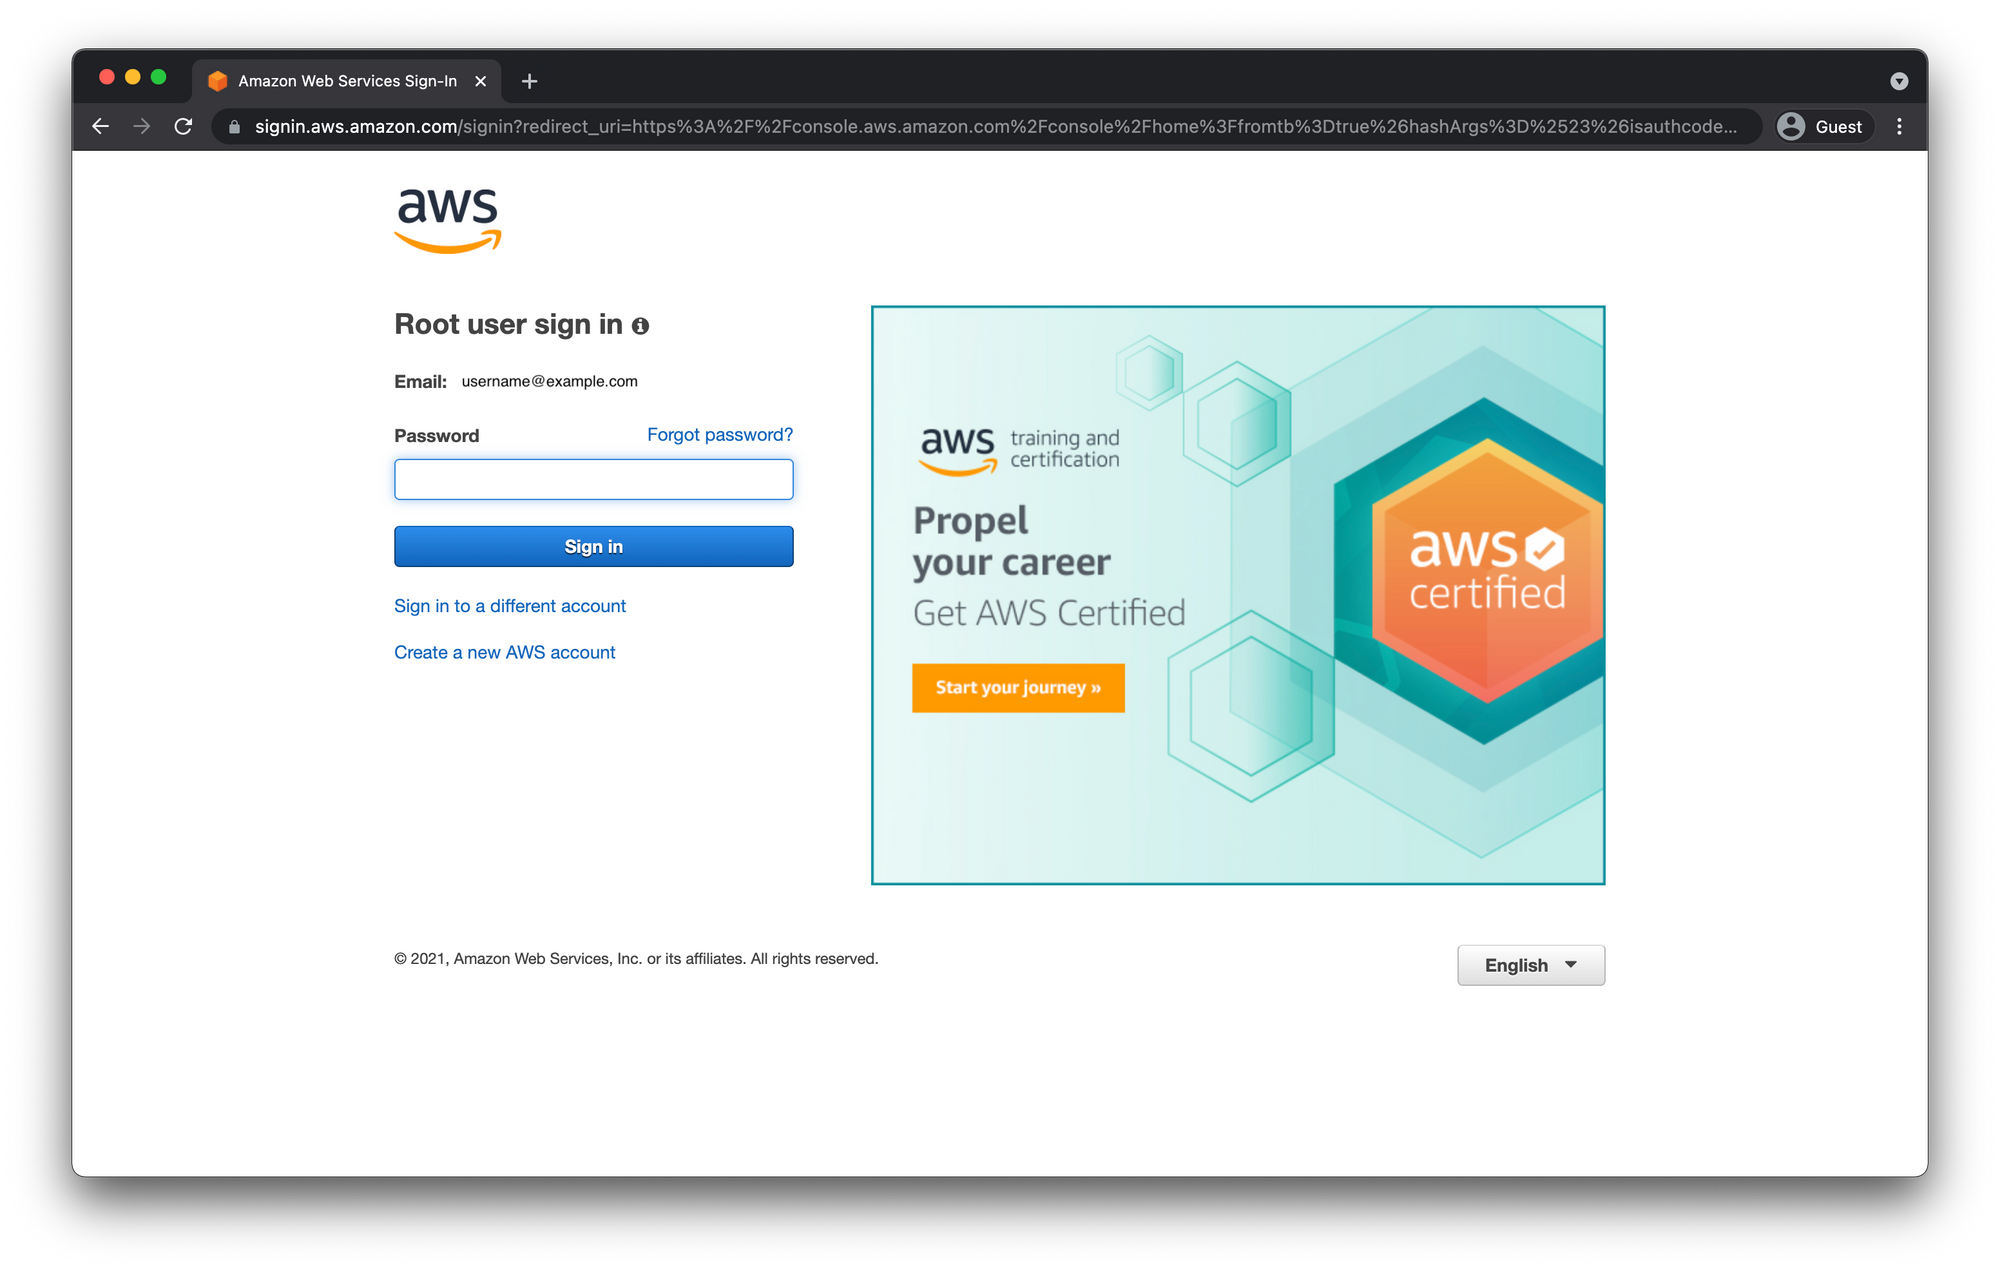
Sign In
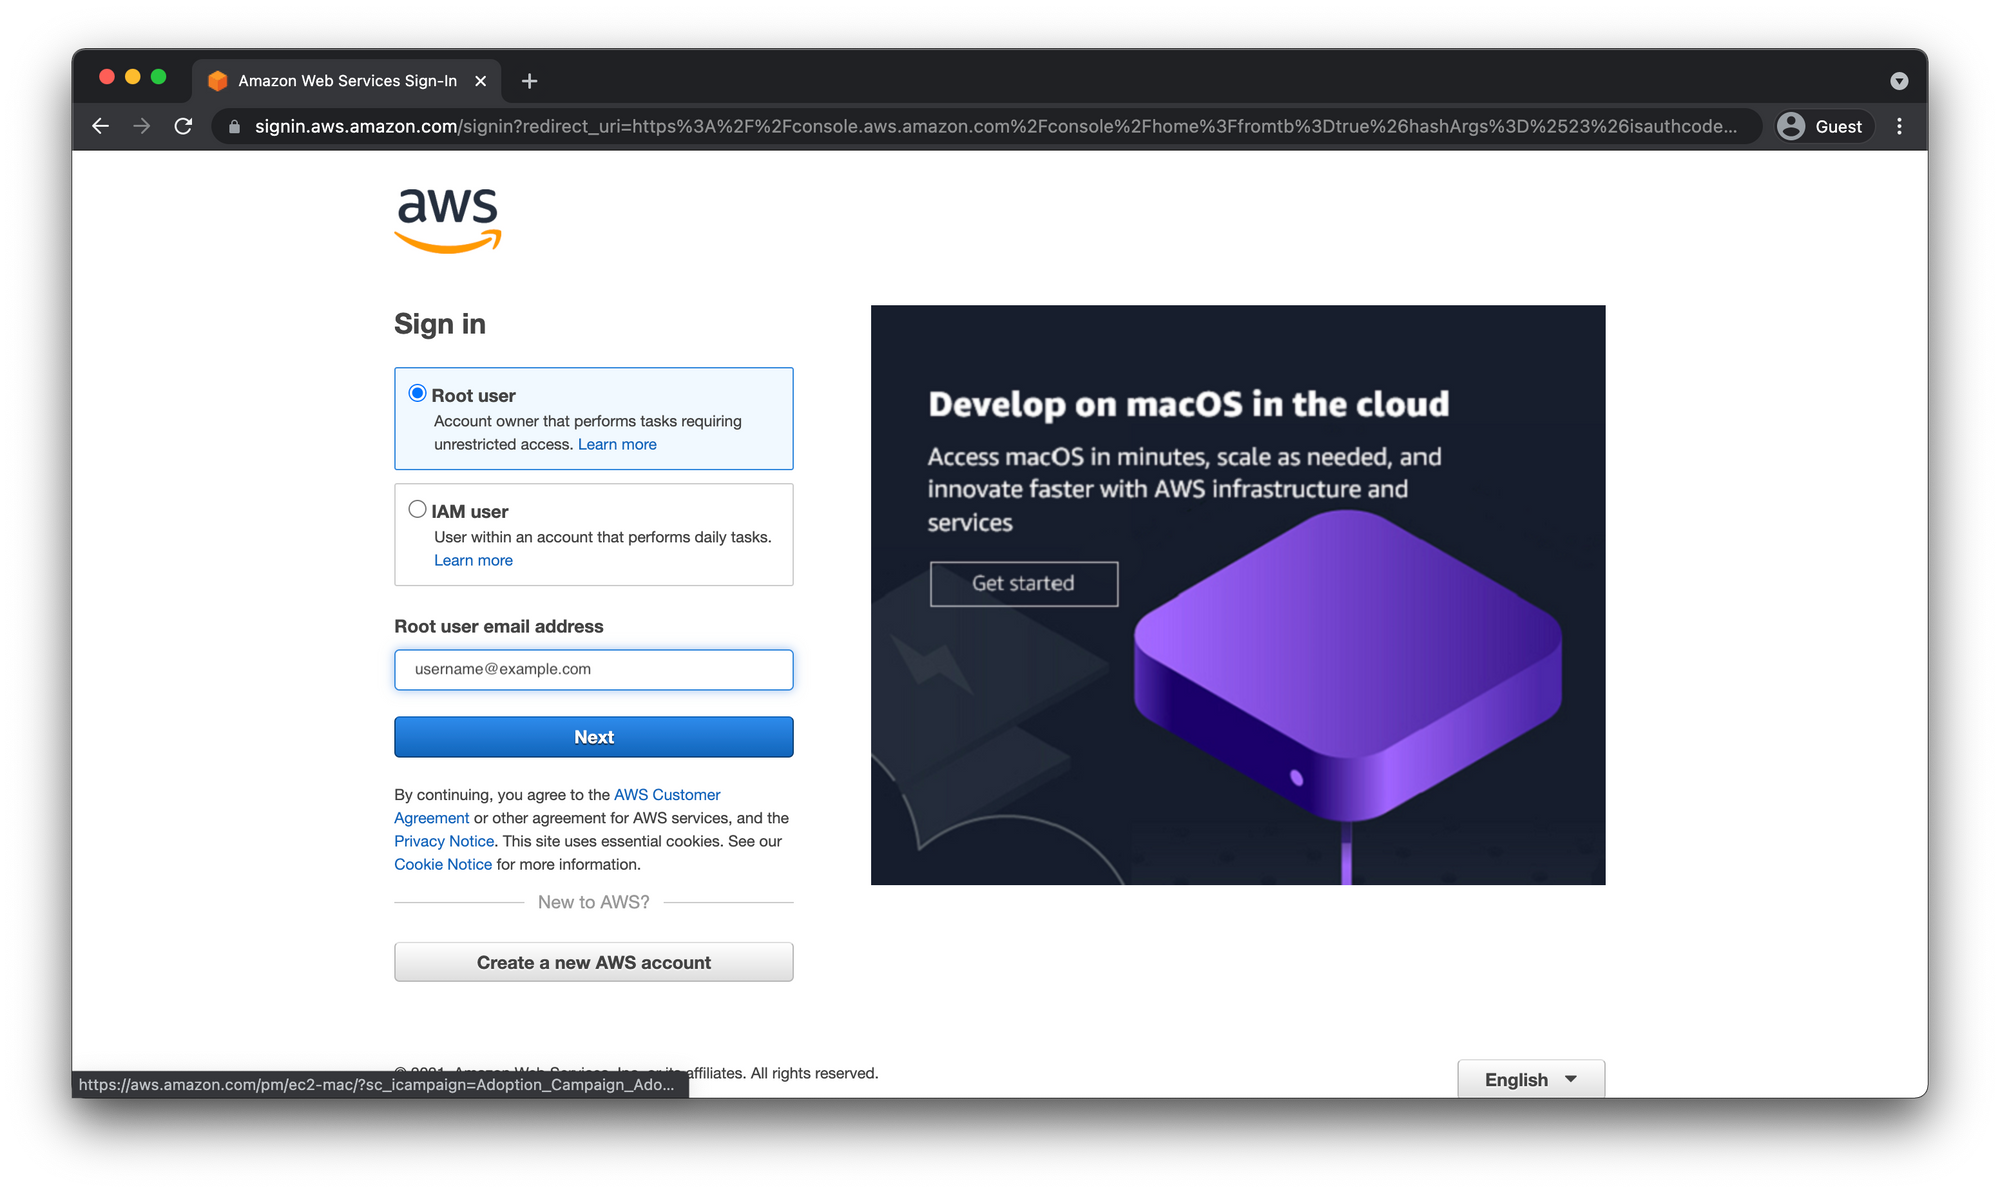
You should be redirected to the AWS Console Sign in page. As mentioned before the email and password you entered earlier are you Root user credentials.
Select Root user and enter the email address you signed up with earlier and click "Next"
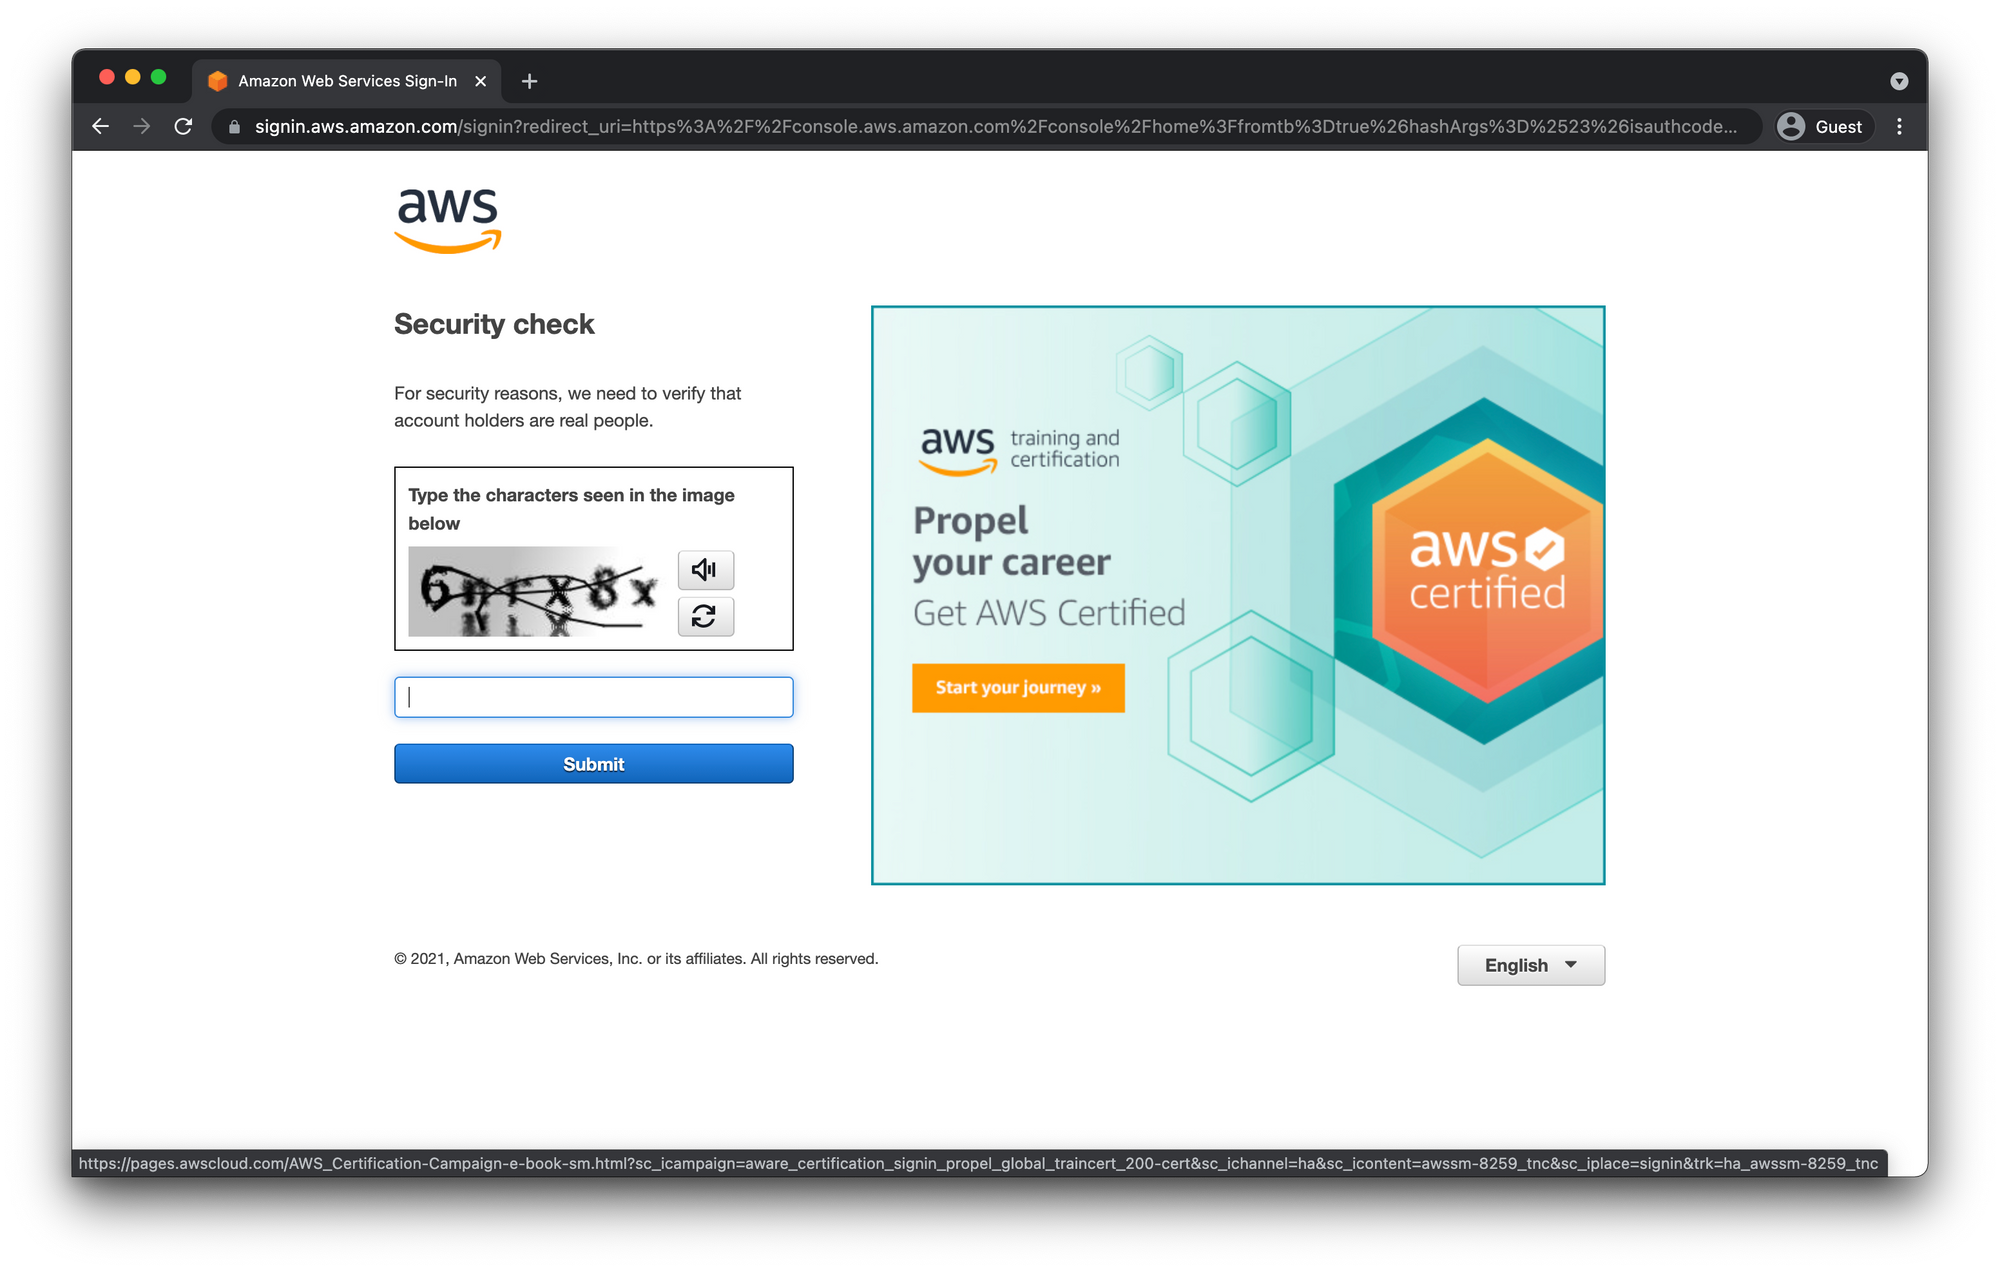
Prove to amazon you are not a robot and then enter the password from earlier as well.
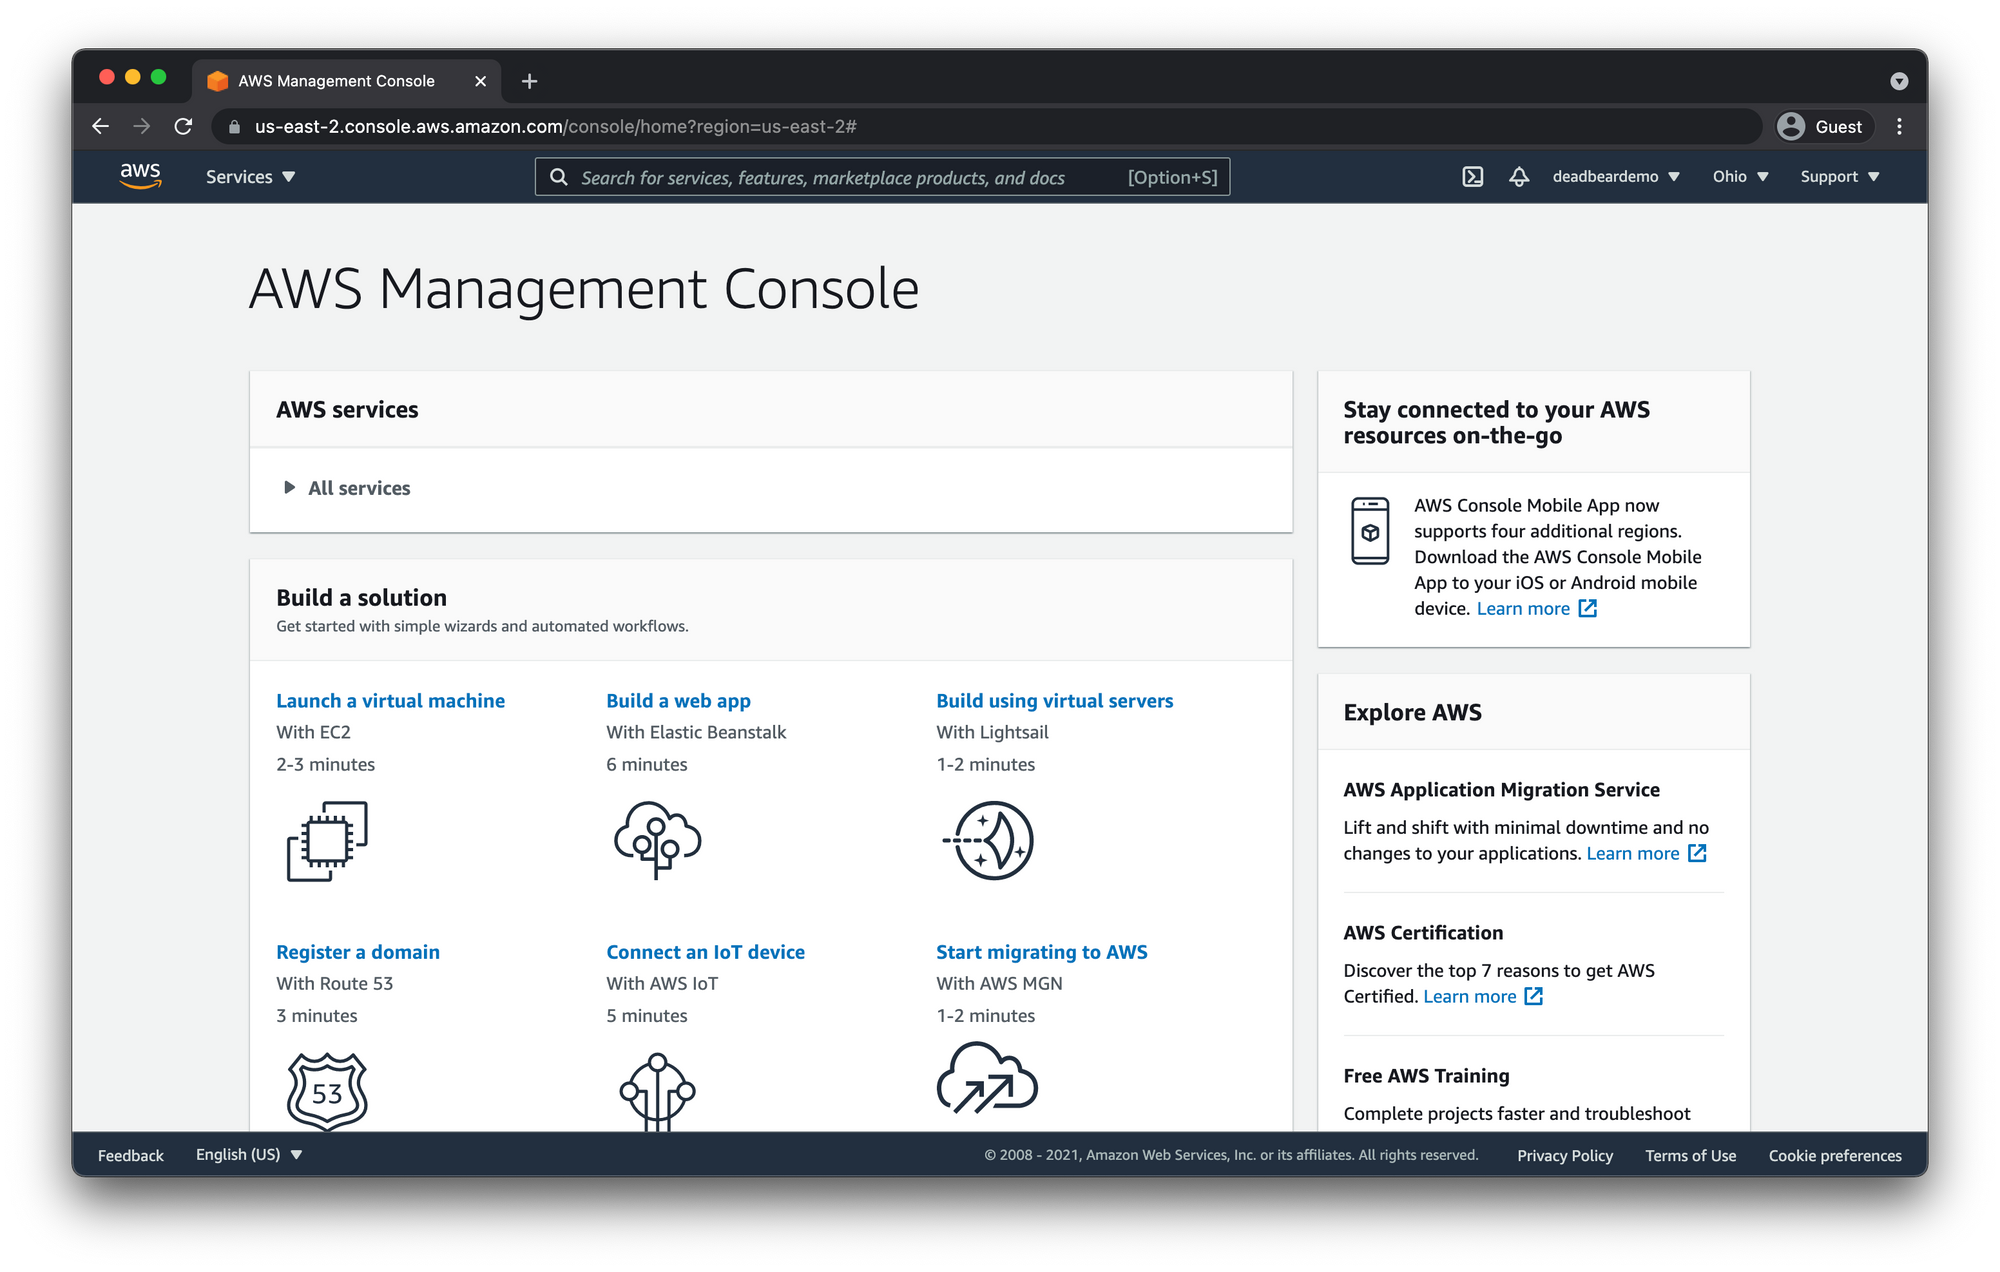
Secure Your AWS Account
Now you should be logged into your account, but before you start going crazy and provisioning resources, AWS recommends doing a little security housekeeping.
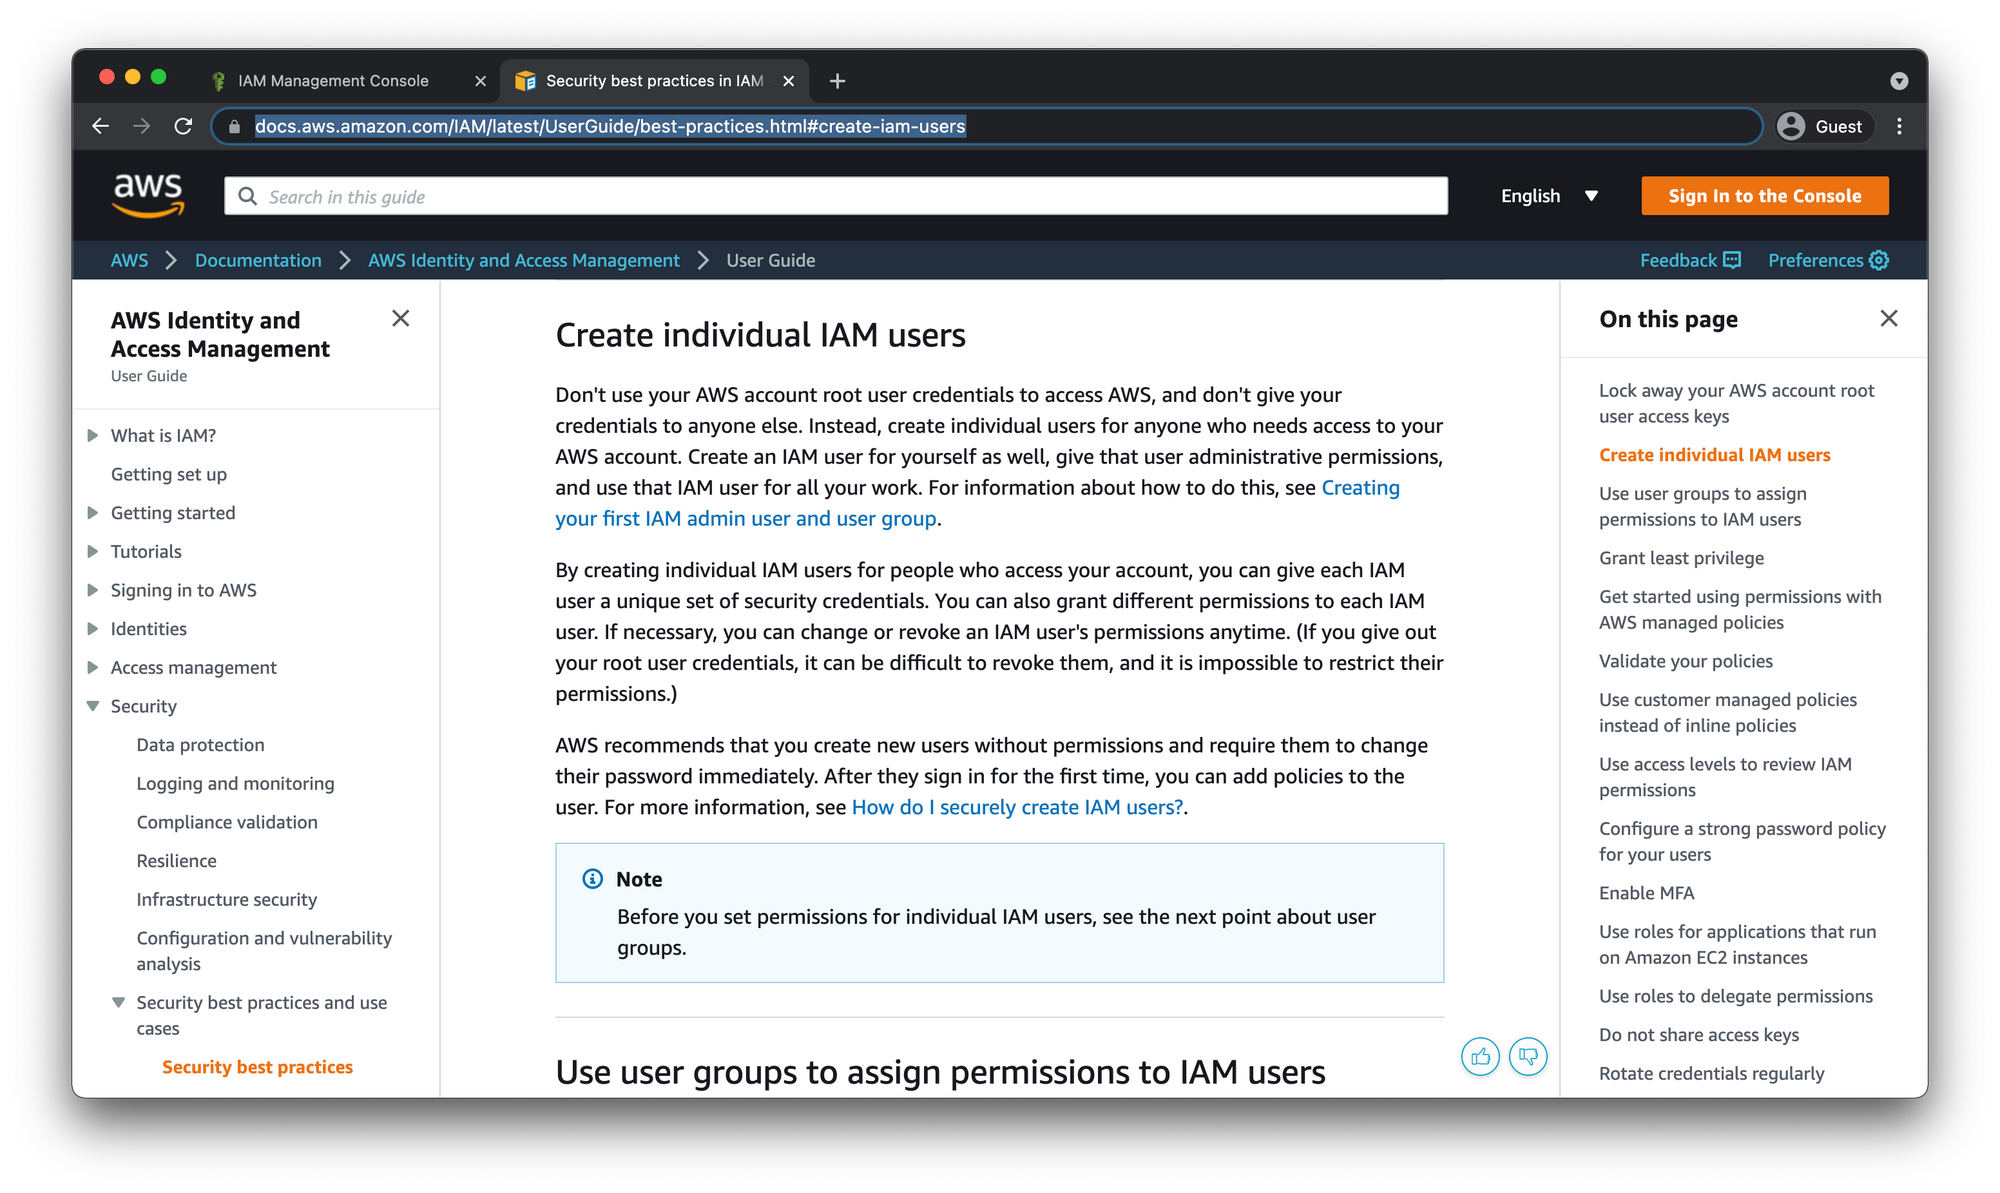
Here is the AWS Security Best Practices page. I highly encourage you to read over that documentation as we will only be covering a few items from the list.
- Use user groups to assign permissions to IAM users
- Create Individual IAM users
- Enable MFA
Multi-Factor Authentication
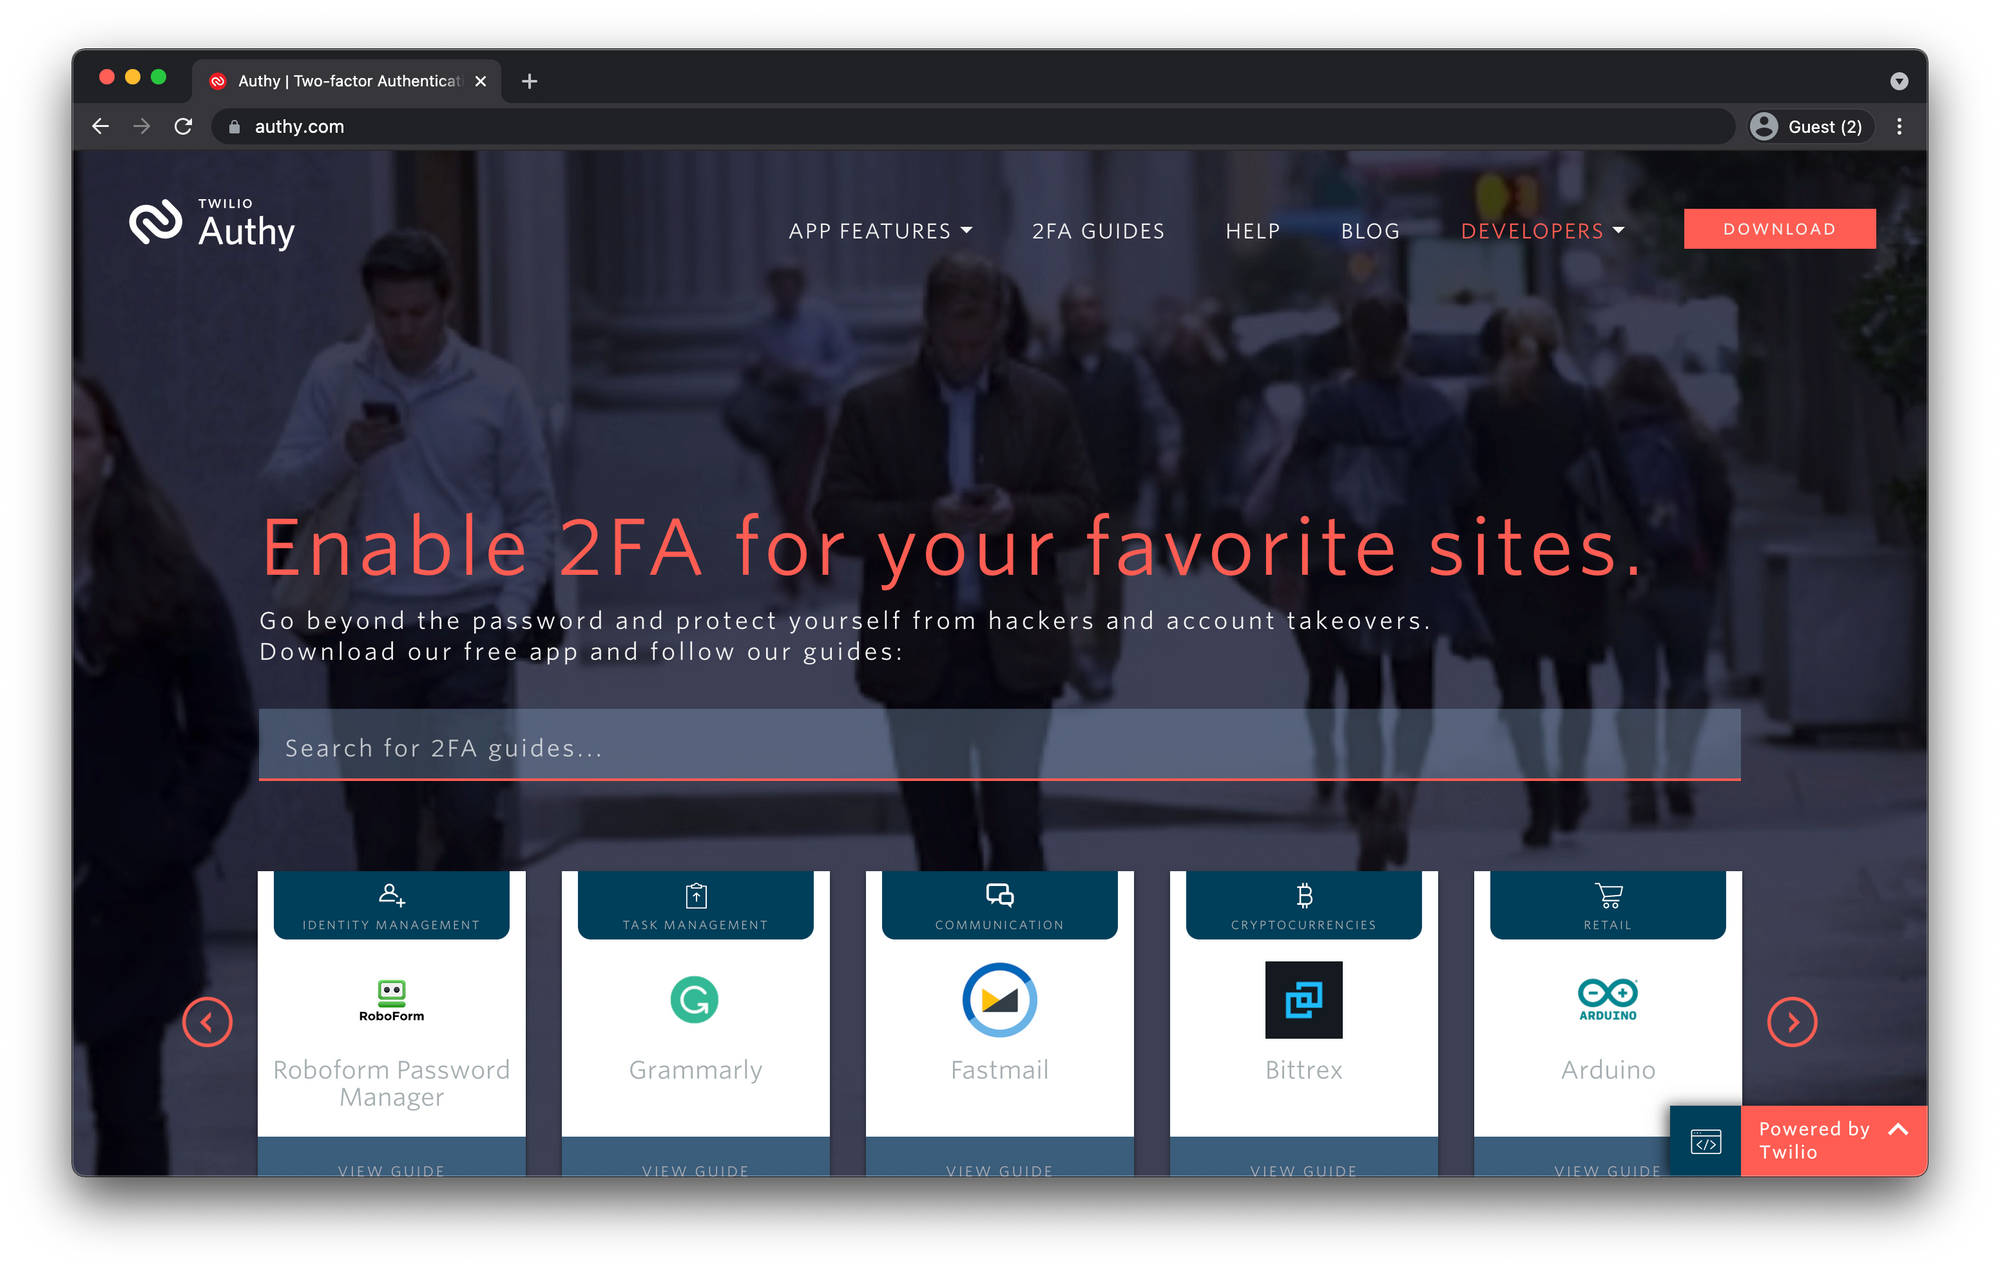
Let's start with enabling MFA on our Root account. If you've been living under a rock and don't know what MFA is, Multi-Factor Authentication enforces using some sort of external device to authenticate when signing in. It can be something like SMS (text message), email, or an authenticator app which is what we're going to use.
You can use whichever authenticator app you prefer, I have been using Authy lately. I like that it allows me to customize all the accounts I have and add logos to each one etc.
Add MFA to Root Account
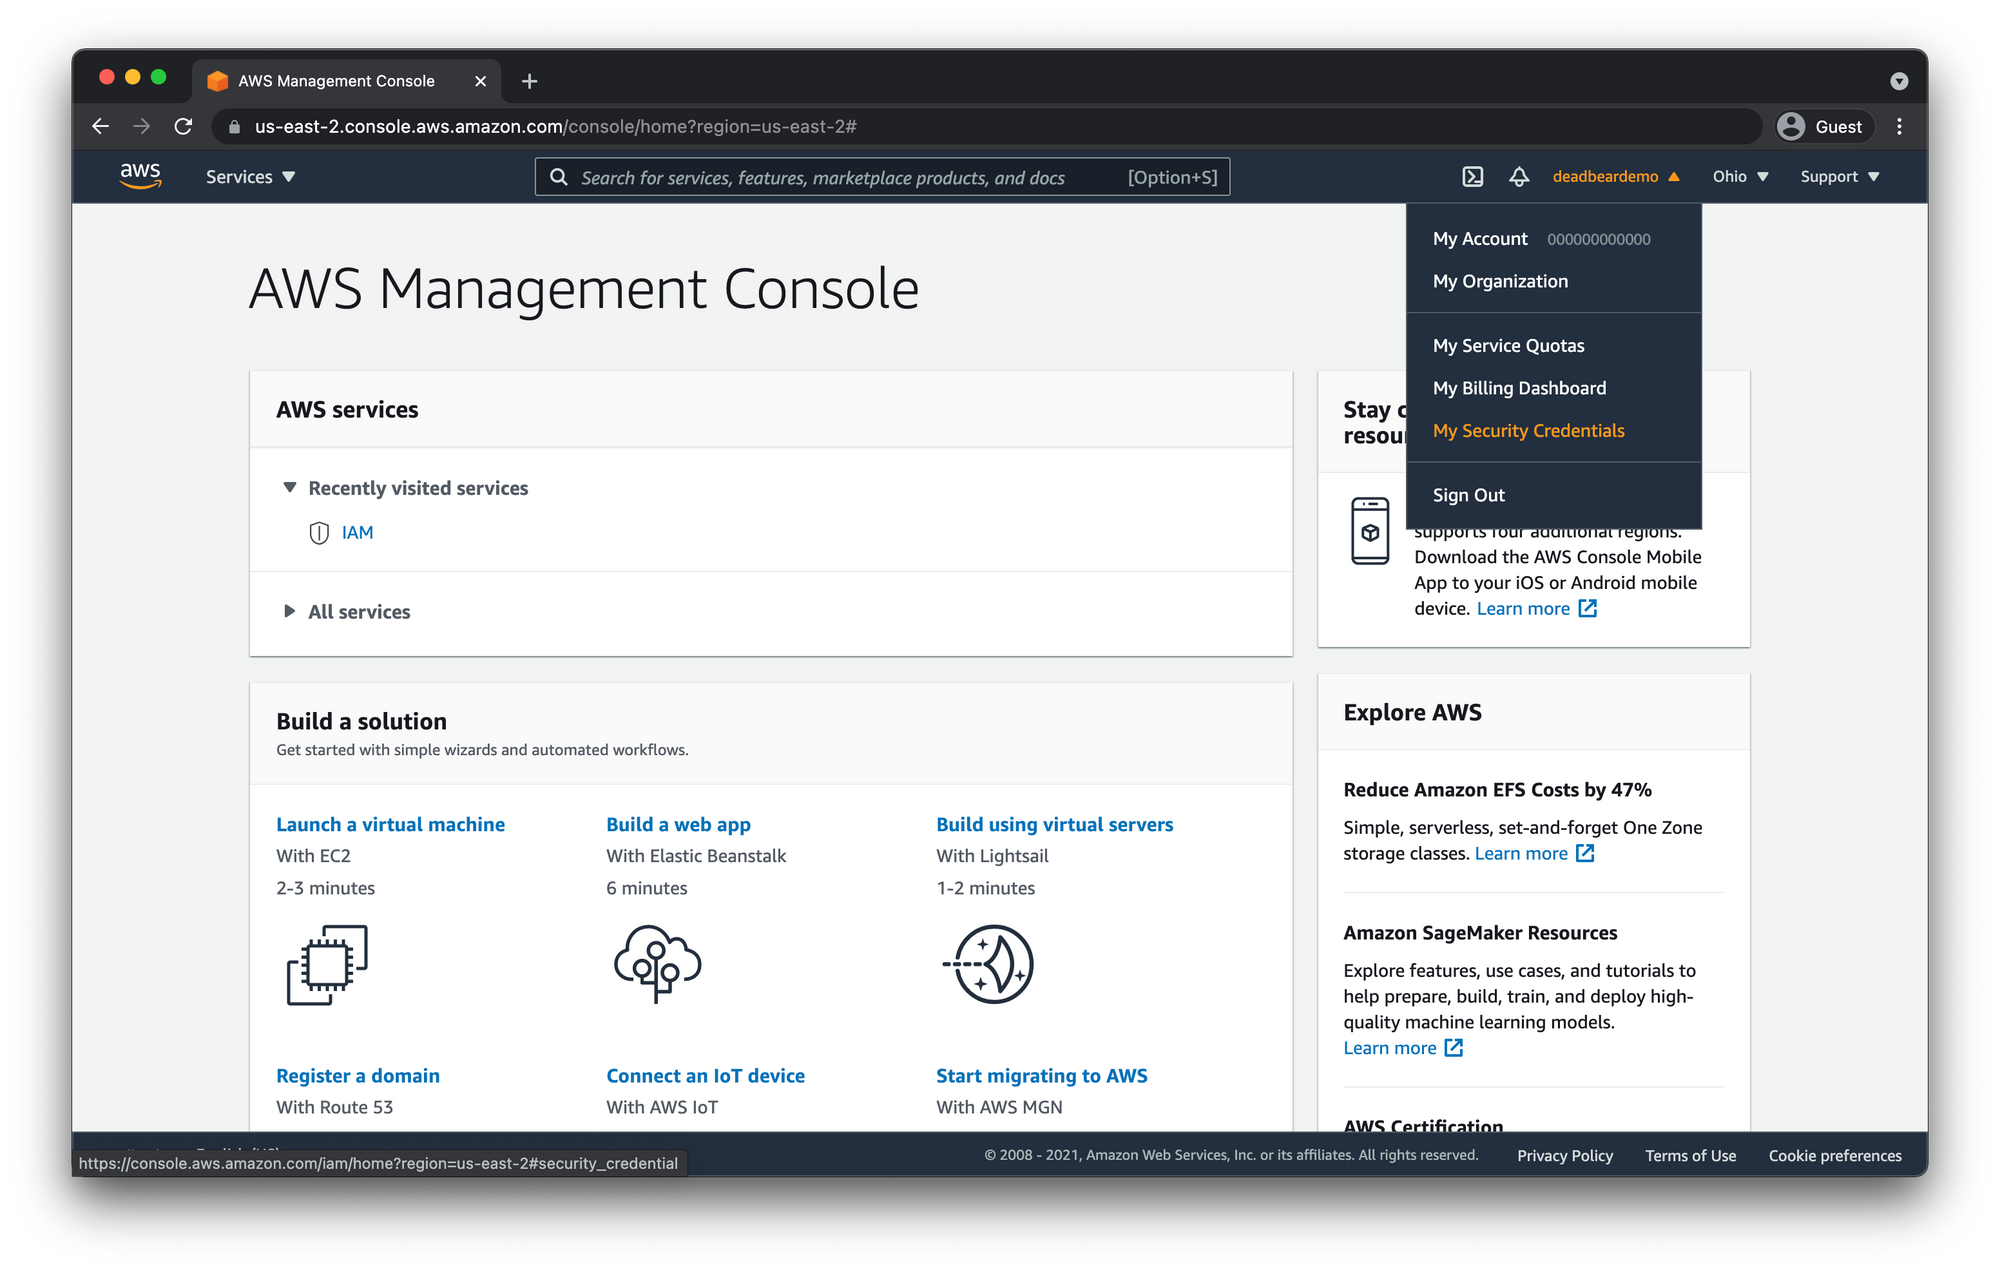
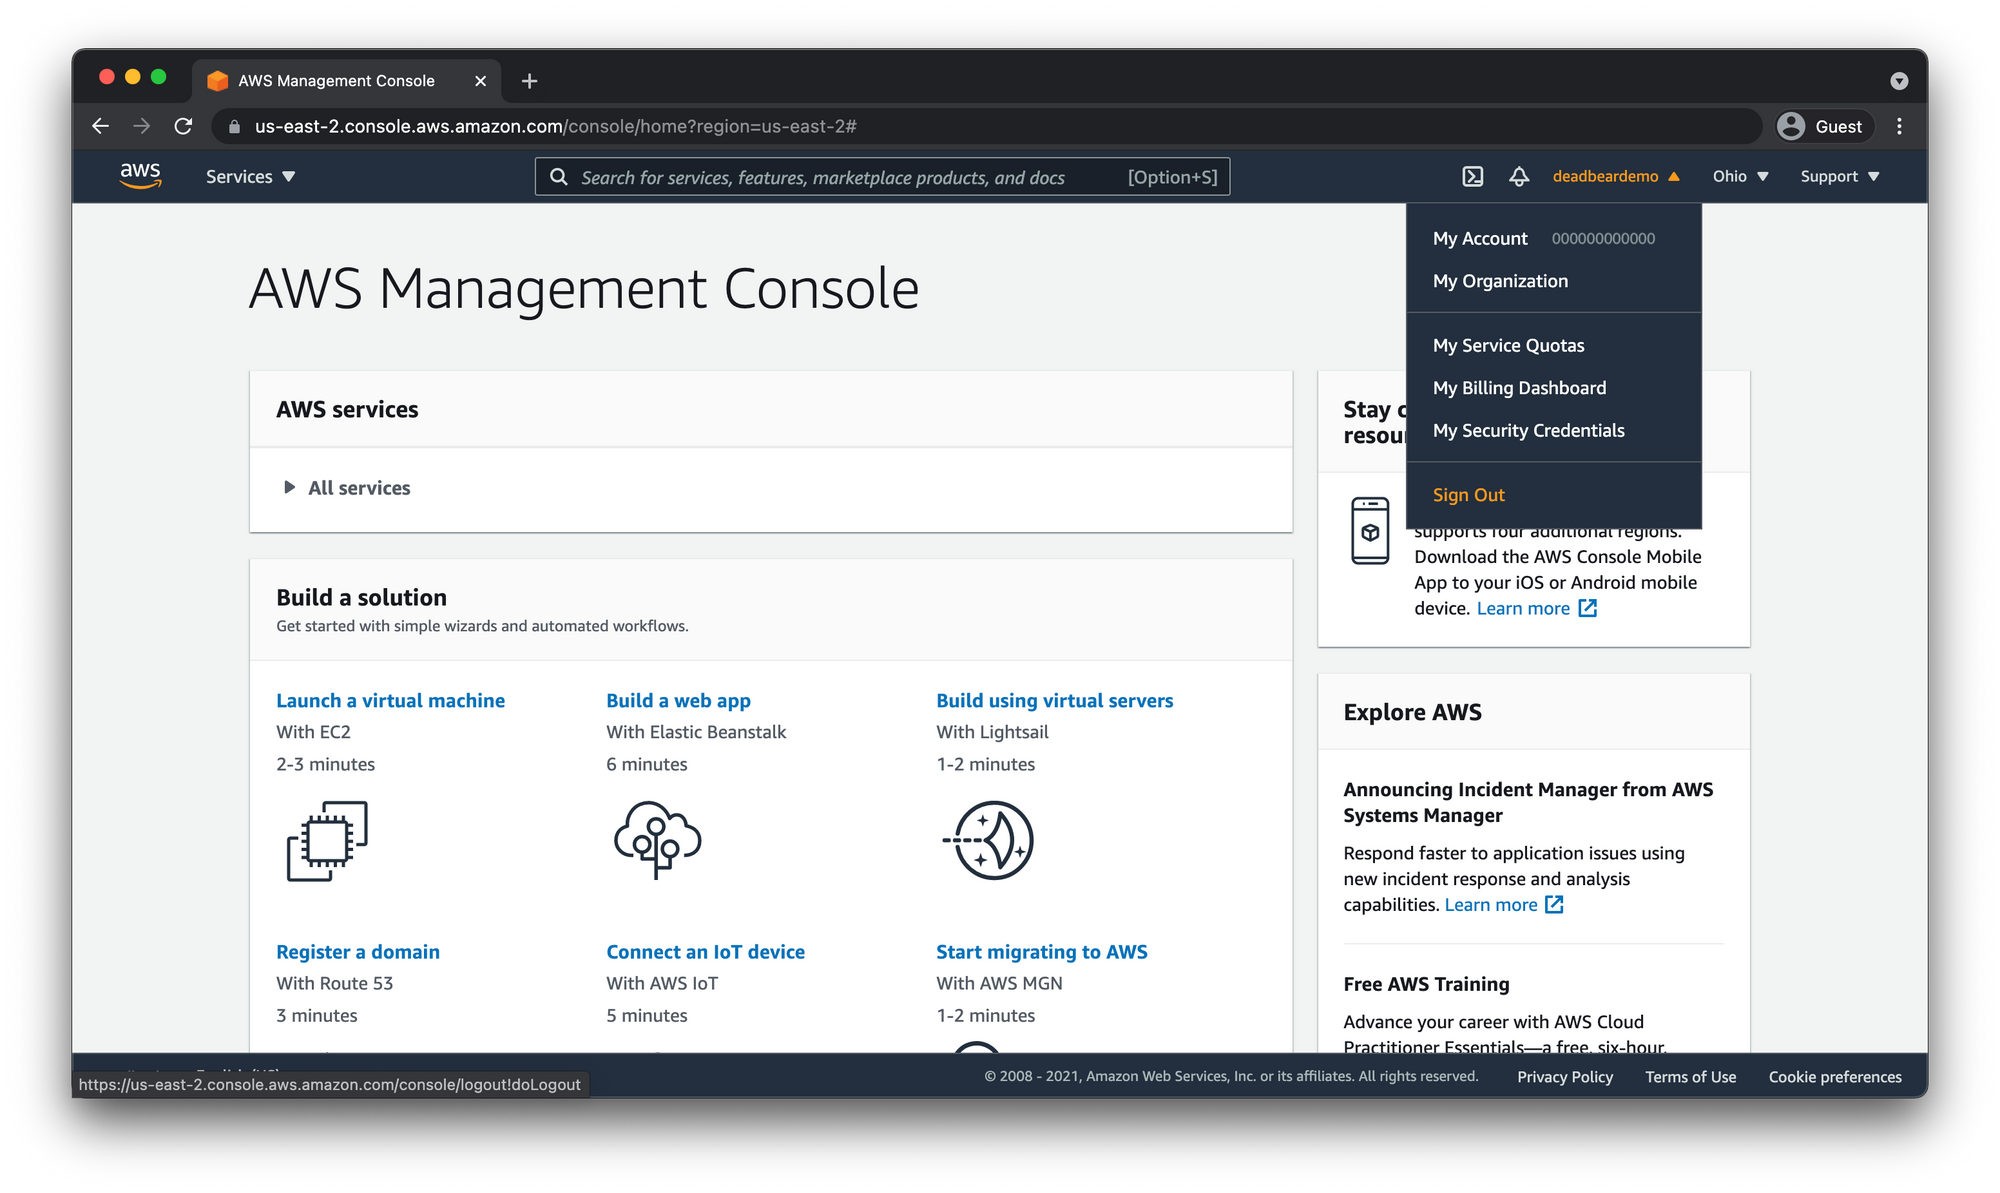
In the top of the browser window you should see either an account number or the account name you used when creating your account.
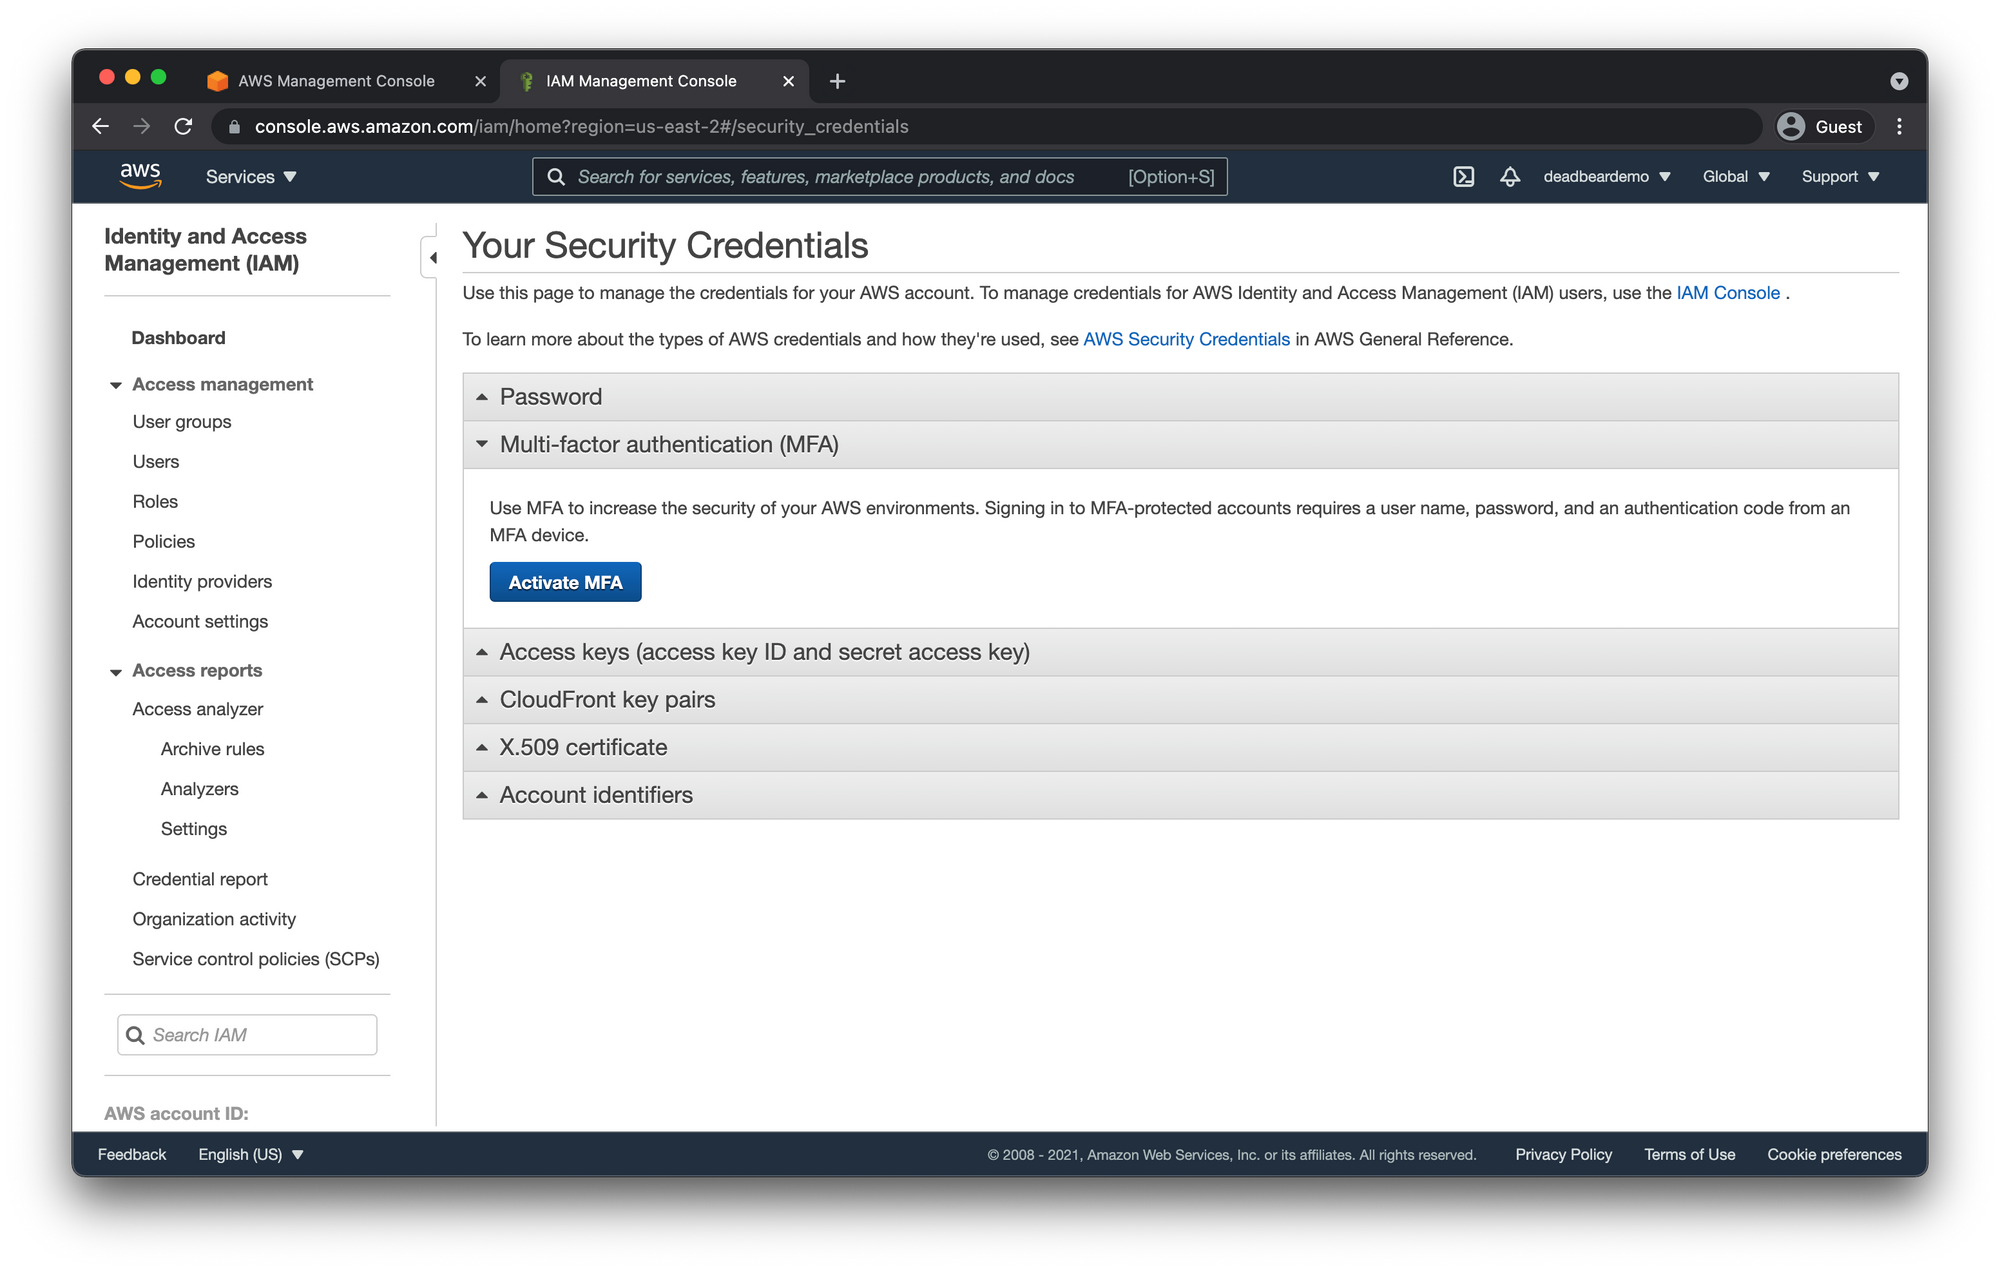
Click to open the drop down menu and click "My Security Credentials"
Next Click the "Multi-Factor authentication (MFA)" dropdown and click "Activate MFA"
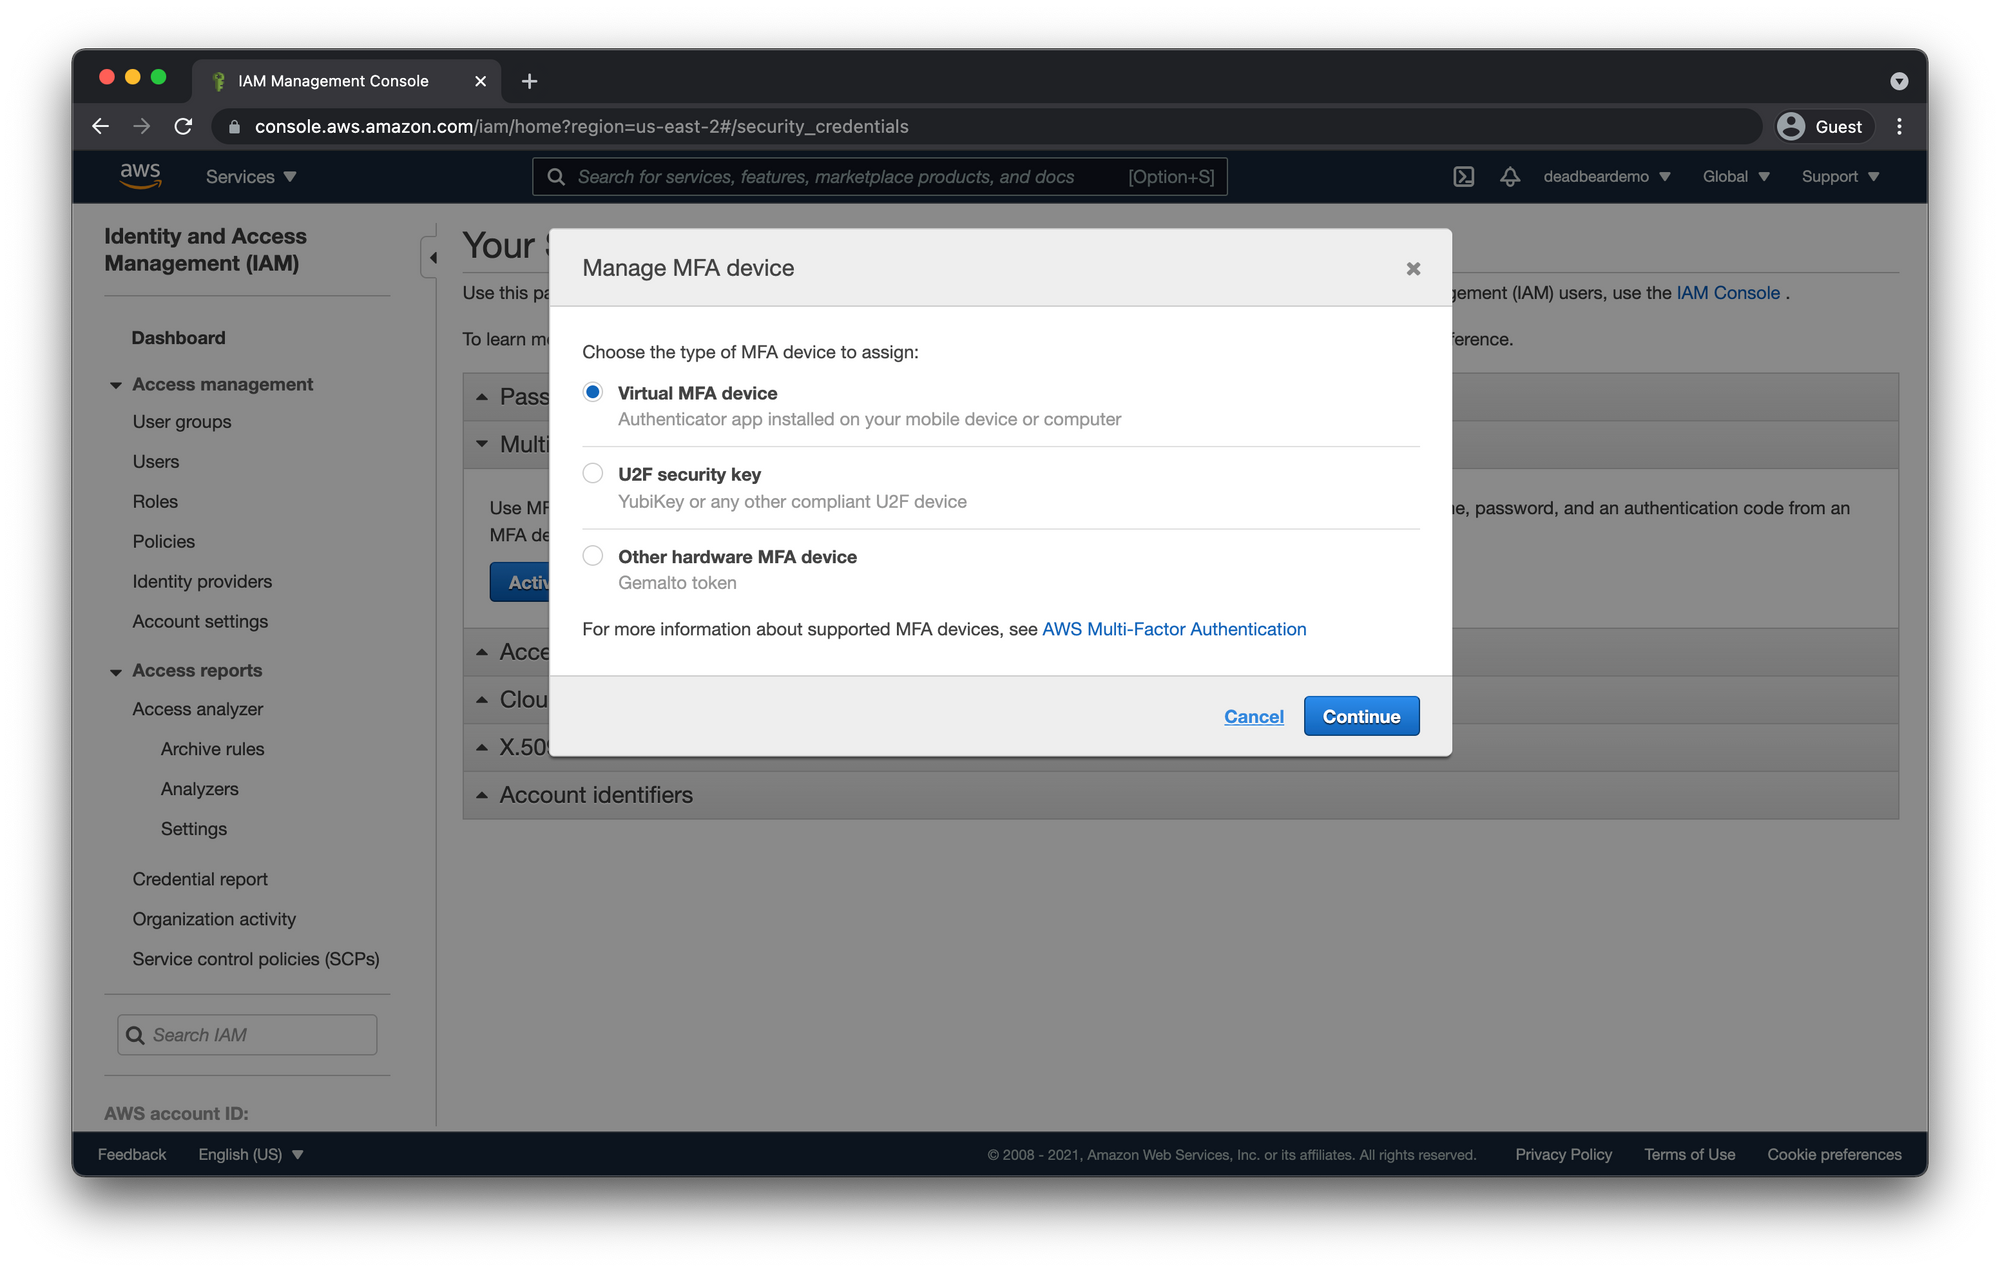
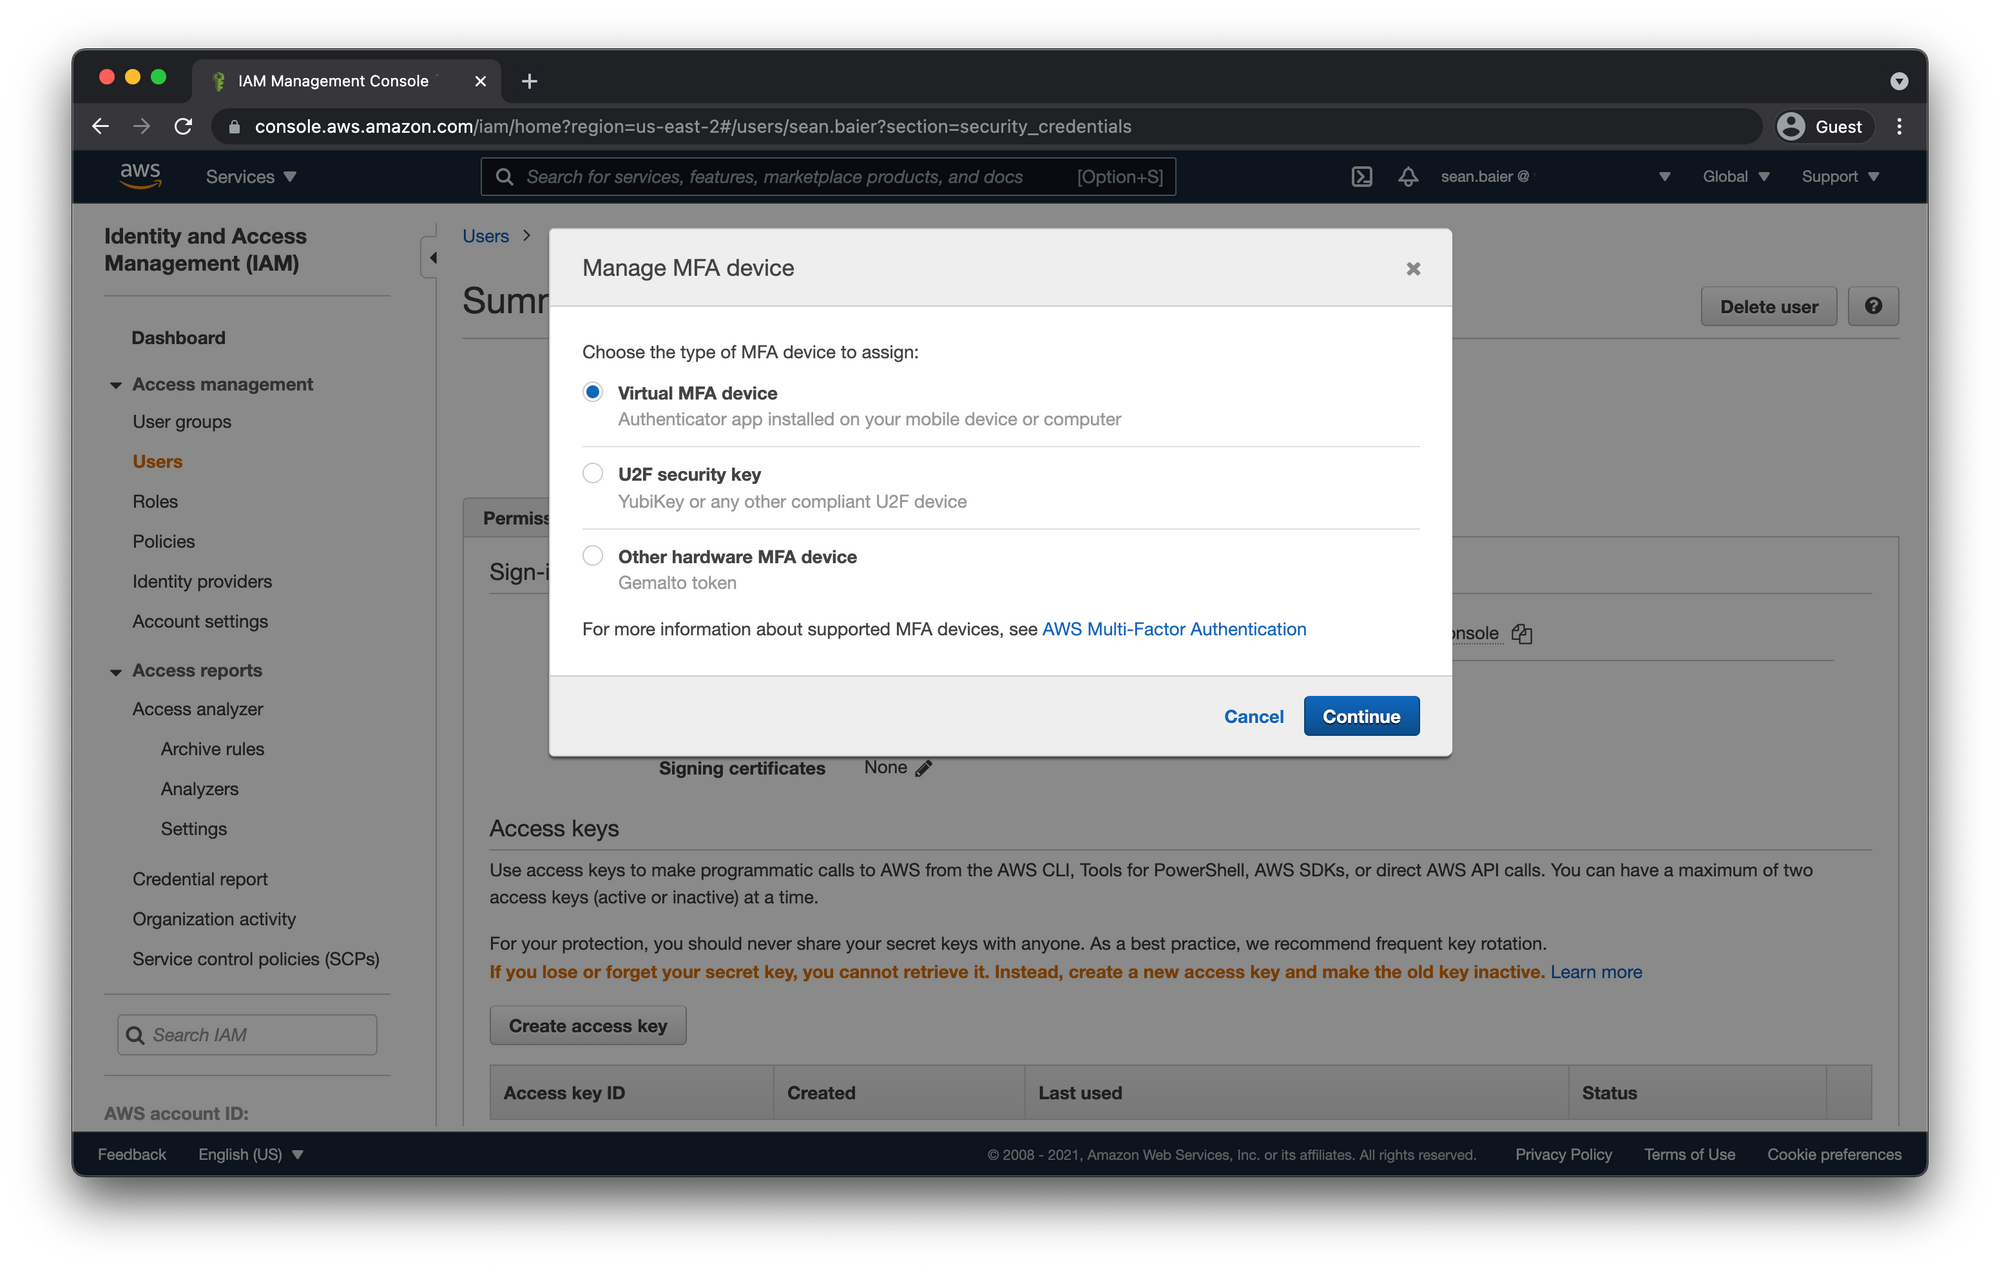
Check "Virtual MFA device" and click "Continue"
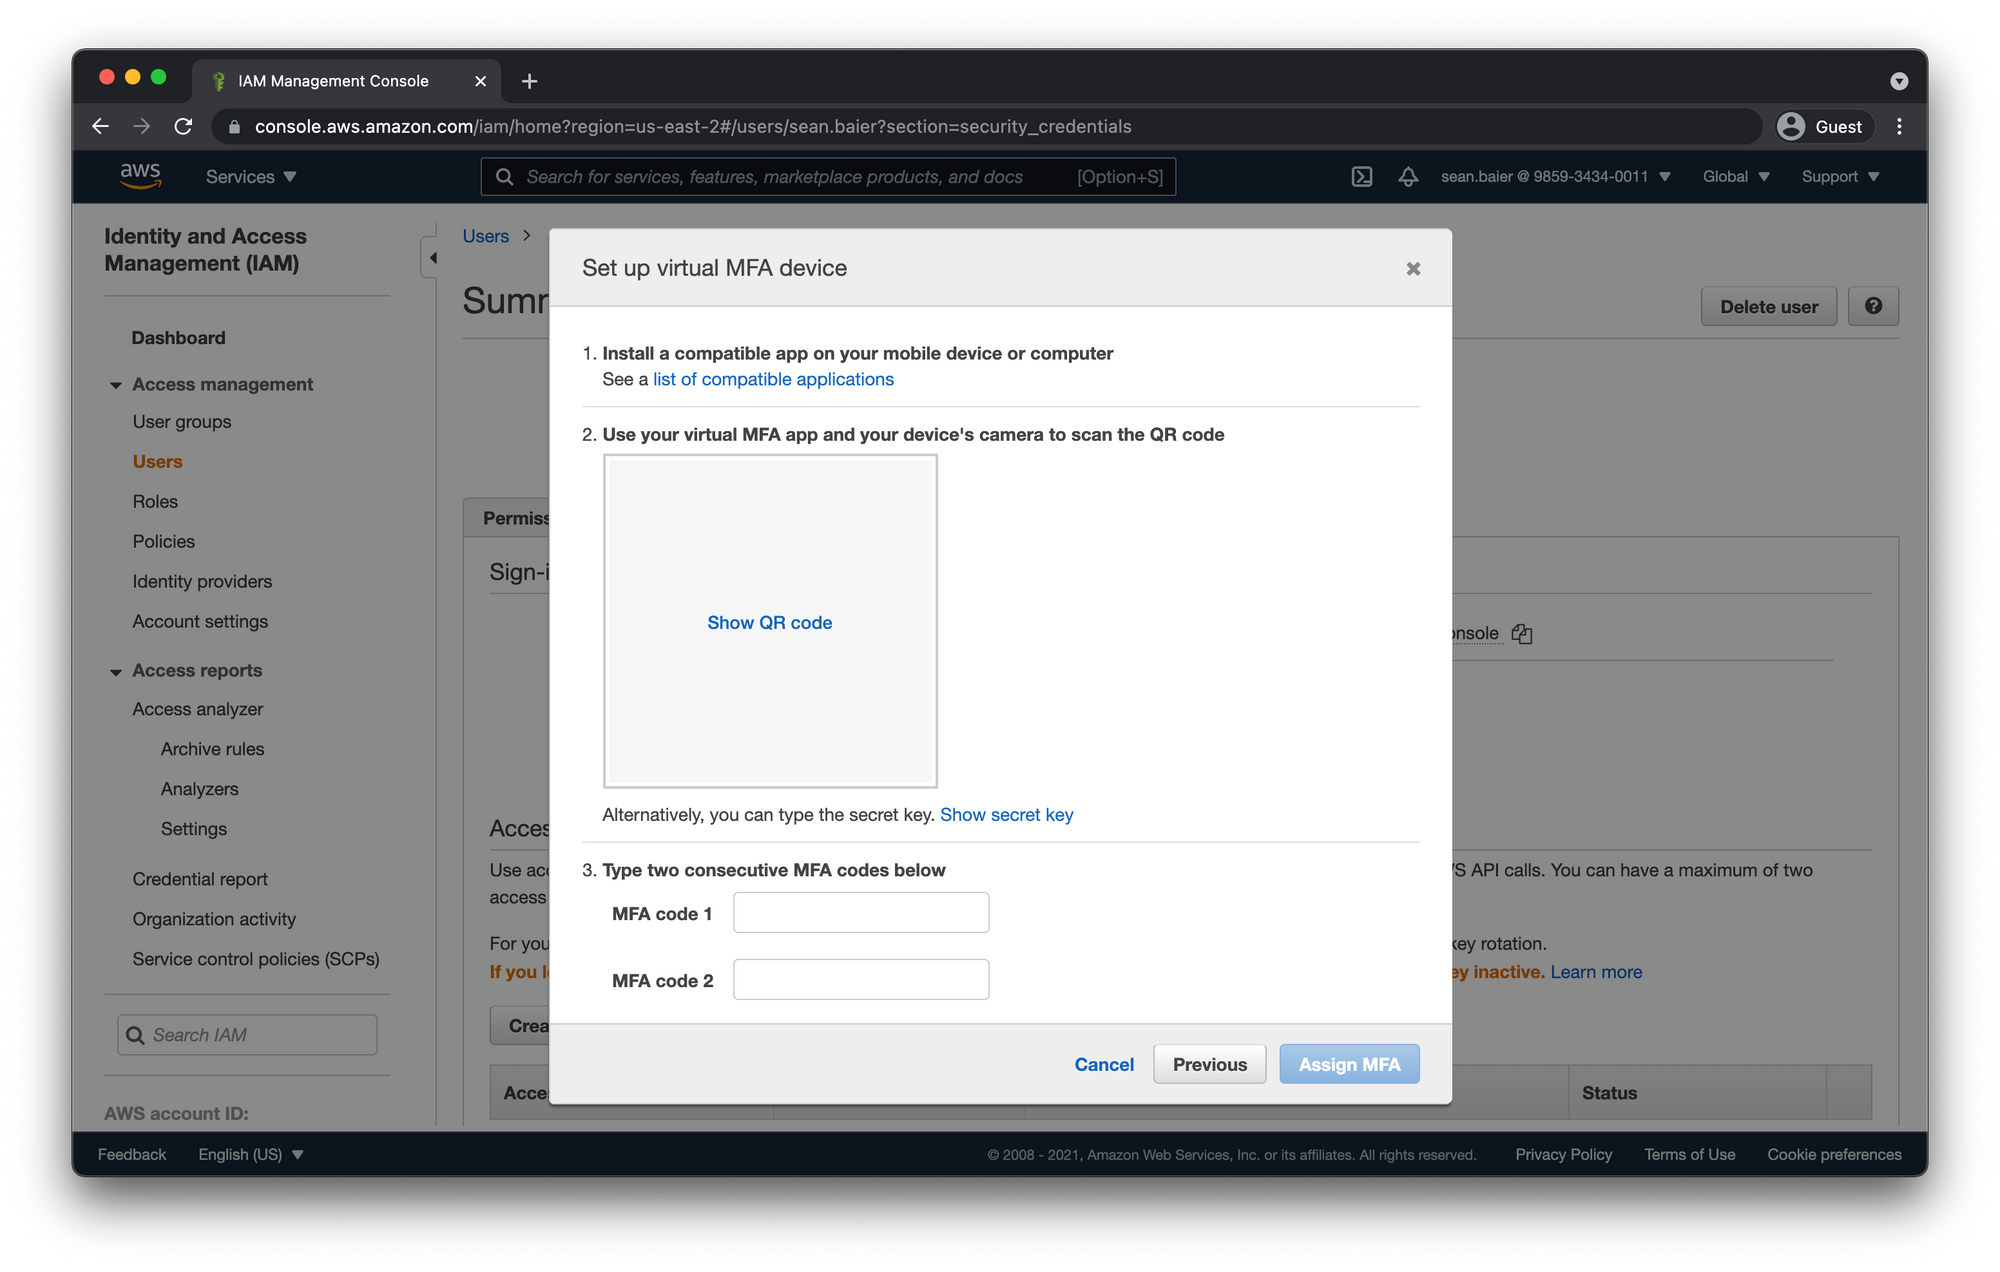
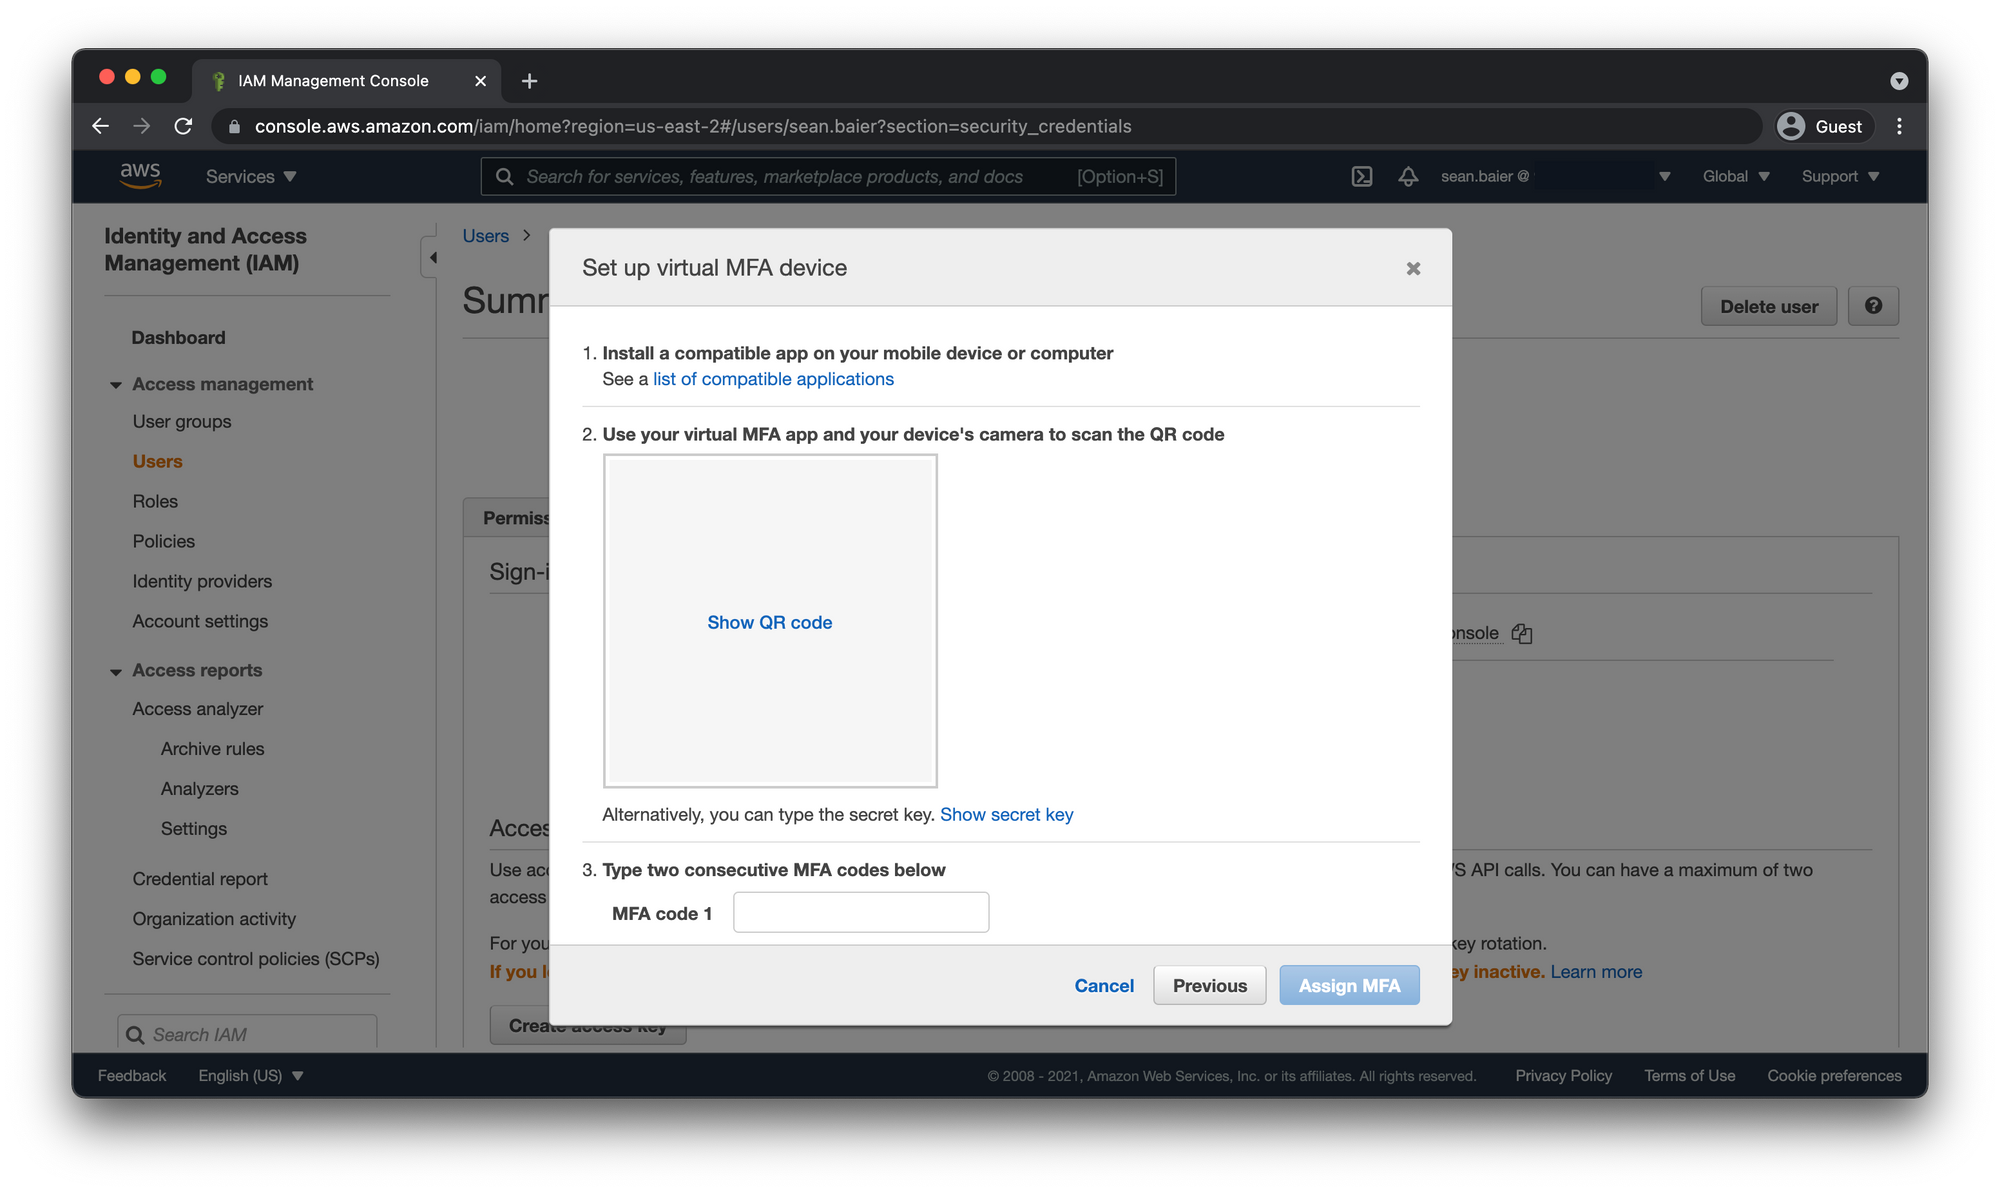
Use your MFA app and sync with your AWS account. Enter the two codes and click "Assign MFA"
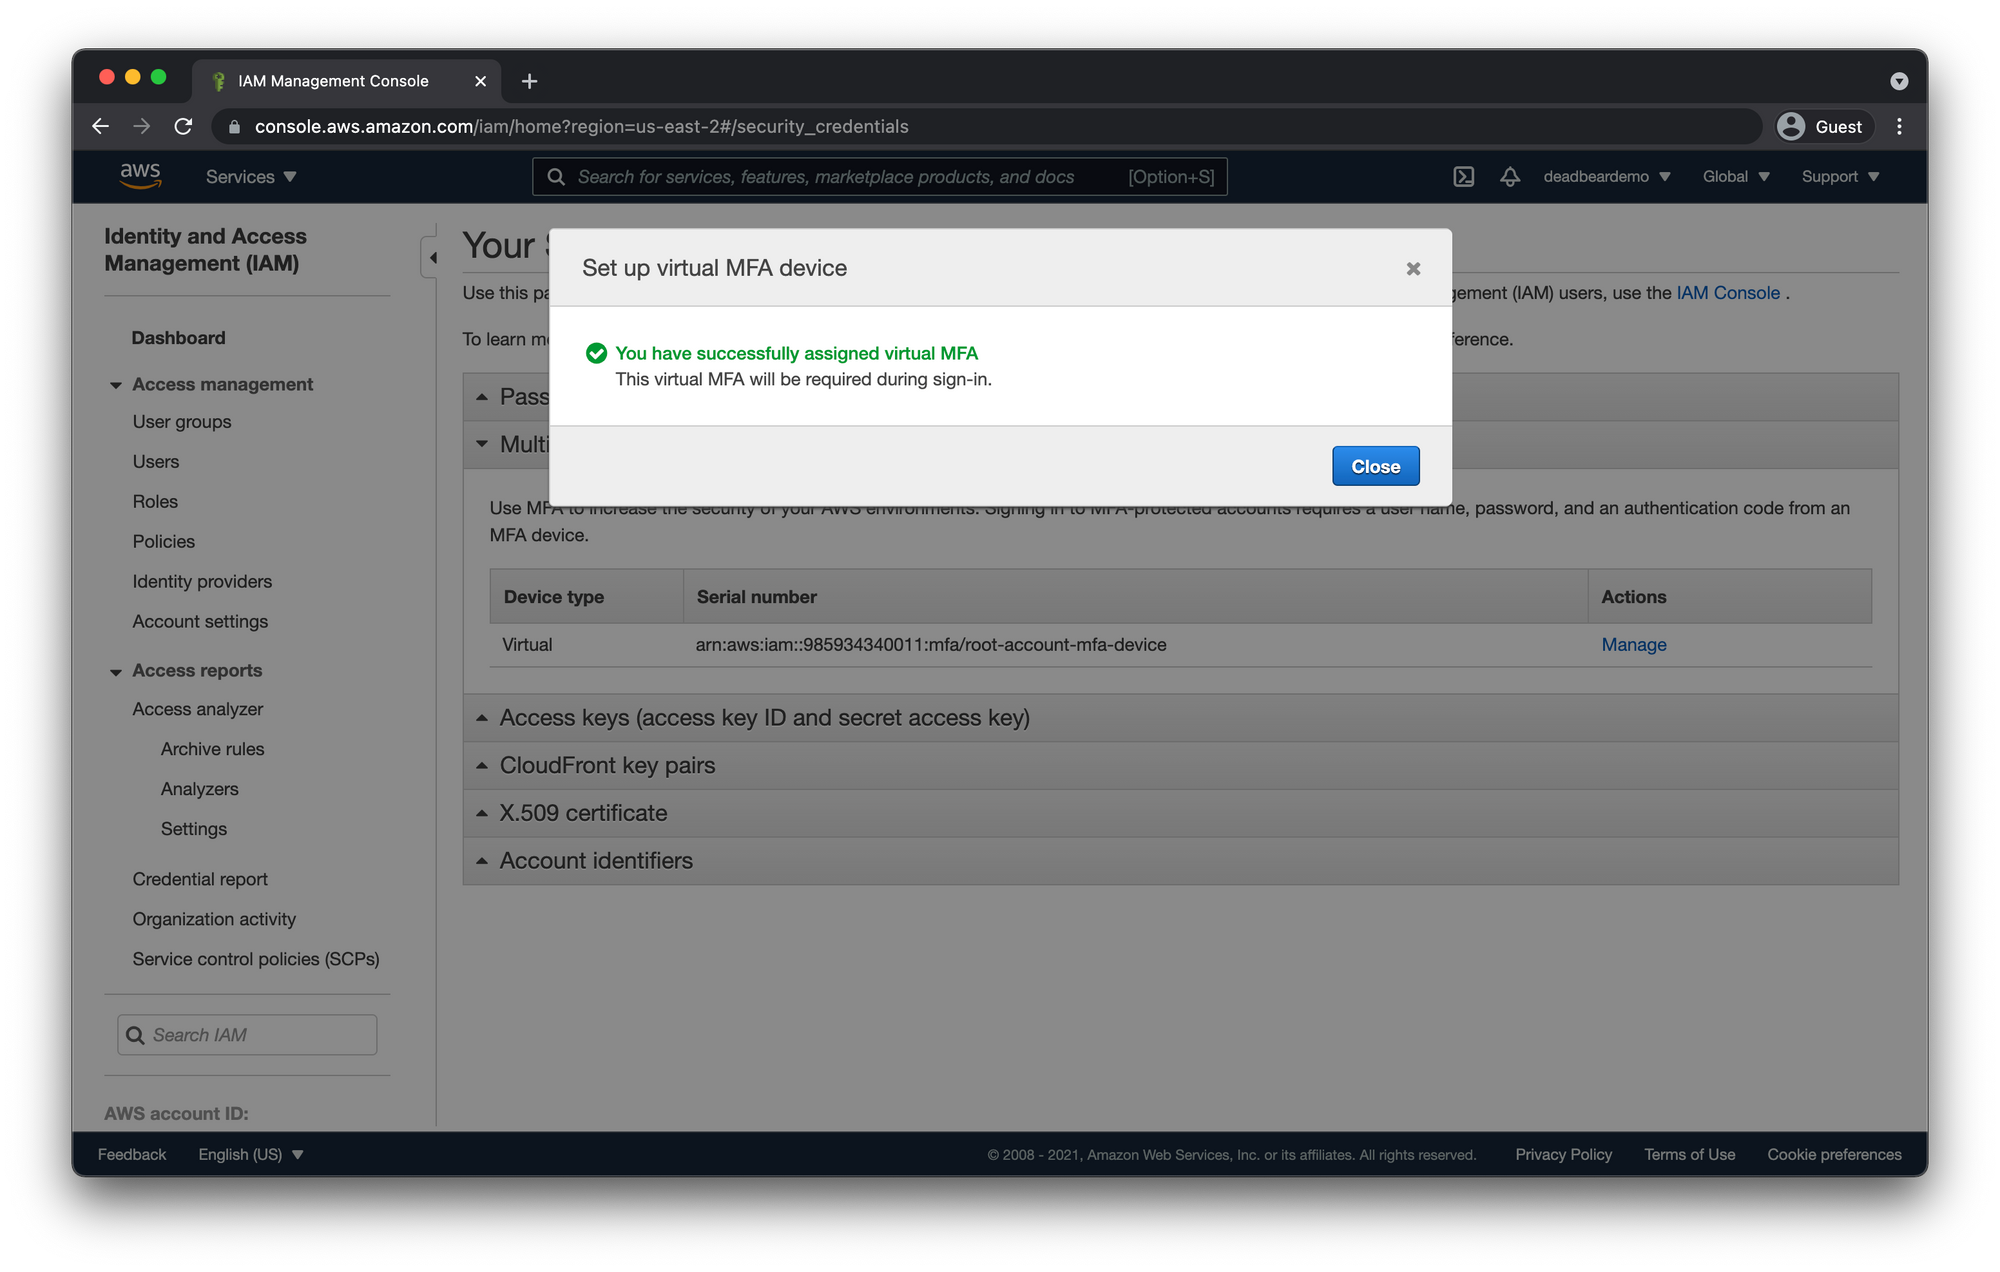
Test Root Account MFA
Now let's make sure our MFA is working correctly by signing out by clicking the same dropdown menu in the header and clicking "Sign Out"

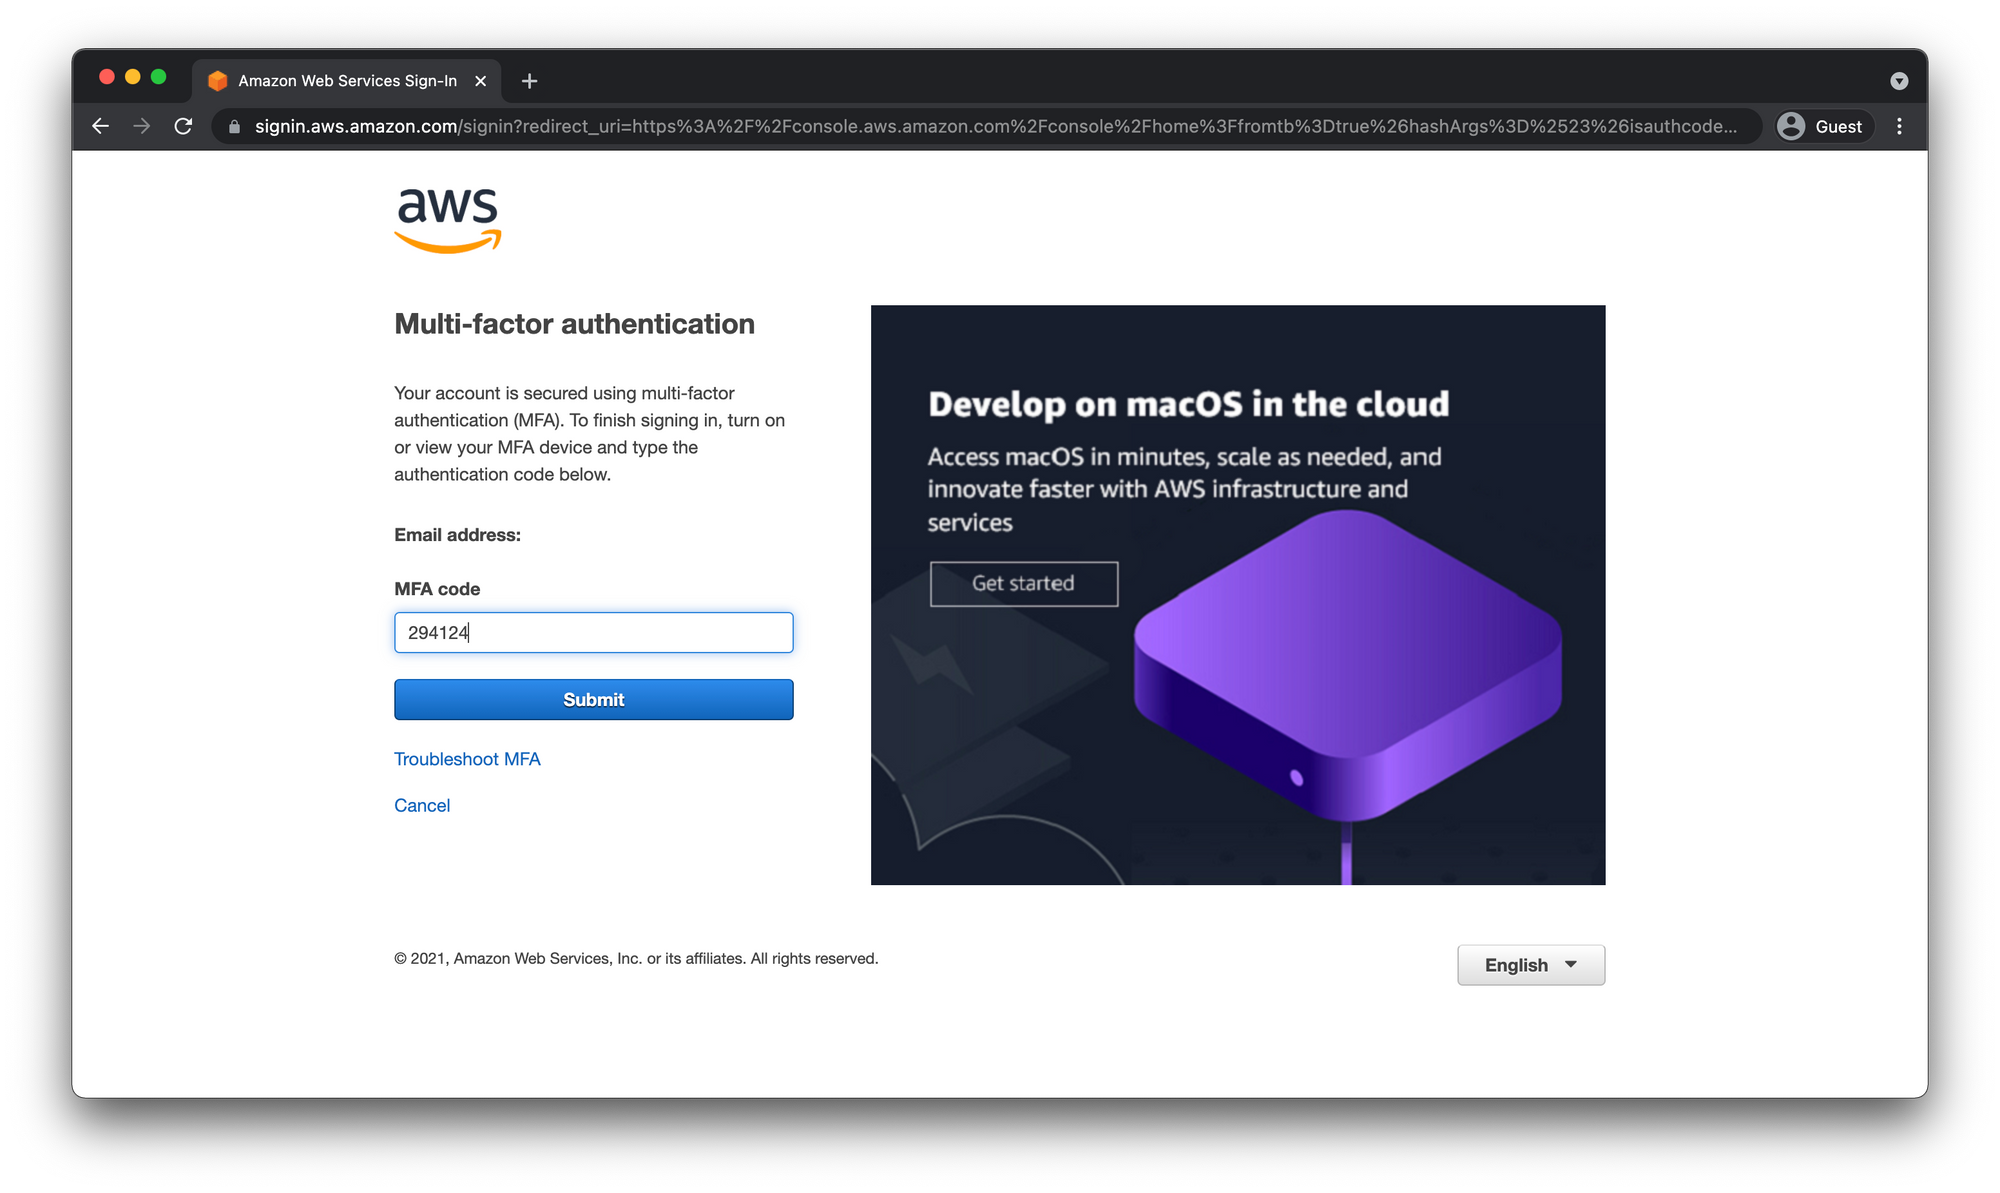
When we log back in make sure to choose Root User again and enter the same email as before. This time you will be prompted to enter the MFA code.
IAM
Sweet! Now that we have MFA Auth set up on our Root user account we are going to never use it again!
Well, prob not never, but rarely. AWS recommends that we create individual user accounts with least privilege access in order to provision resources and to avoid creating any resources with the Root account.
Create IAM User
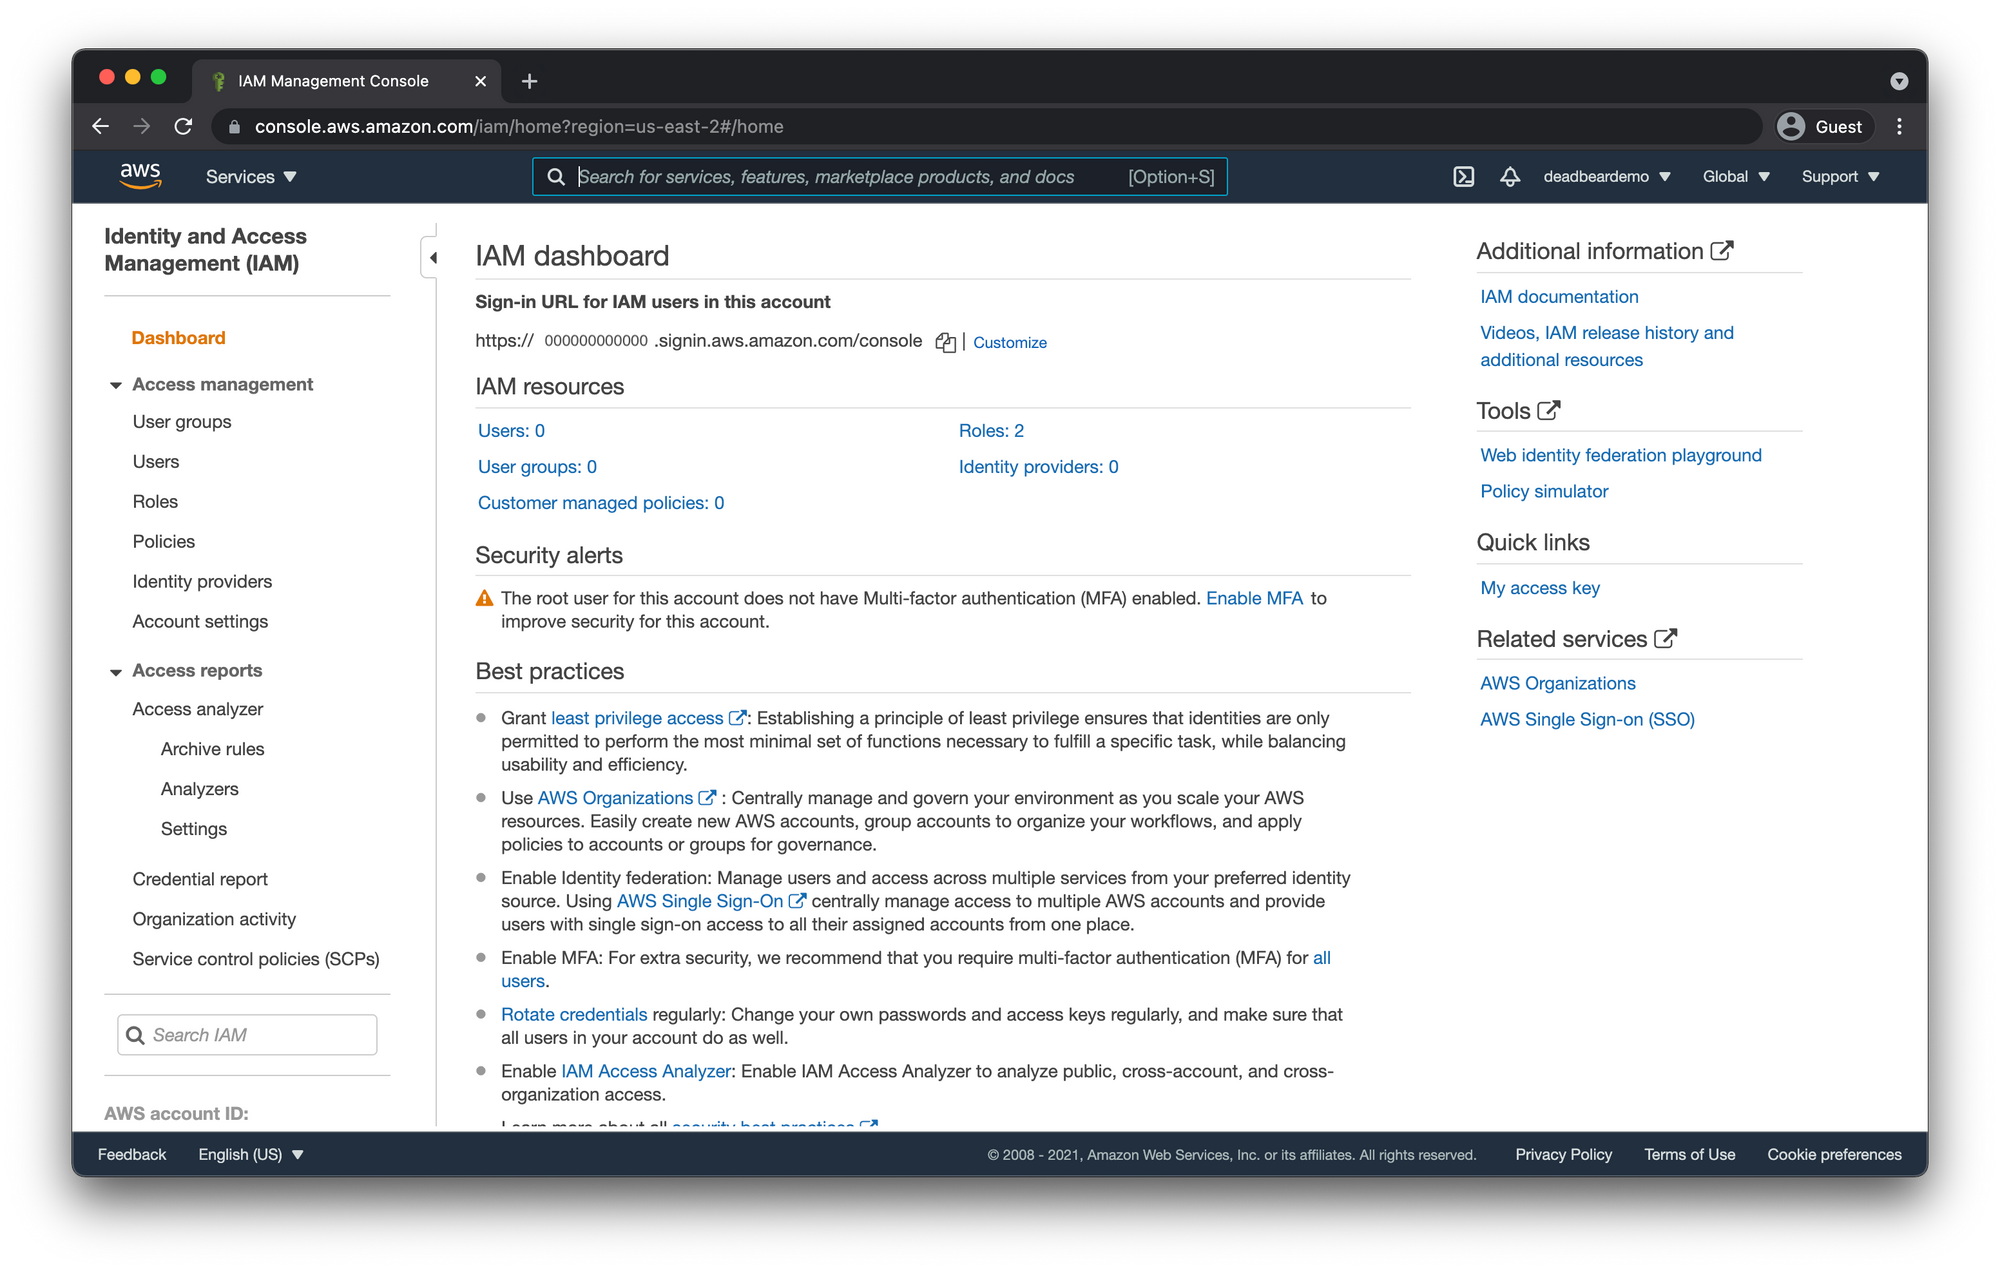
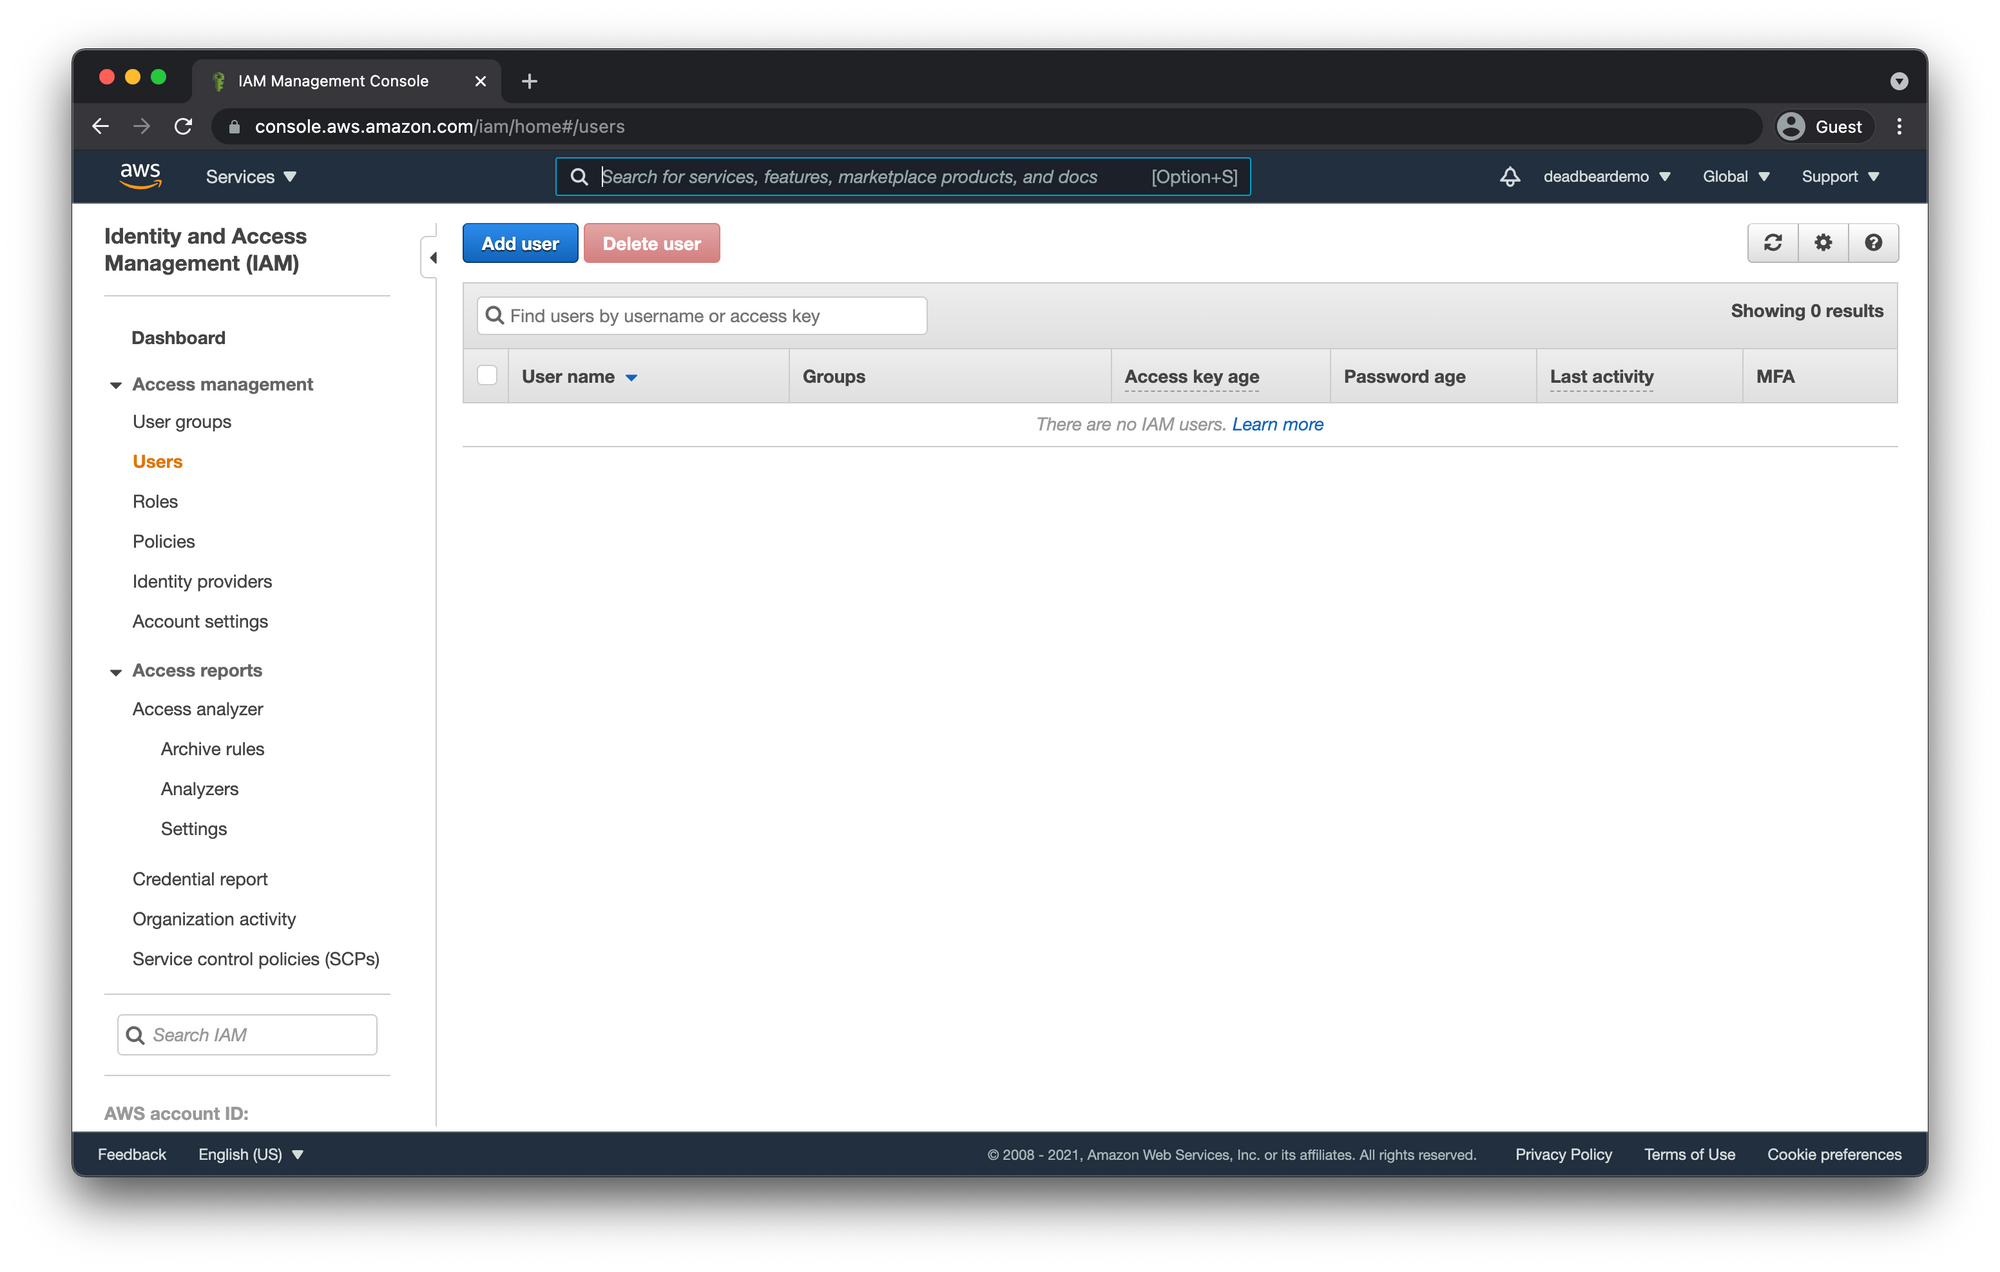
While logged into the Root user account in the AWS console, navigate to the top search bar and enter "iam" in order to find the Identity Access Management (IAM) dashboard.
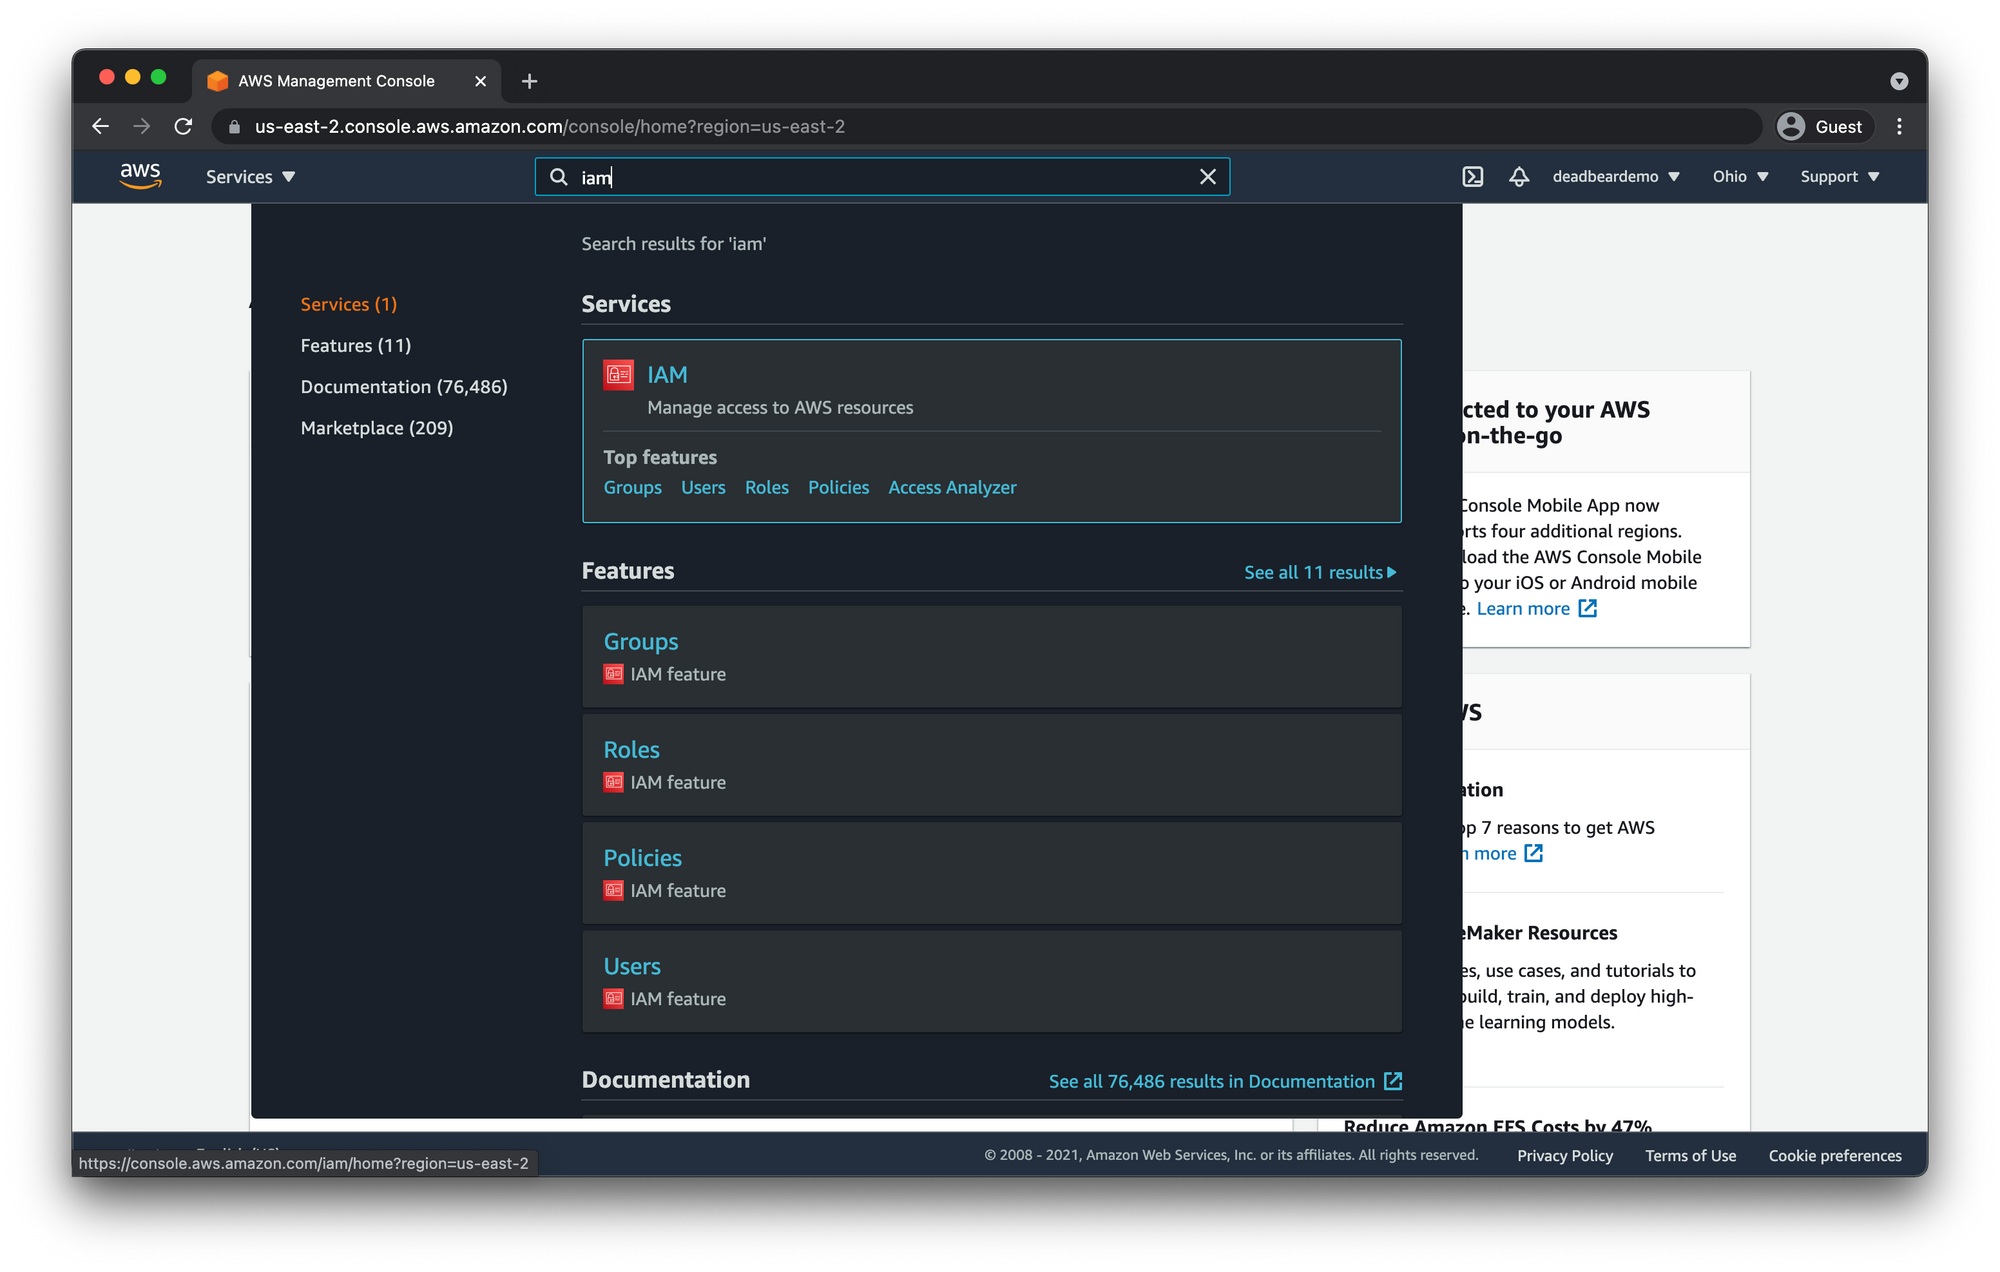
When you get to the IAM dashboard you will see the main section and the sidebar section where we you can navigate through all the IAM resources.
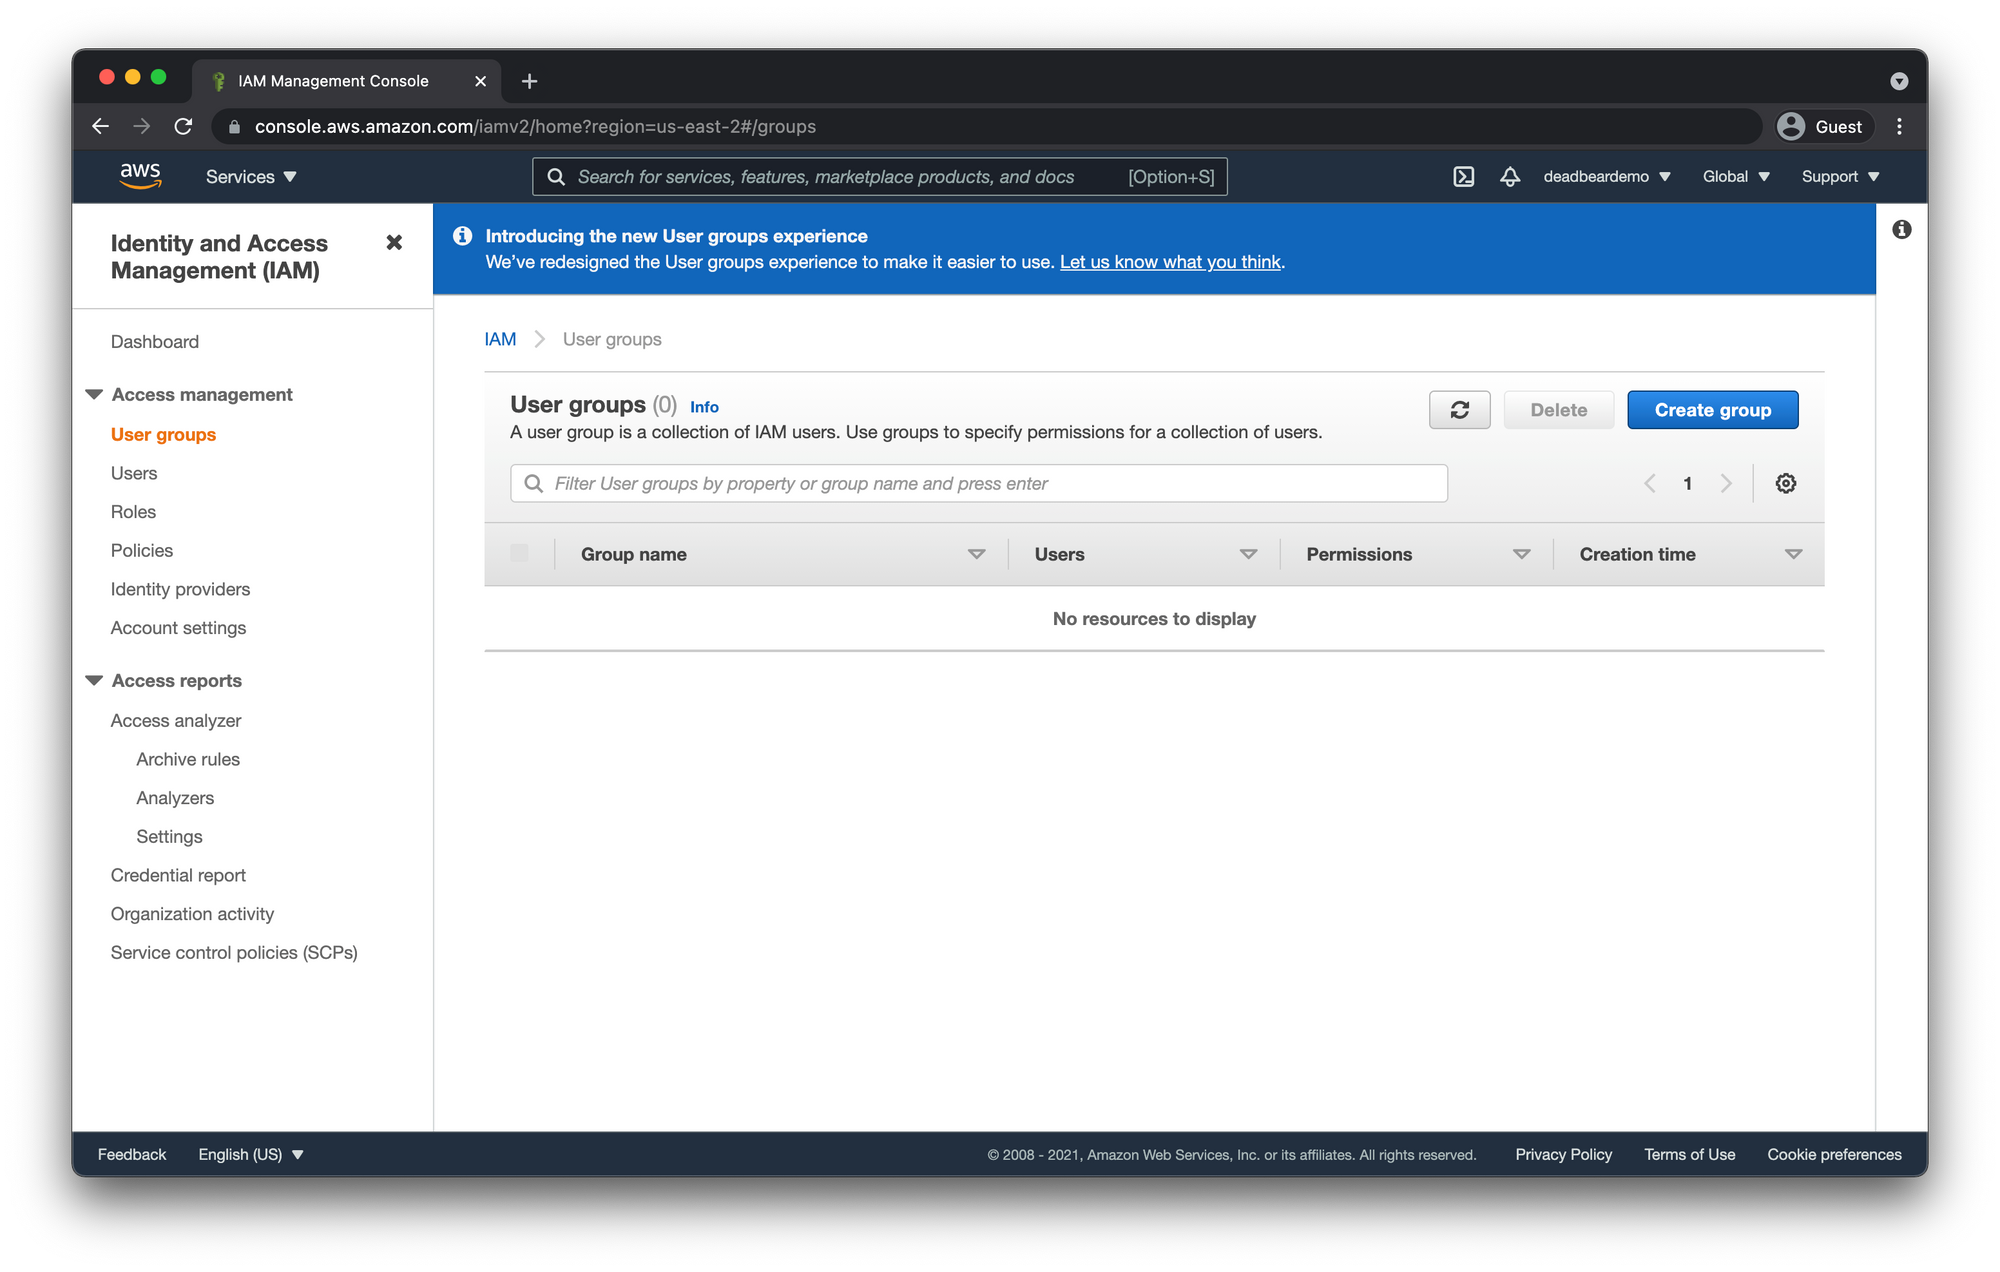
Create IAM User Group
From the IAM dashboard click on "User groups" in the left-hand sidebar. Then click "Create Group"
User Group Name
Give your group a descriptive name in this case this group is going to have full "Administrator Access" so i'm going to call it Administrators.
I know, pretty complicated stuff here.

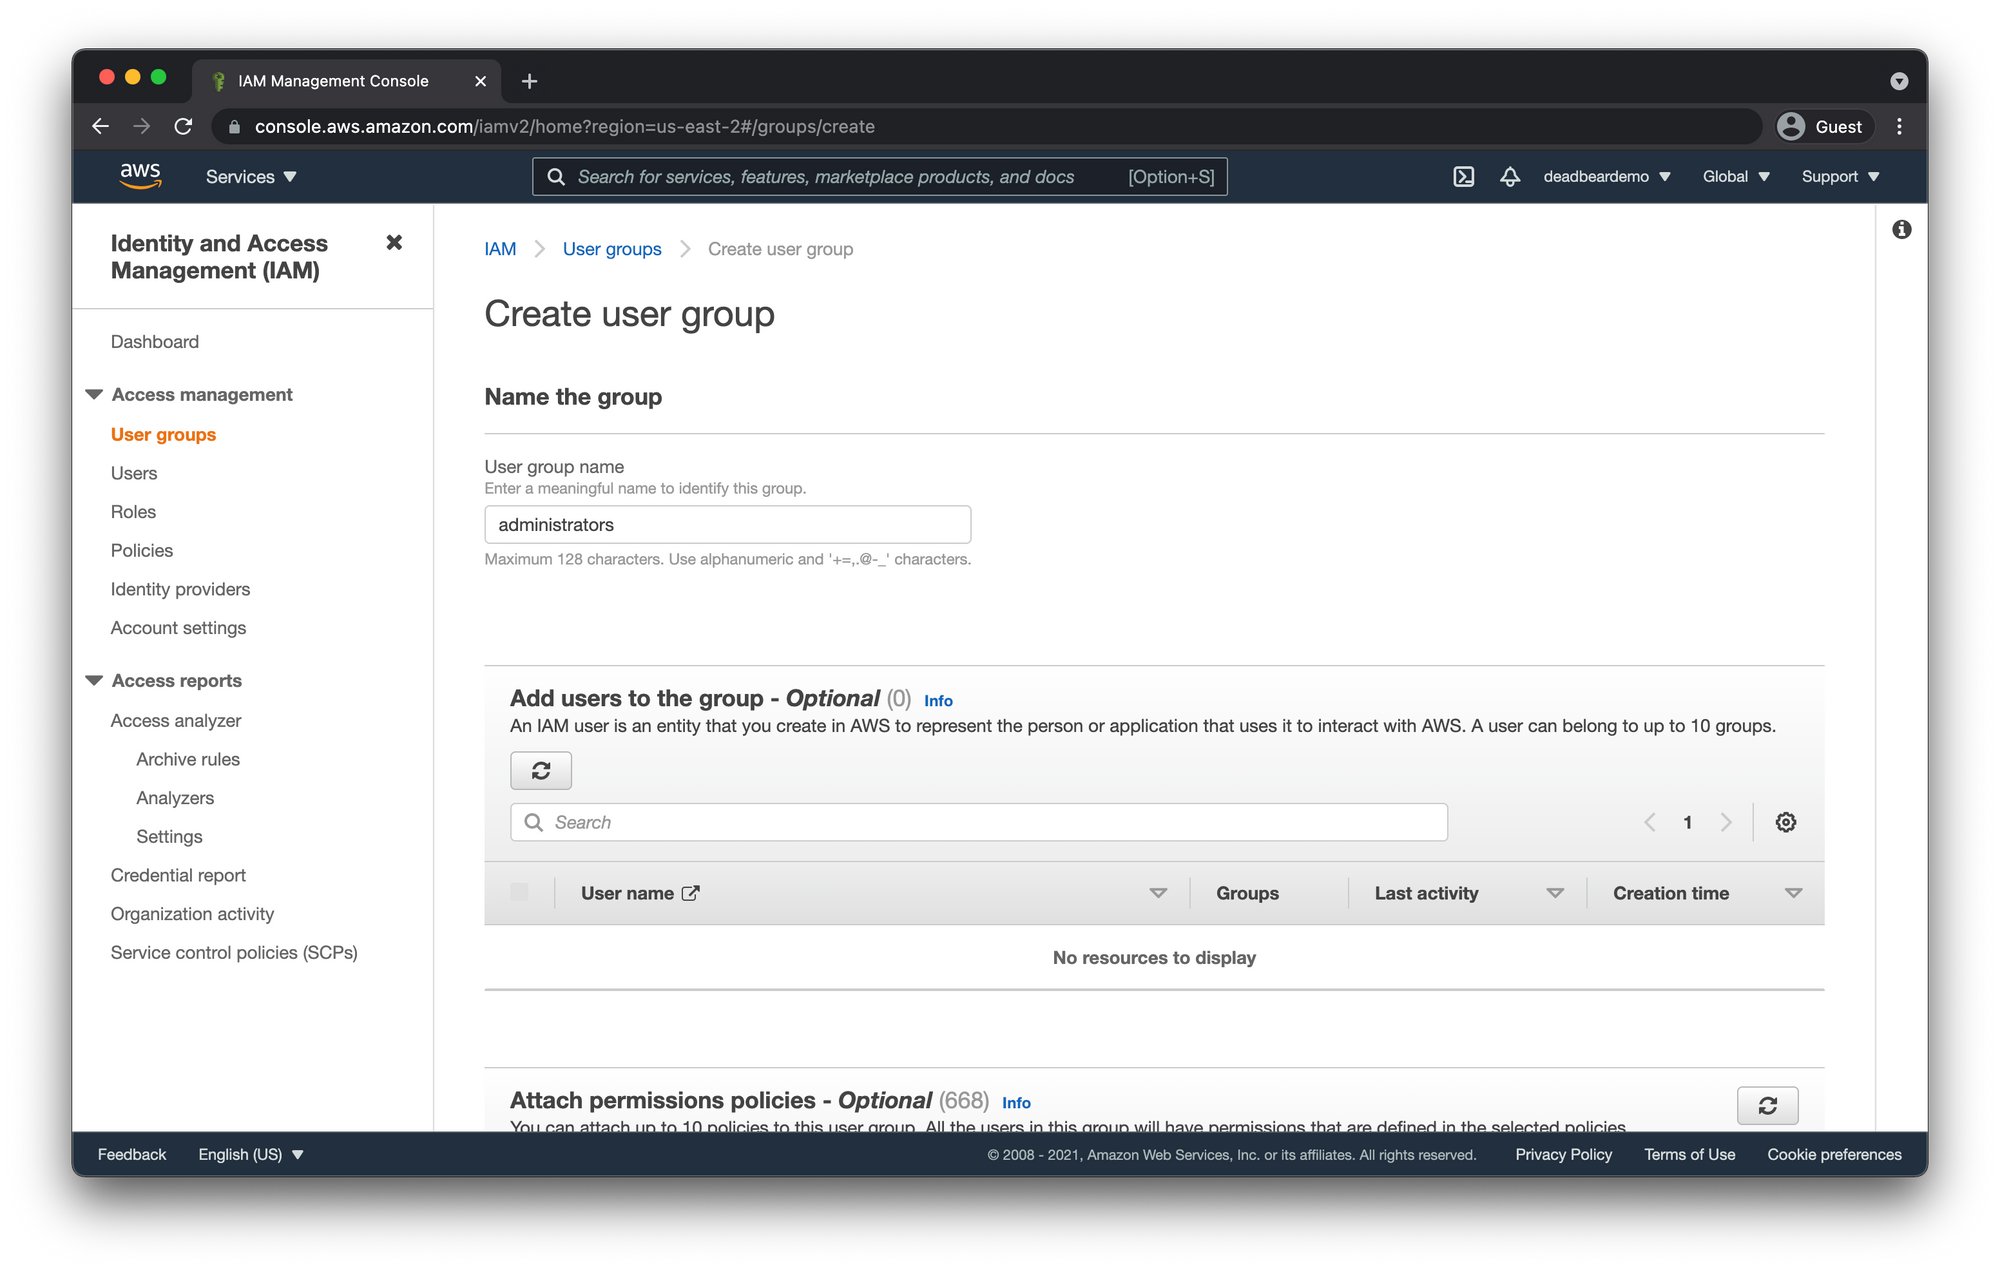
You can skip the Add users to the group section for now since we haven't created our user yet.
Technically you could create the user first, then add it to the group but now you're just opening yourself up for decision fatigue!

Attach permissions policies
- In the search box enter "administratoraccess" and hit the
enterkey. - Check the AdministratorAccess policy
- Click "Create group"
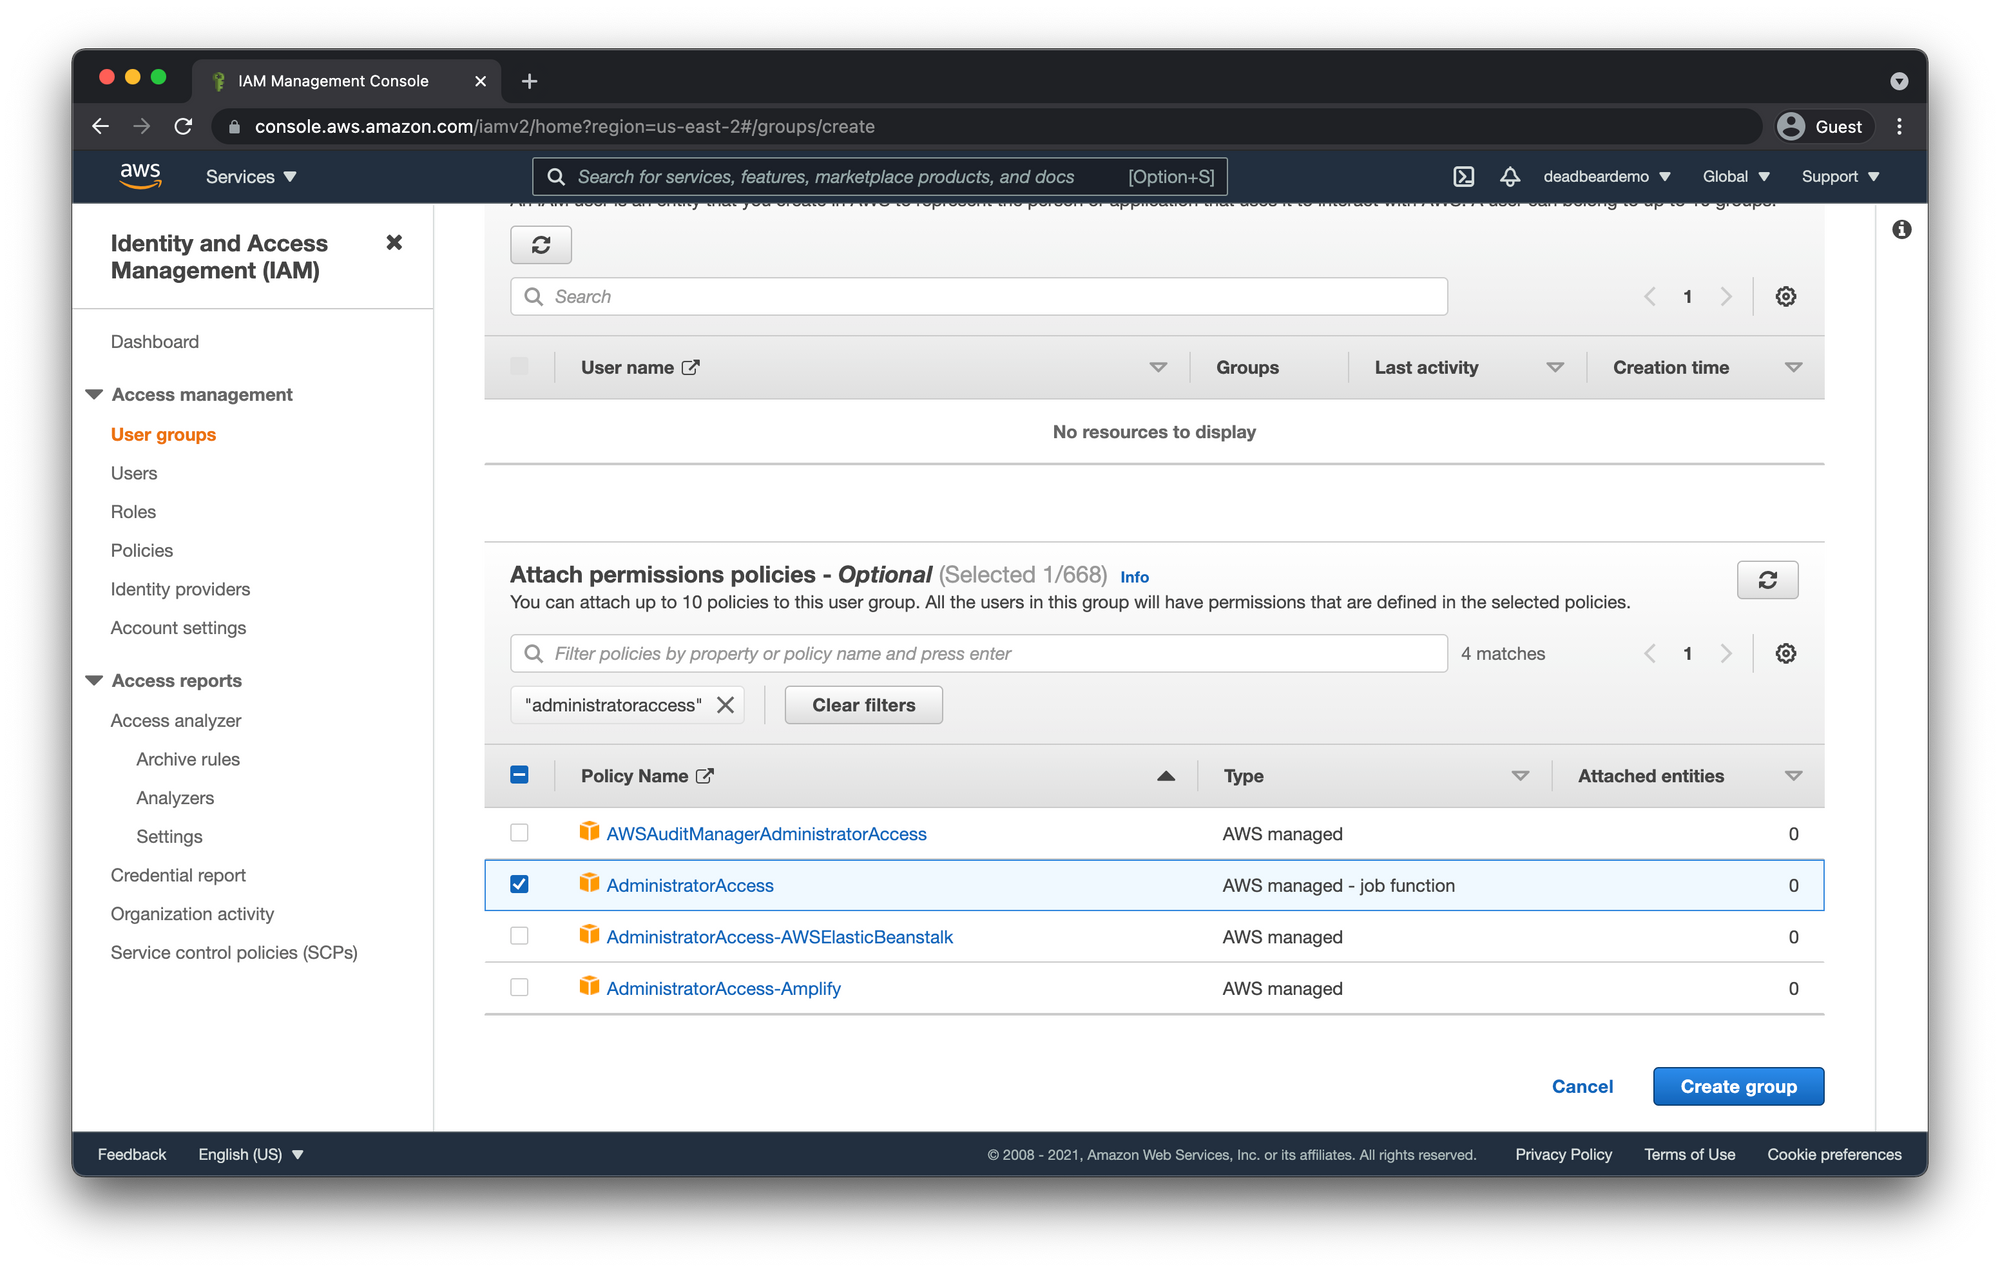
This policy gives any user that is assigned to this group almost every privilege that the Root User account has. A few exceptions, viewing billing information being one of them, which we will go over. For the full list of Root user only access, see Tasks that require root user credentials.
Create IAM User
Click on "Users" on the left-hand side bar inside the IAM dashboard.
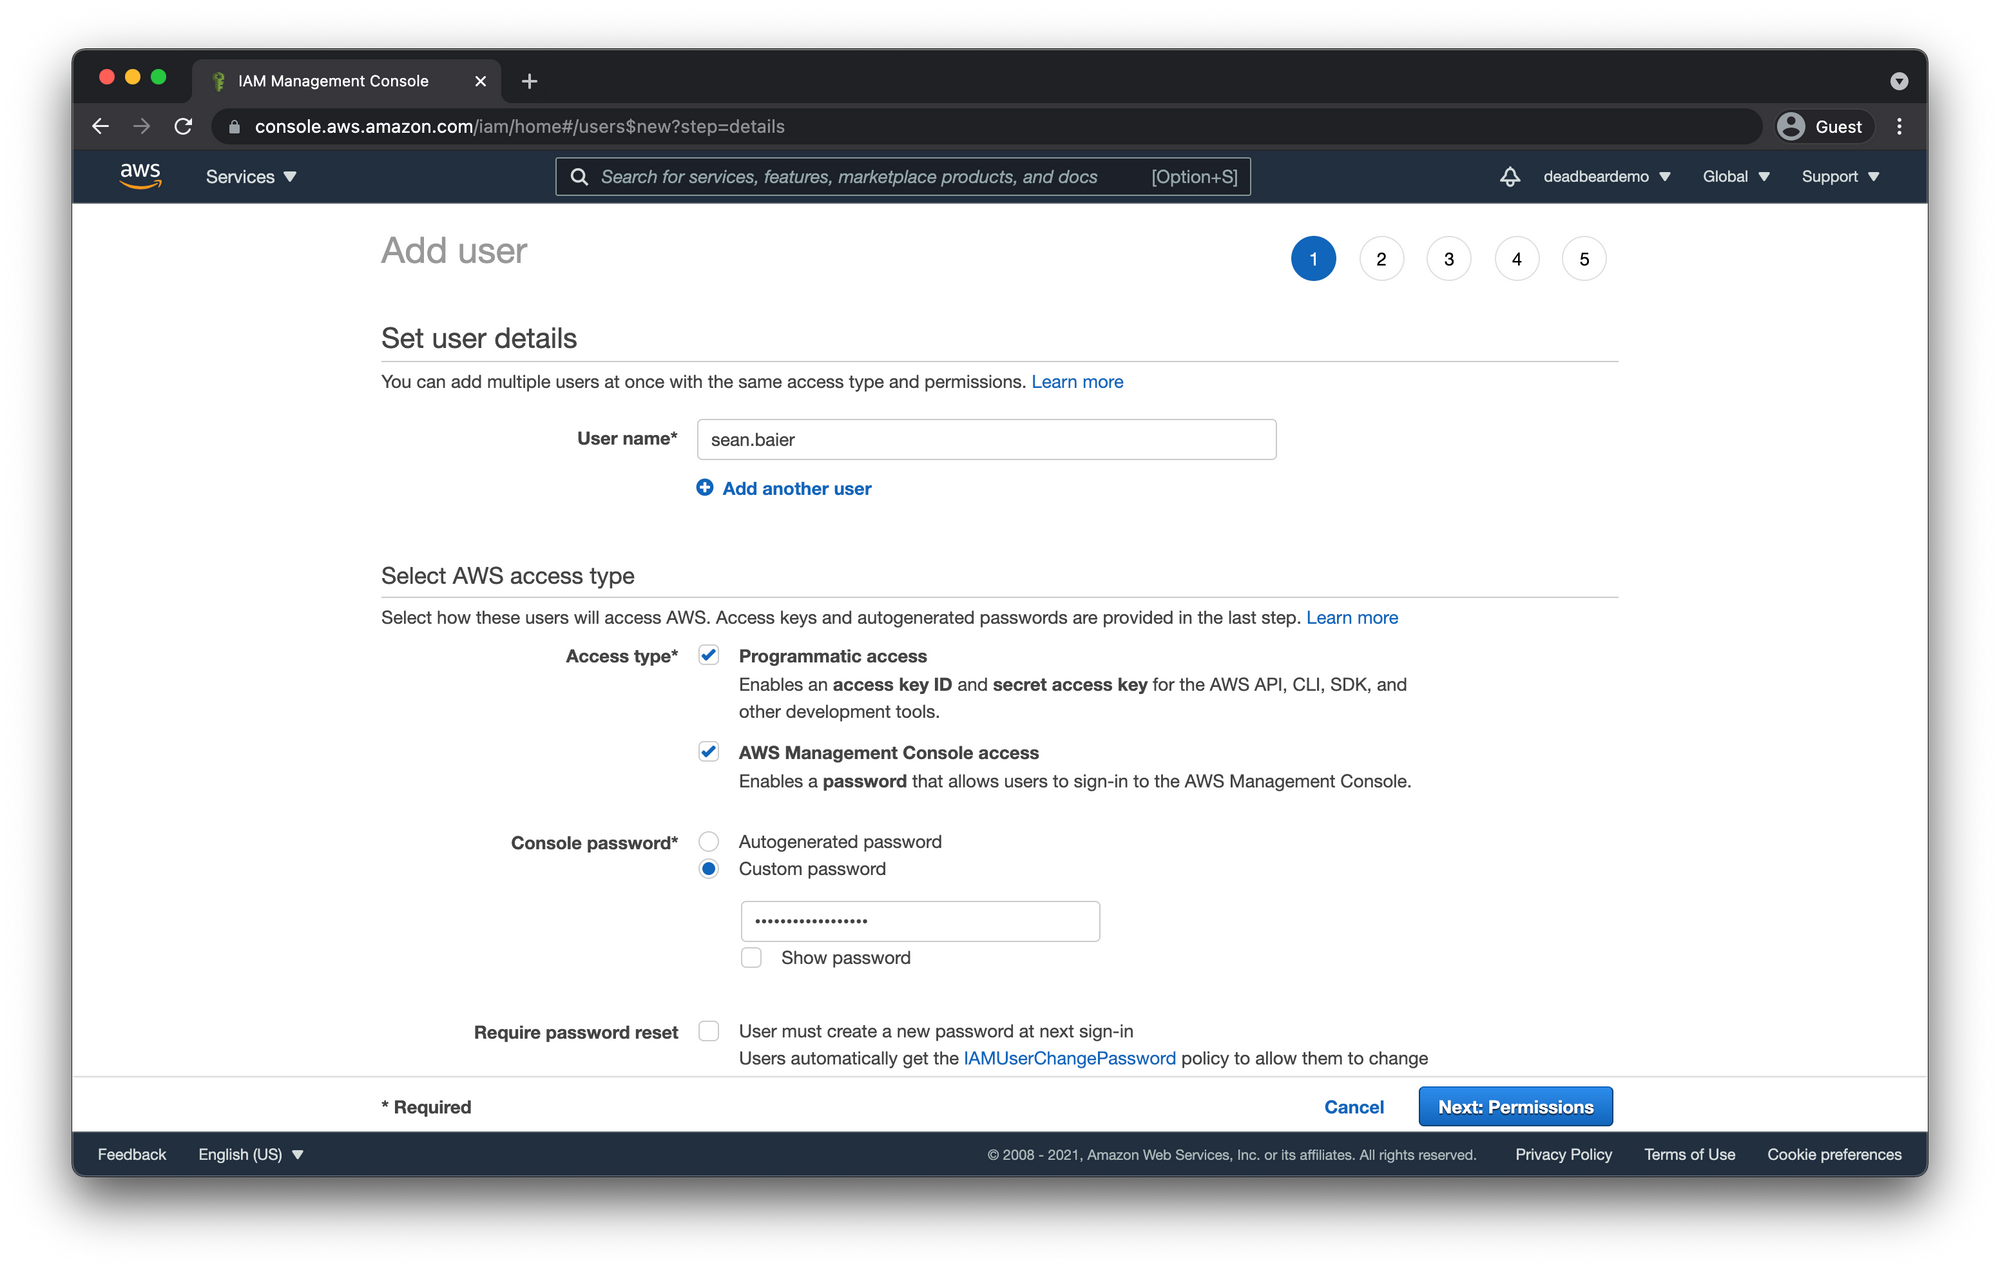
Set User Details
- Give your user a name.
- Select which access types you are going to be using for this user.
- Programmatic access will allow the user to provision AWS resources from outside API's SDK's, CLI's and other development tools.
- AWS Management Console only allows access by signing in through the AWS console via your web browser.
- Choose wether you want the new user to get an autogenerated password or input a custom password. In this case we're creating a user for us to use as ourselves so we're going to go ahead and just input a custom password right now.
- Since we're going to be logging back in with this user in a minute let's also uncheck the Require password reset box as well.
- Click "Next: Permissions"
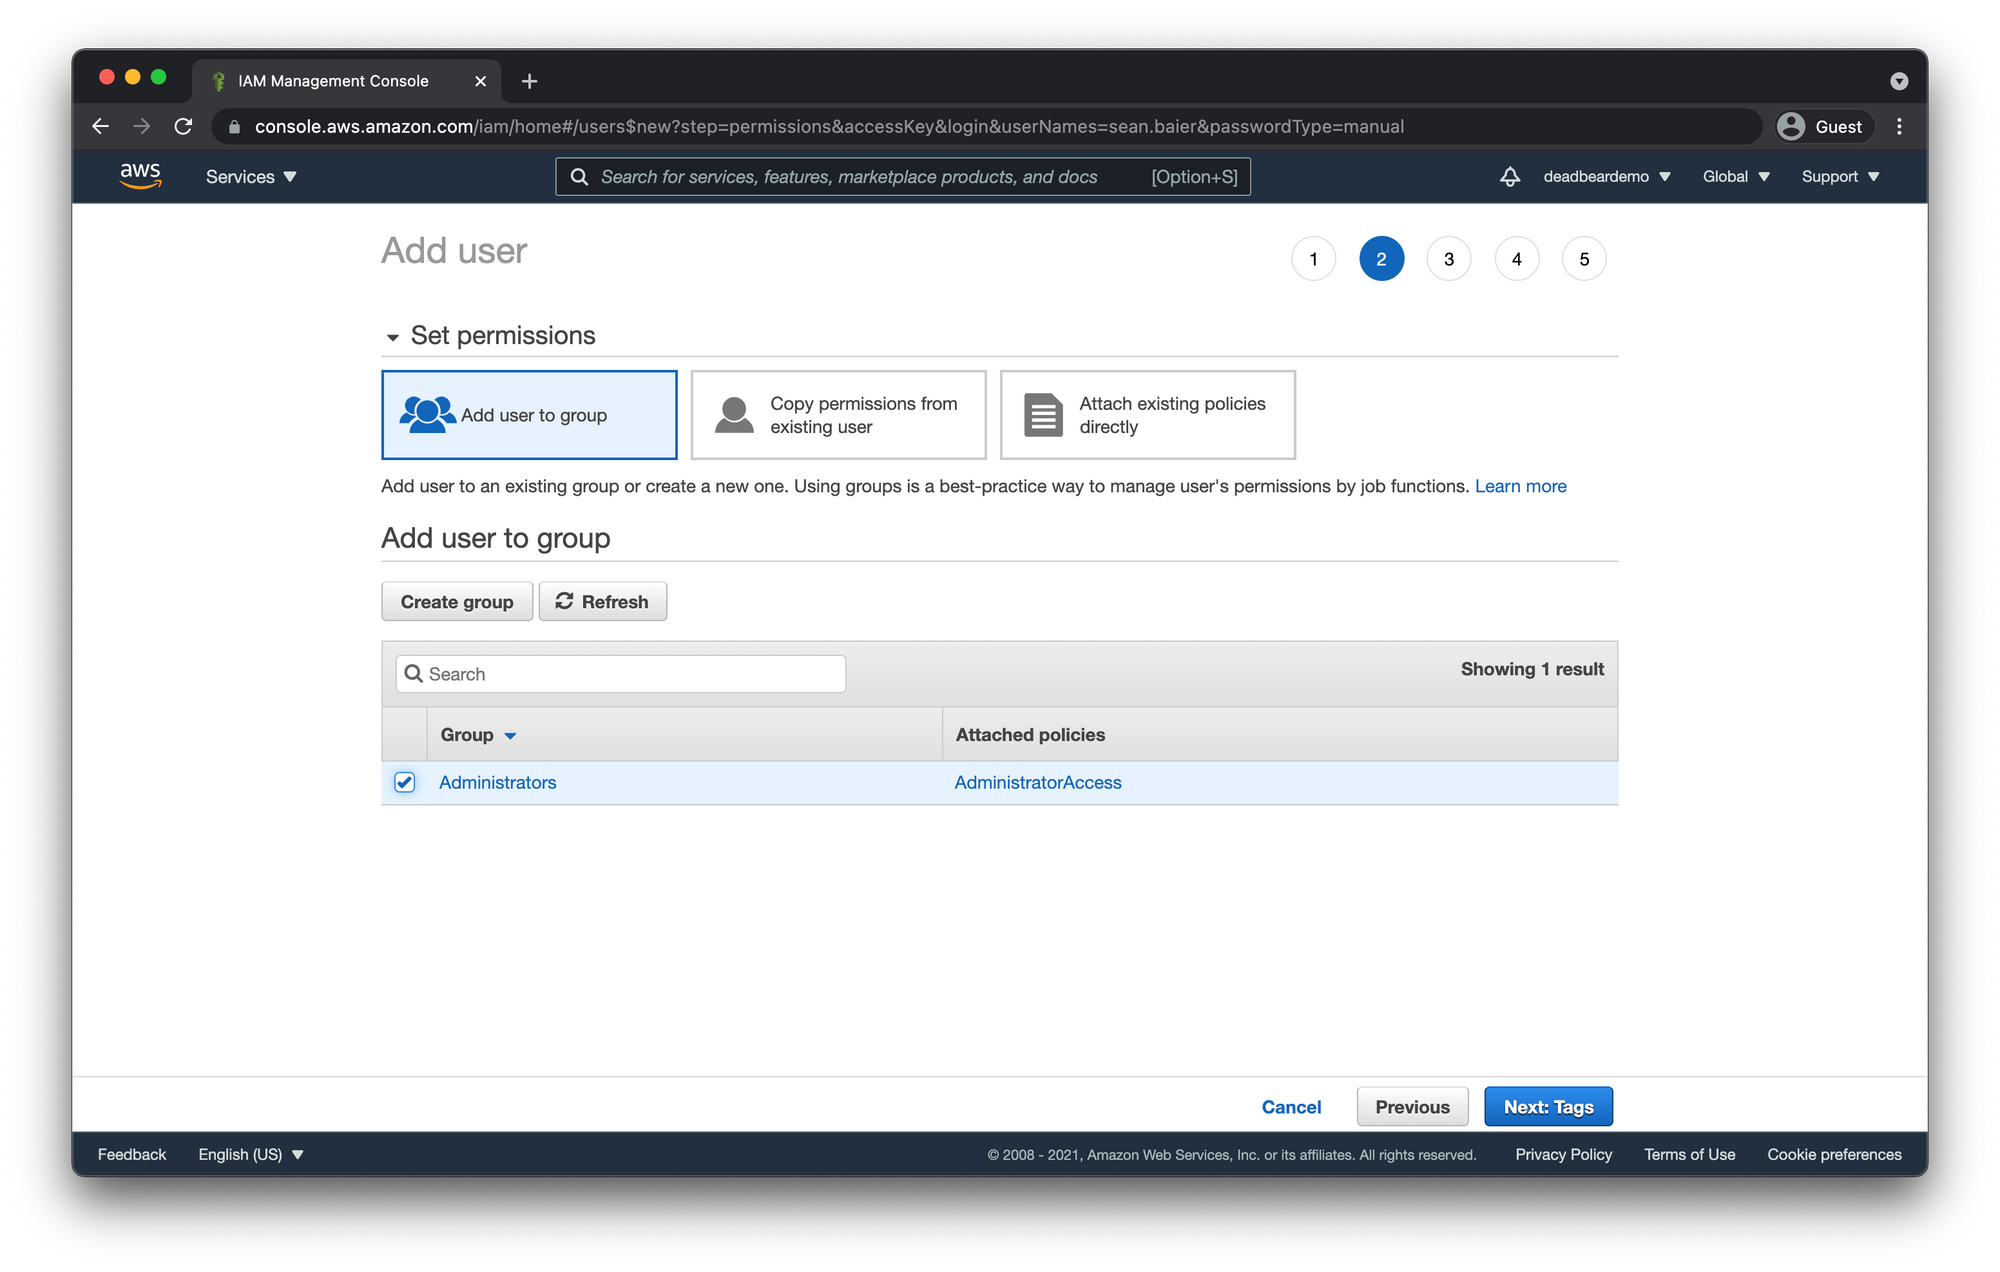
Set Permissions
- Select "Add user to group
- Check the "Administrators" user group we just created
- Click "Next: Tags"
Add Tags
Adding tags is optional and generally its good practice to add tags in order to help keep all of your resources organized. Feel free to add tags or not. Then click "Next: Review"

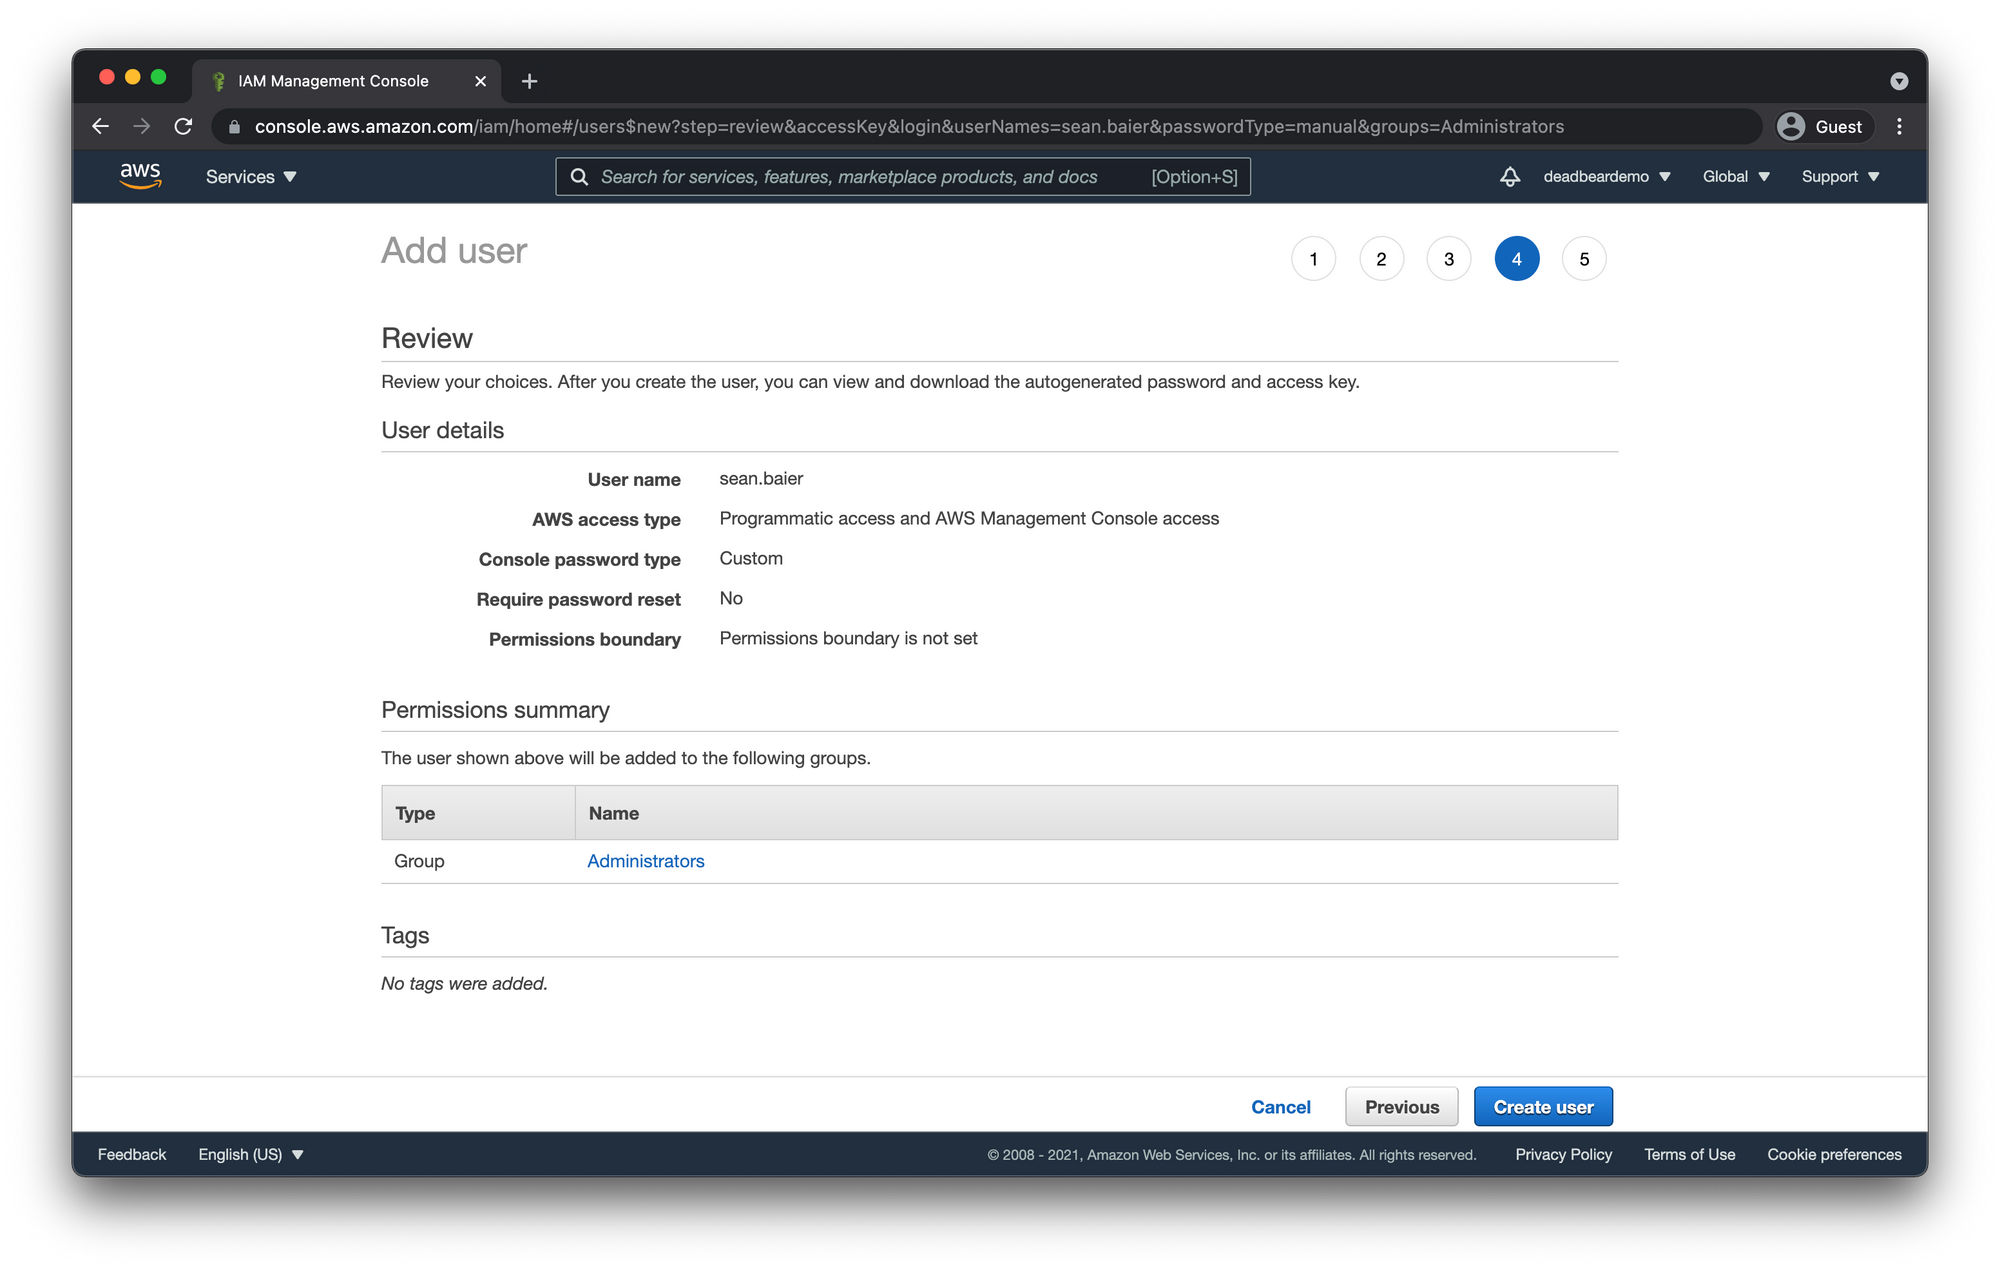
Review
If all the details look correct go ahead and click "Create user"
Success
On successful creation you should see the newly created user resources. If you selected programmatic access you will also see both the Access key ID and Secret access key. Make sure you save these somewhere safe. This is what you will use in order to access AWS through developer tools and API's.
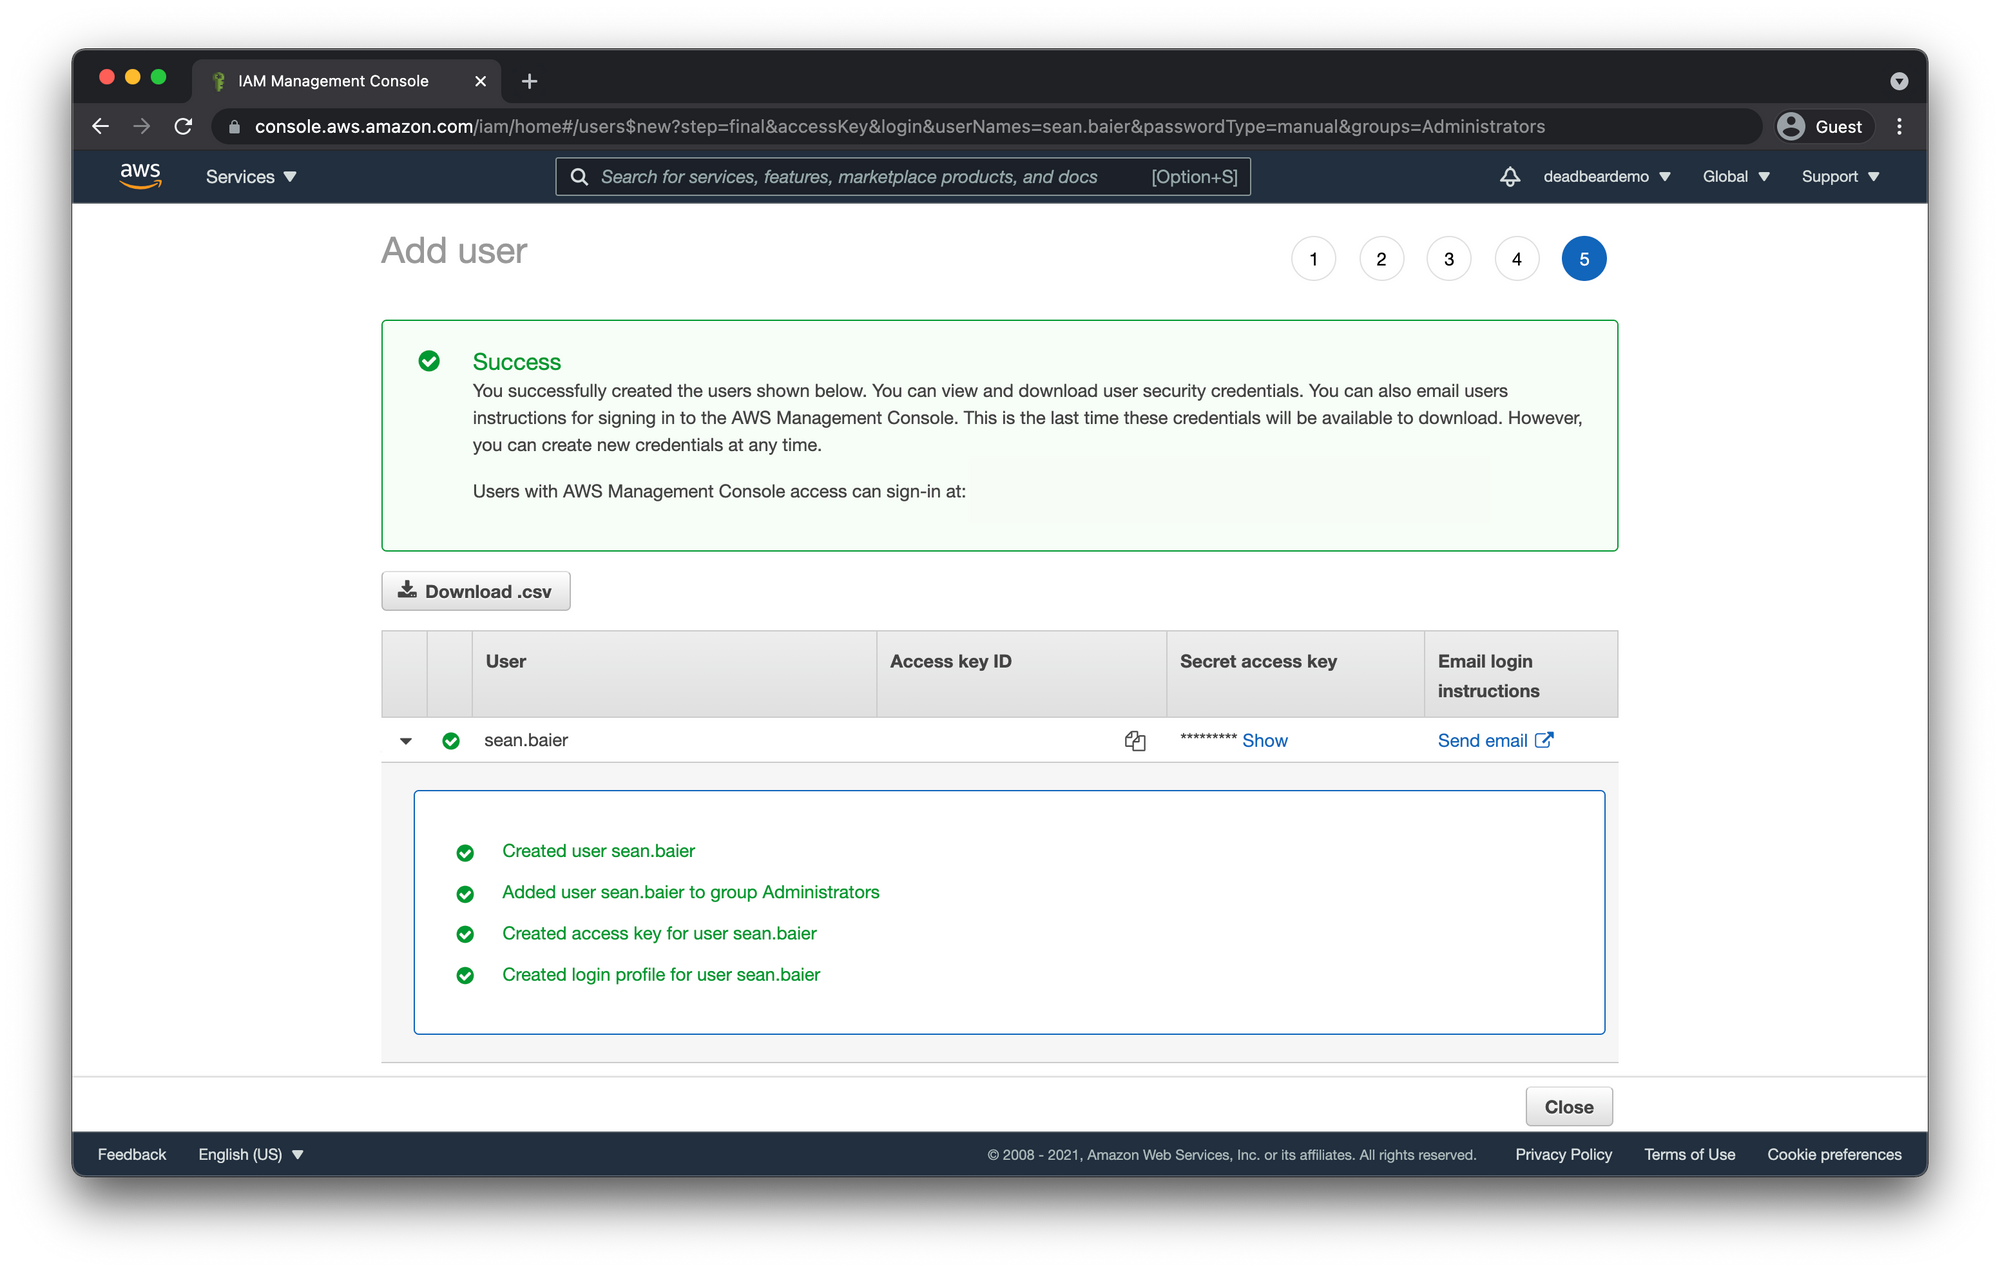
If you were creating a user for someone else you could click the Send email link and they would be sent an email to login to their new account.
You can also share the link inside the green box which will take you to the login screen for this account.
For now just go ahead and click "Close"
Enable IAM Billing Access
As mentioned before, access to billing by an IAM user is not enabled by default. There are multiple ways of handling billing info access. You can read up on the endless options here.
For our use case since we are using this IAM User as an administrator for ourselves we're going to give access to the Administrators group so we can use this User to manage our billing info.
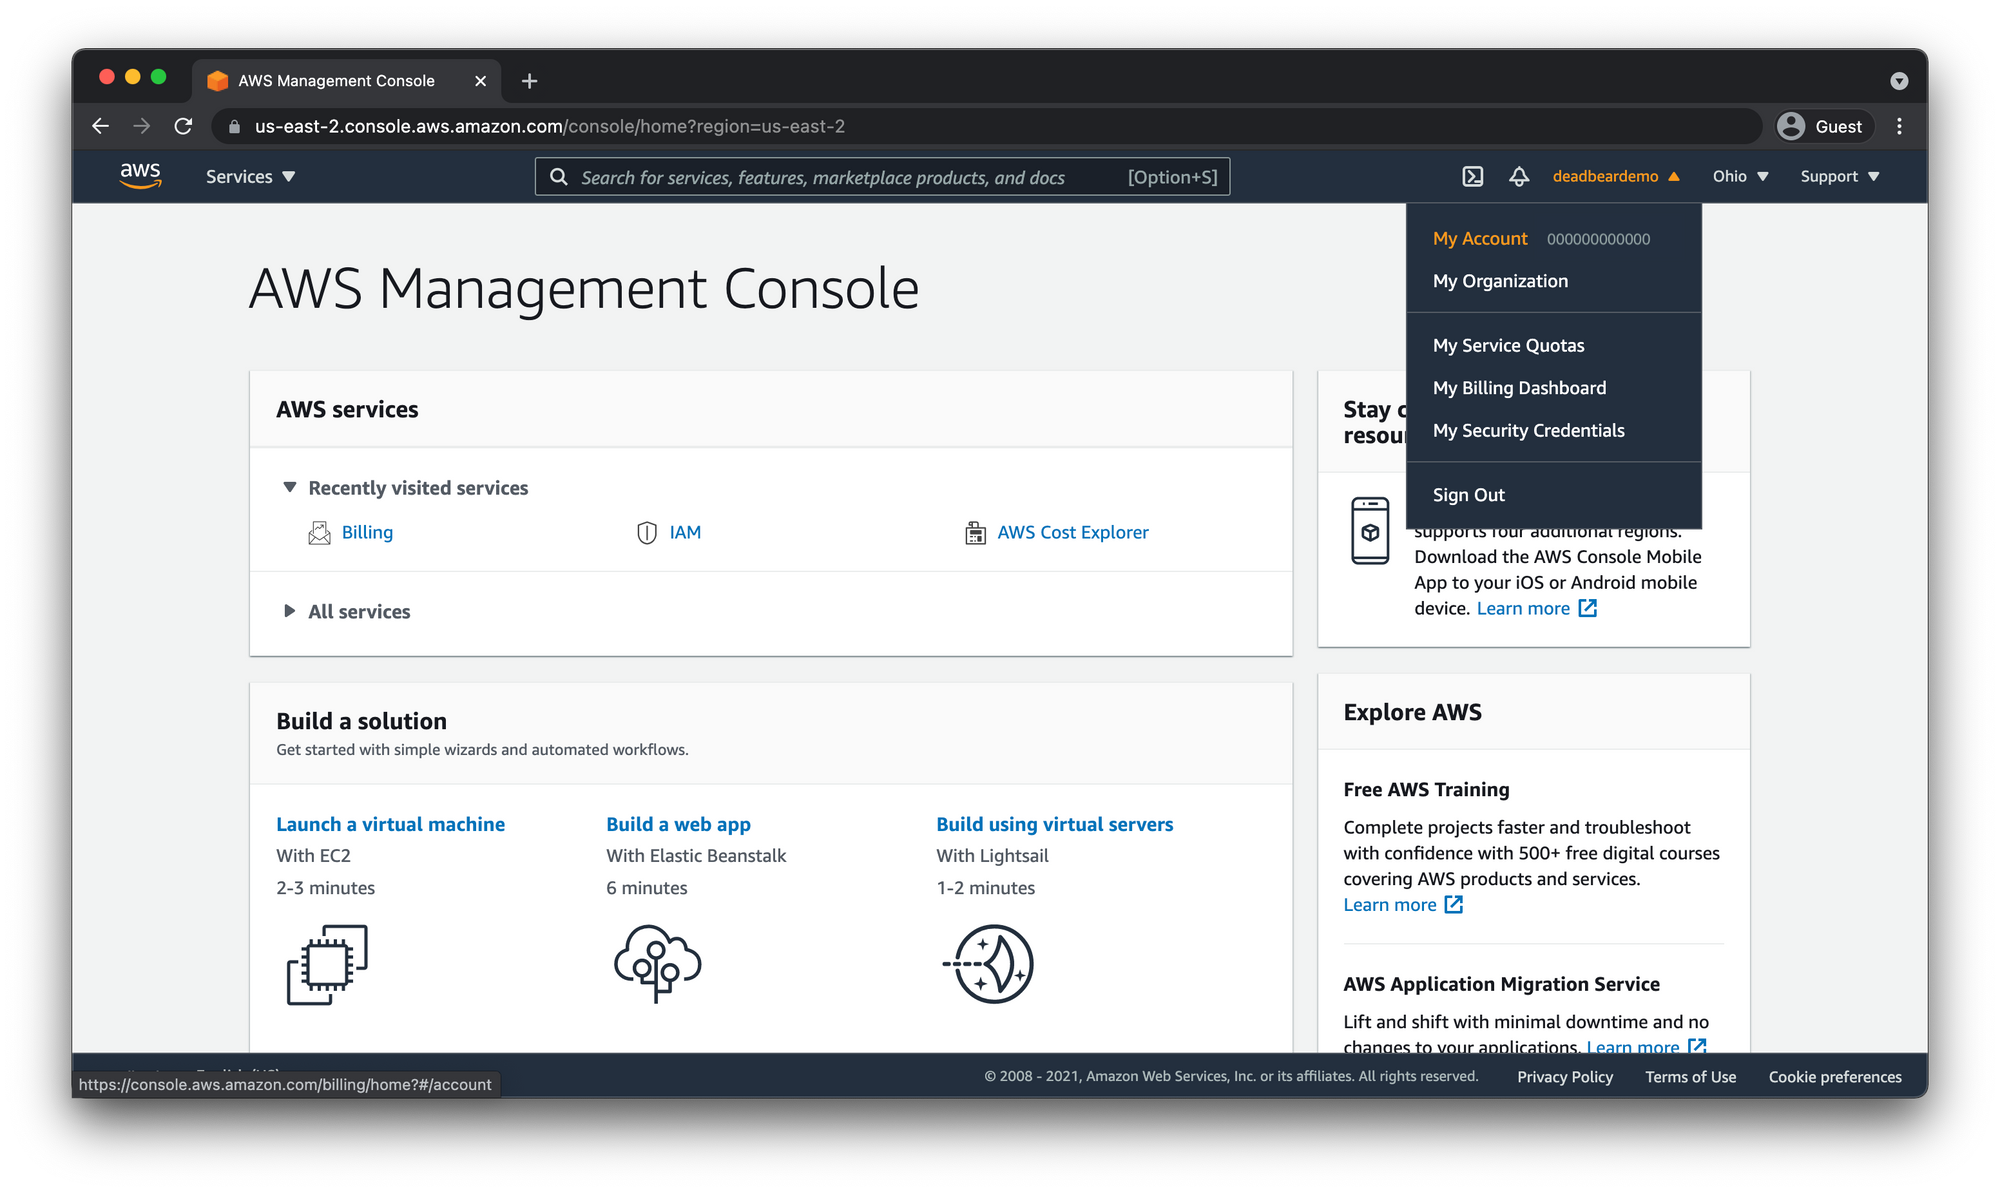
So before logging out of the Root user account open your favorite dropdown and click "My Account"
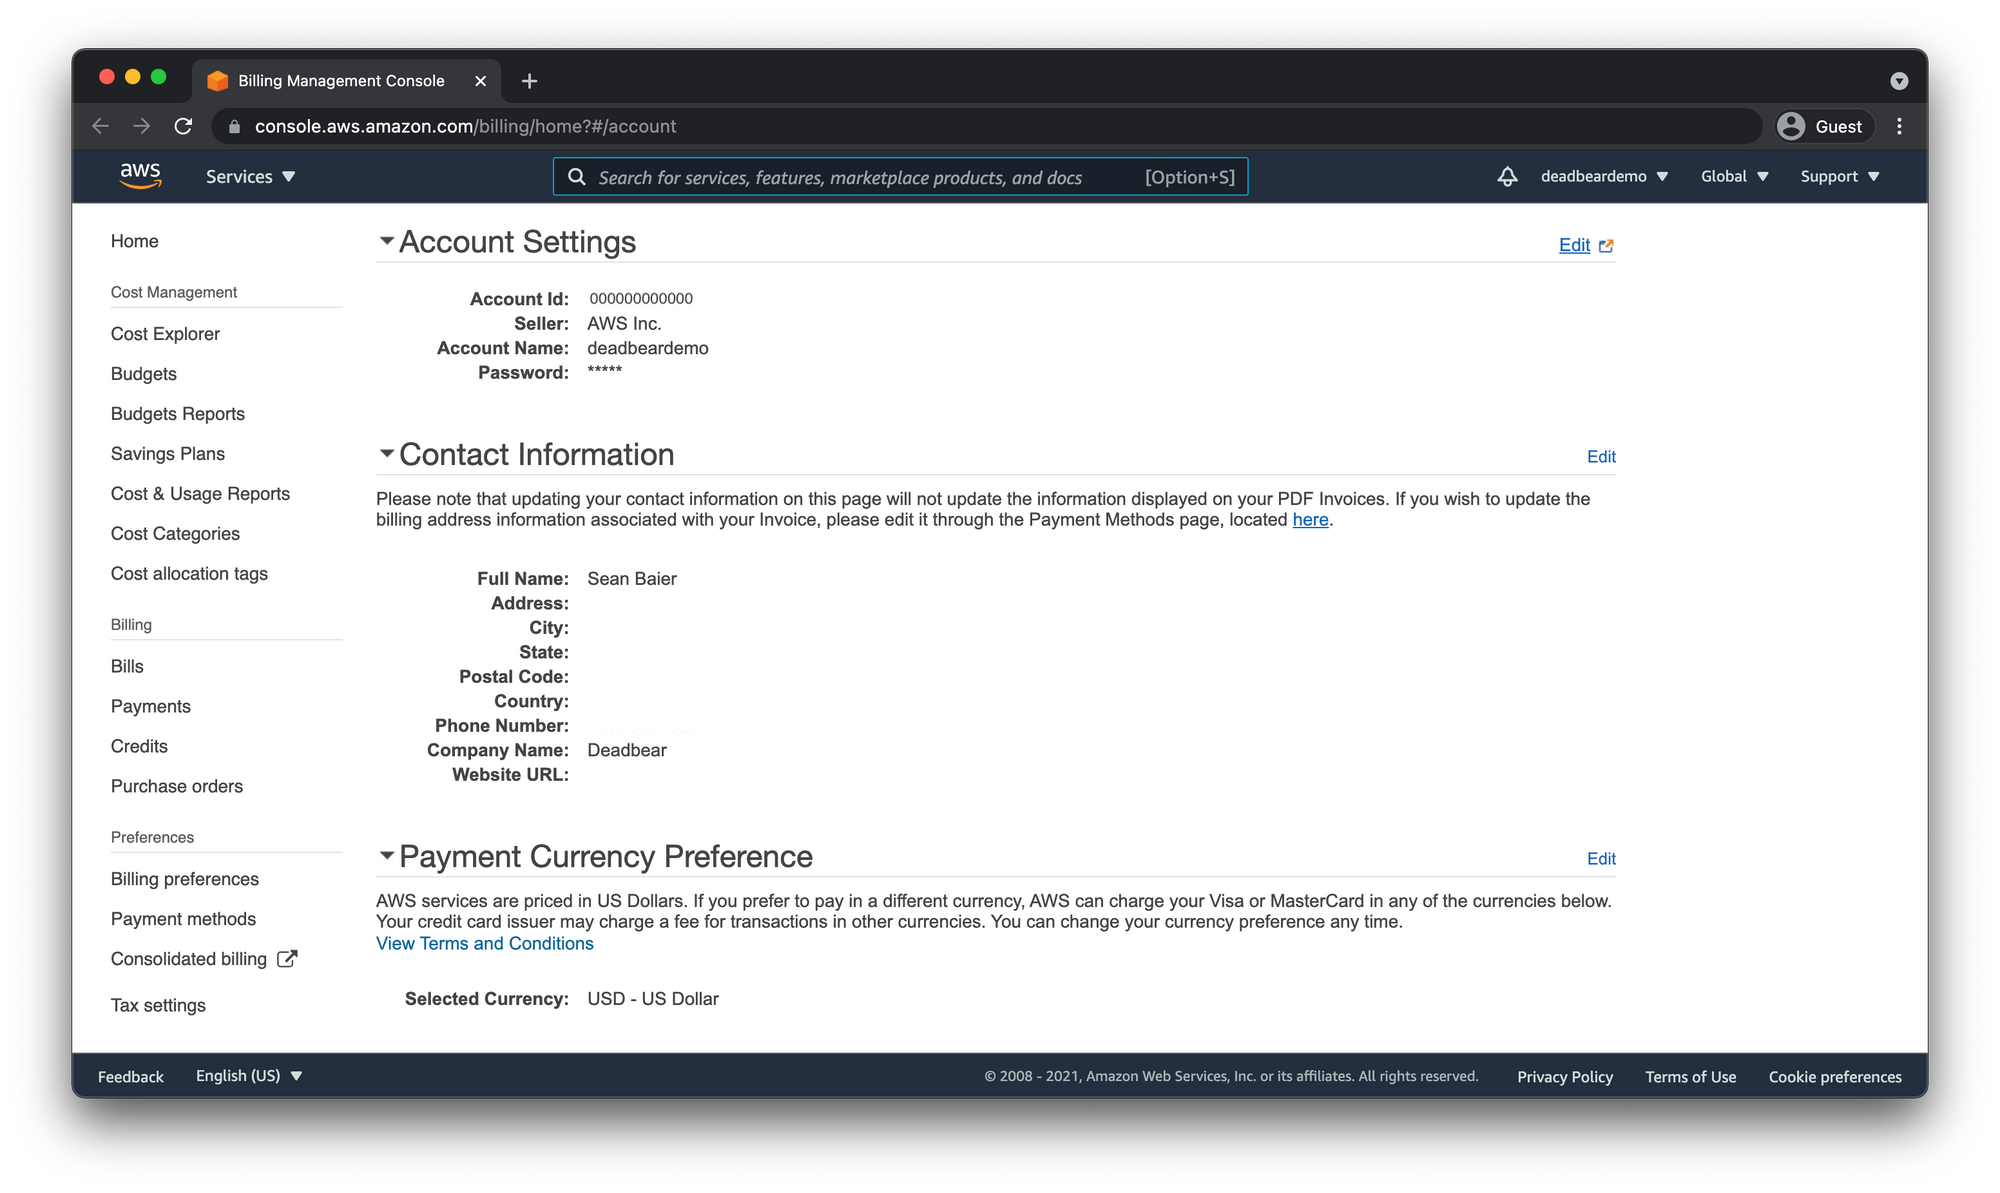
Once in the My Account dashboard scroll all the way down until you see "IAM User and Role Access to Billing Information"
- Click the "Edit" link
- Check the "Activate IAM Access"
- Click "Update"
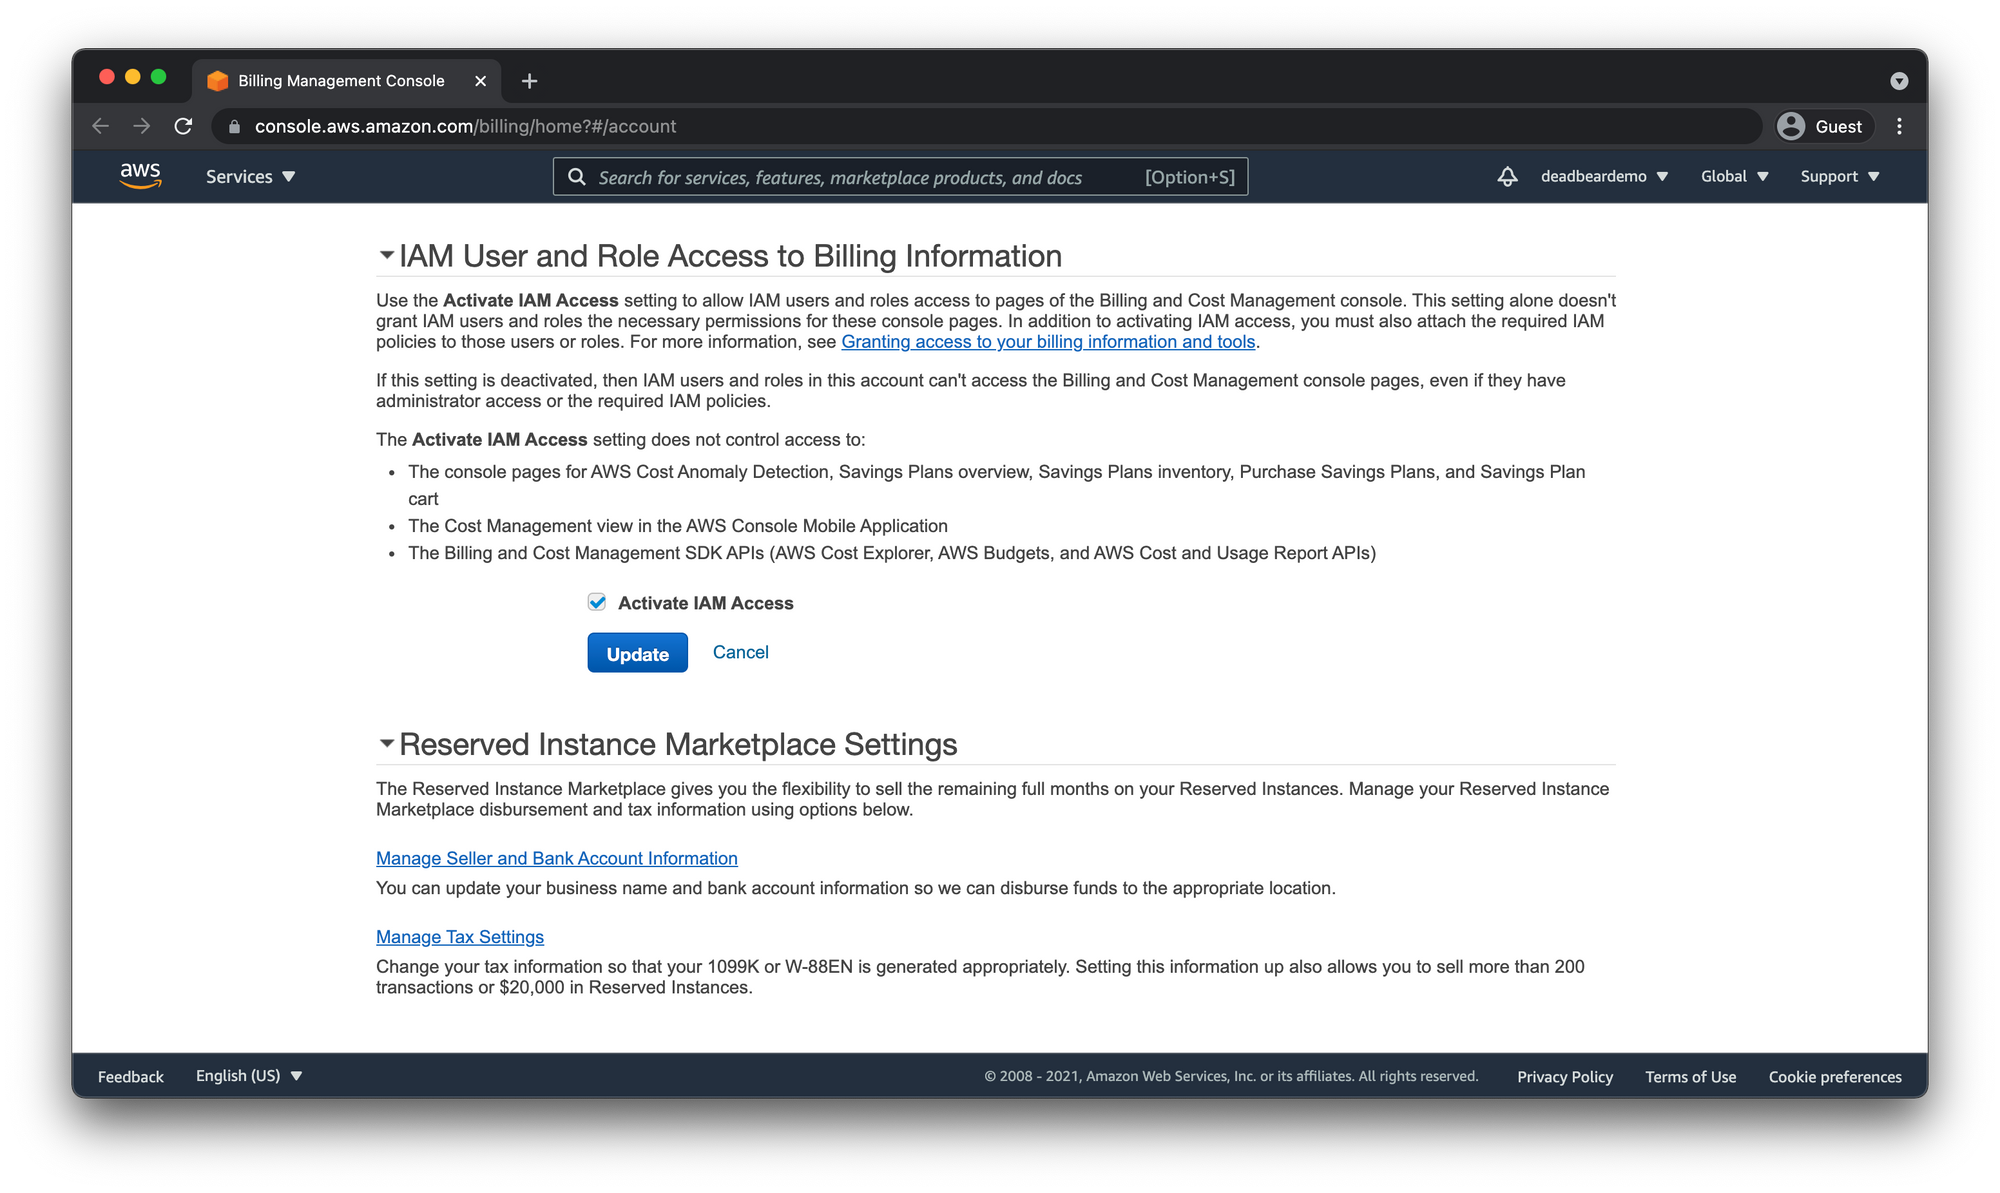
That will save us from having to log back into the Root user account to do that later.
Sign in with New User
- Next, in the header at the top of the window, click your AWS account number or account name and open the drop down.
- Take note of the account id next to My Account then logout of the Root user account.
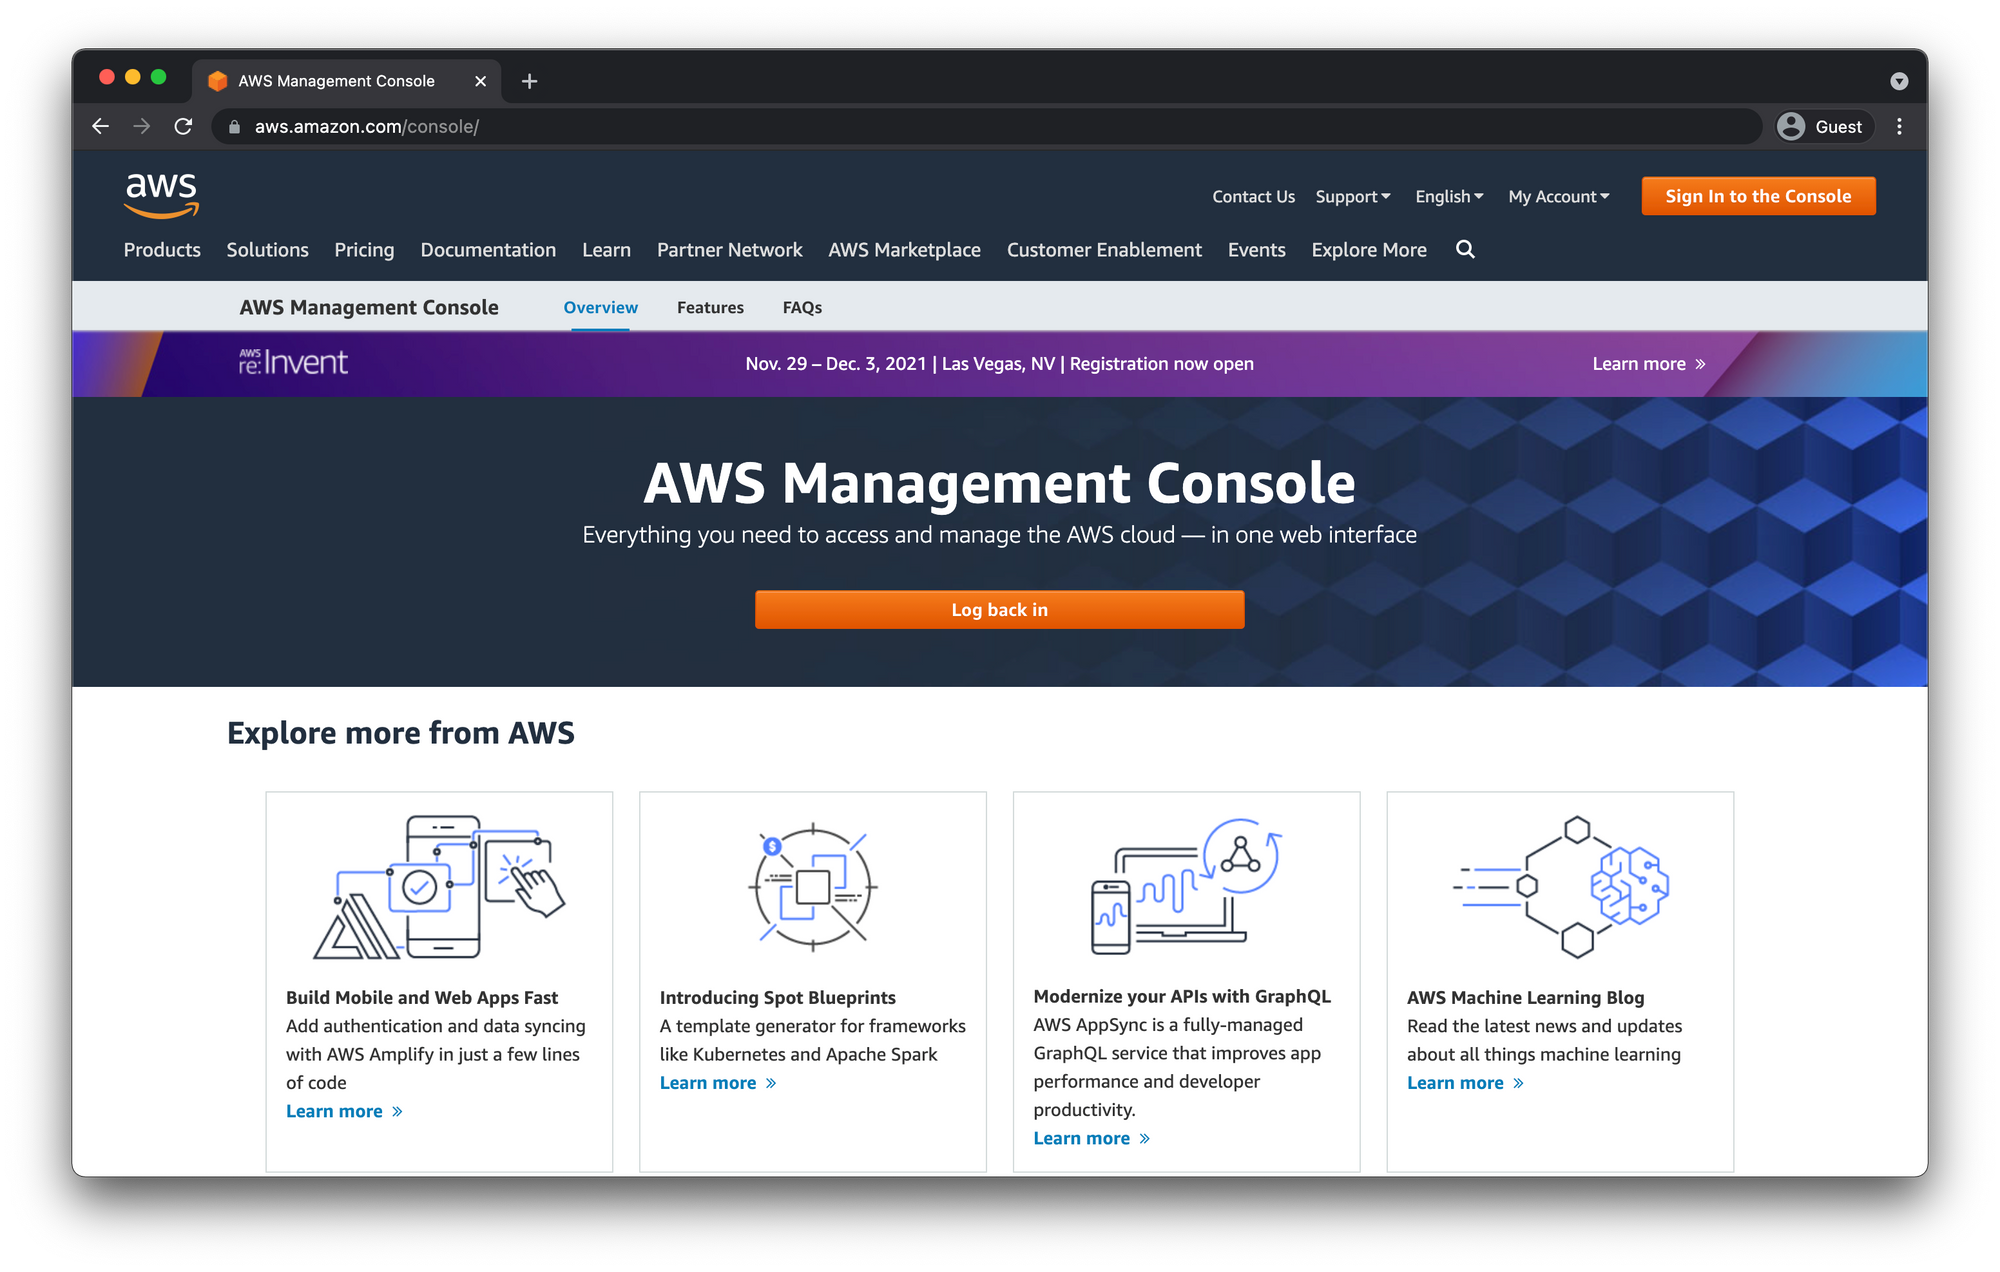
Then click "Log back in"
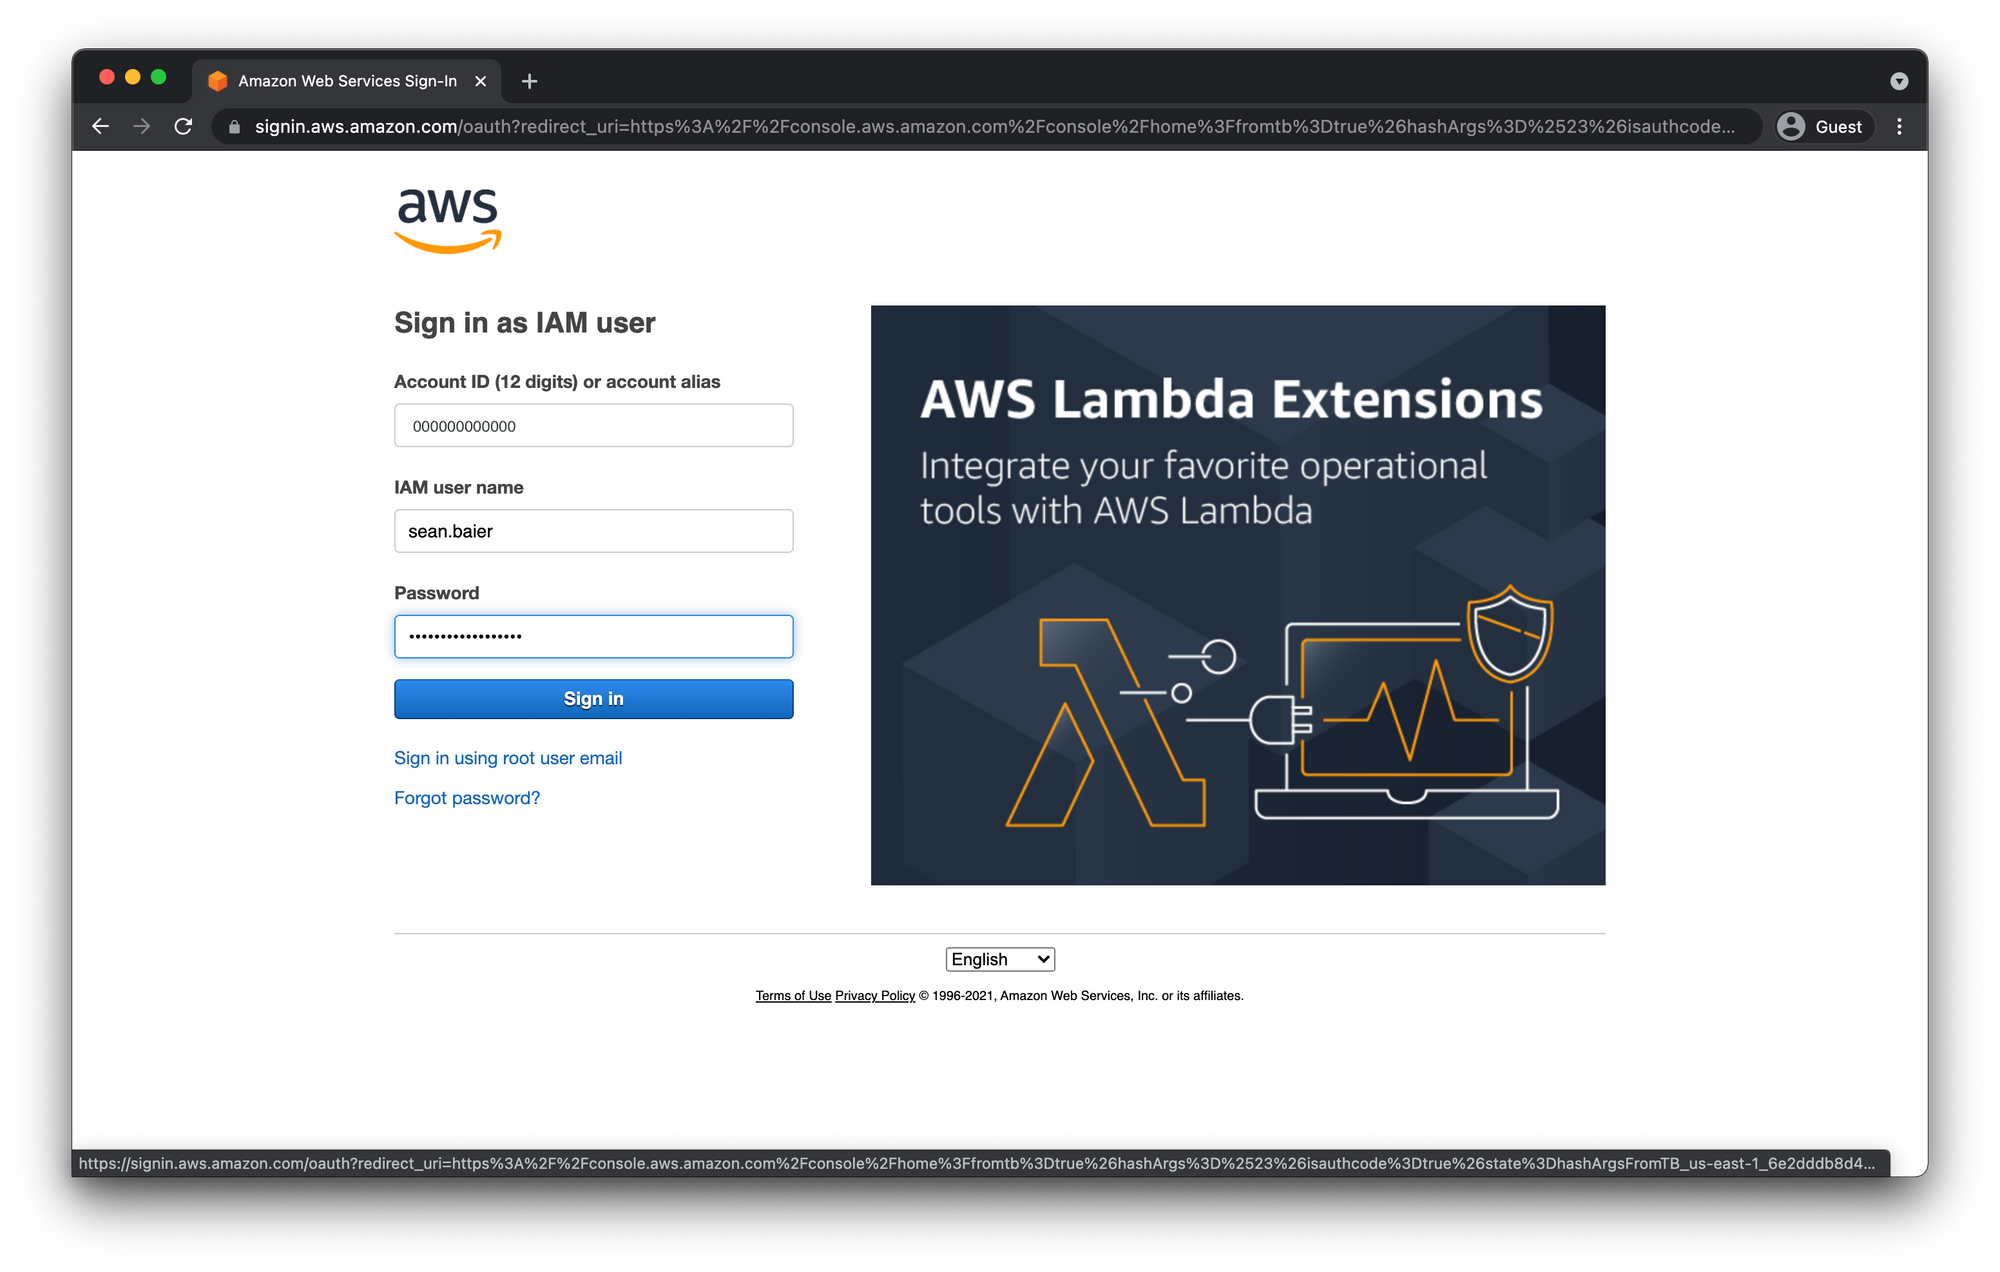
This time you will select "IAM user" and enter you account number and click "Next".
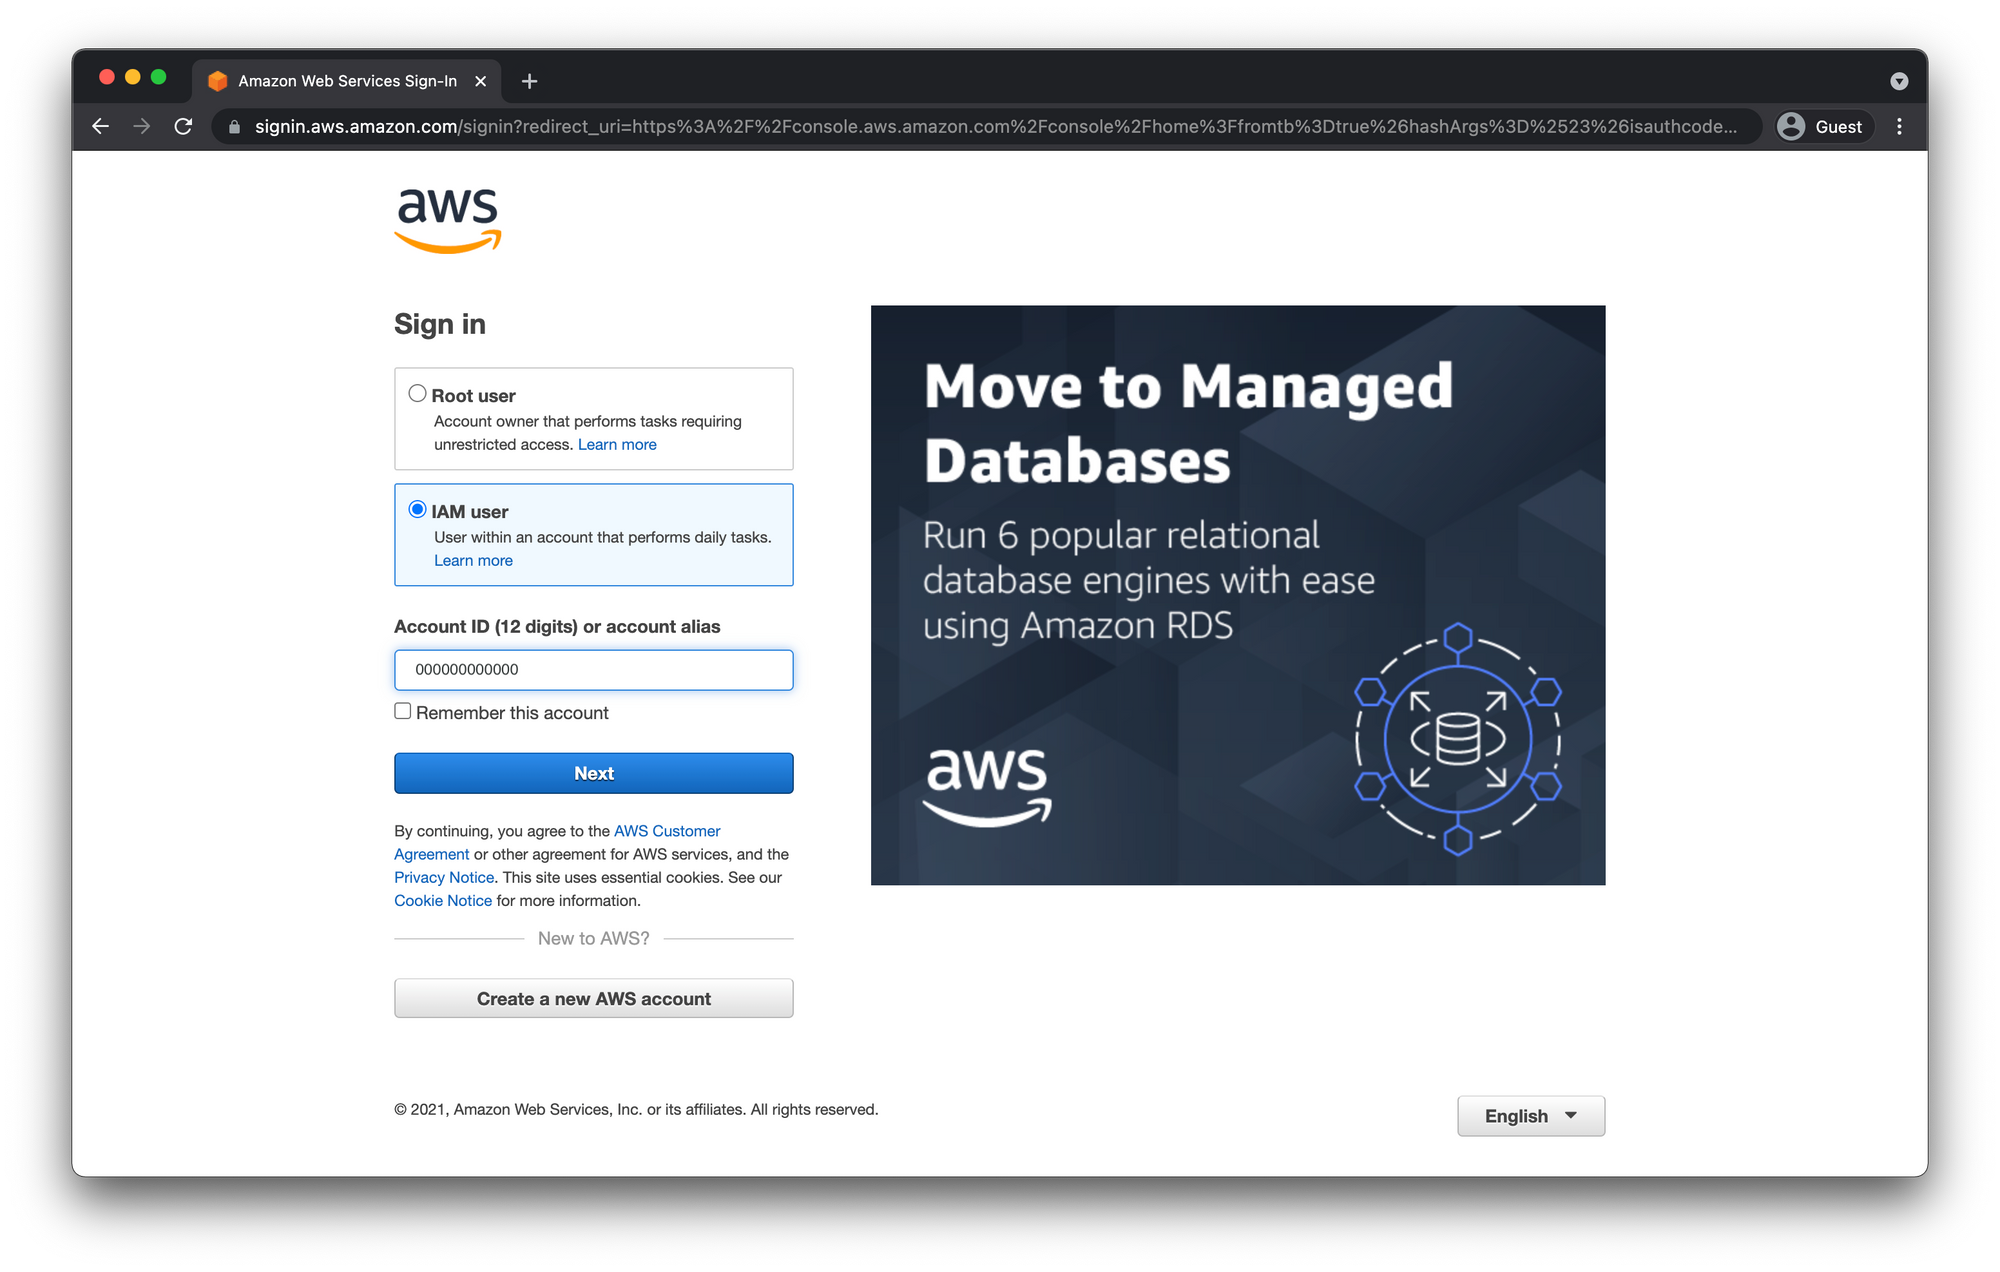
You might have to prove you're not a robot again. Then enter your user name and password from the IAM User we created.
Double check Billing Info Access
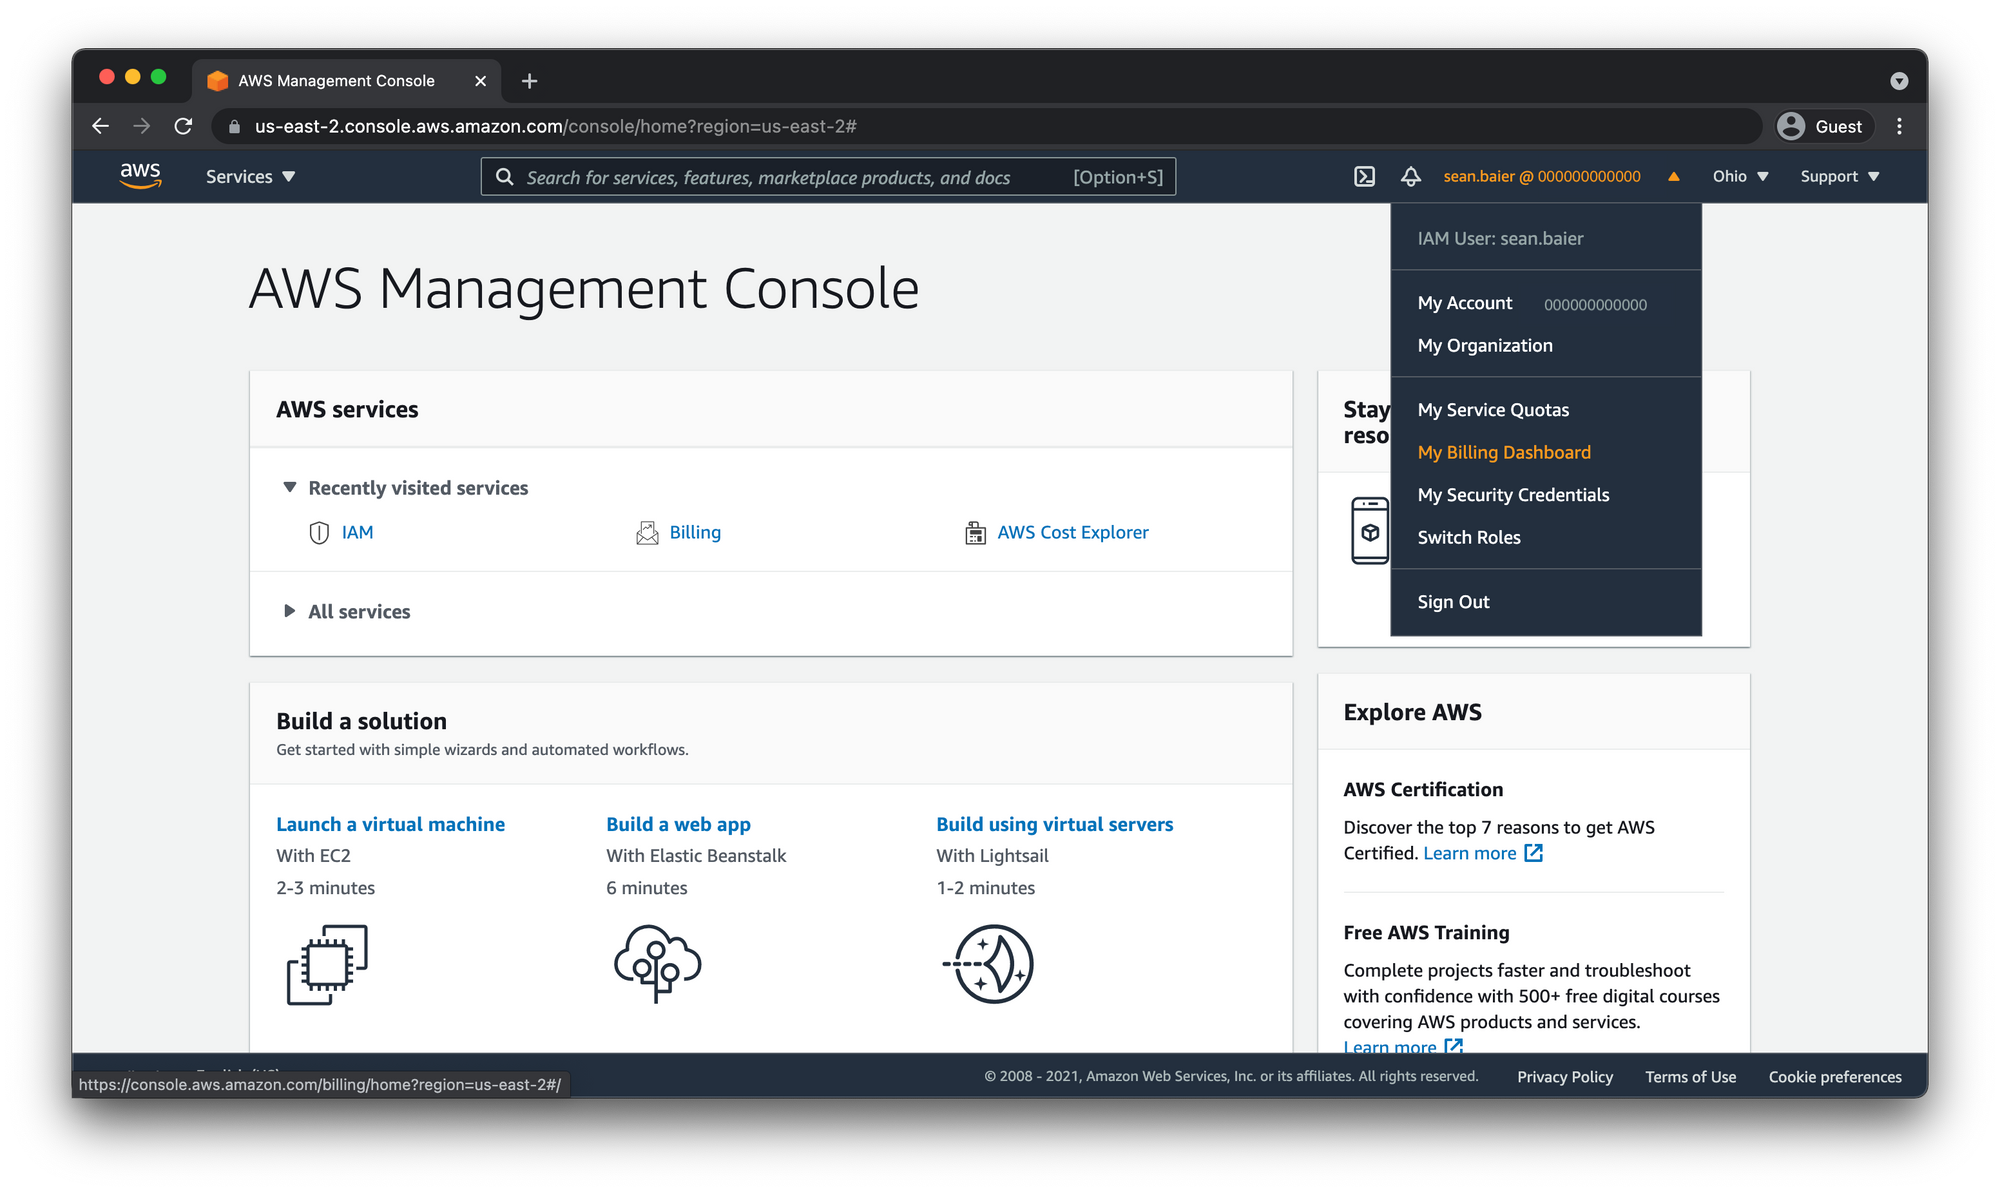
Open the dropdown then click "My Billing Dashboard"
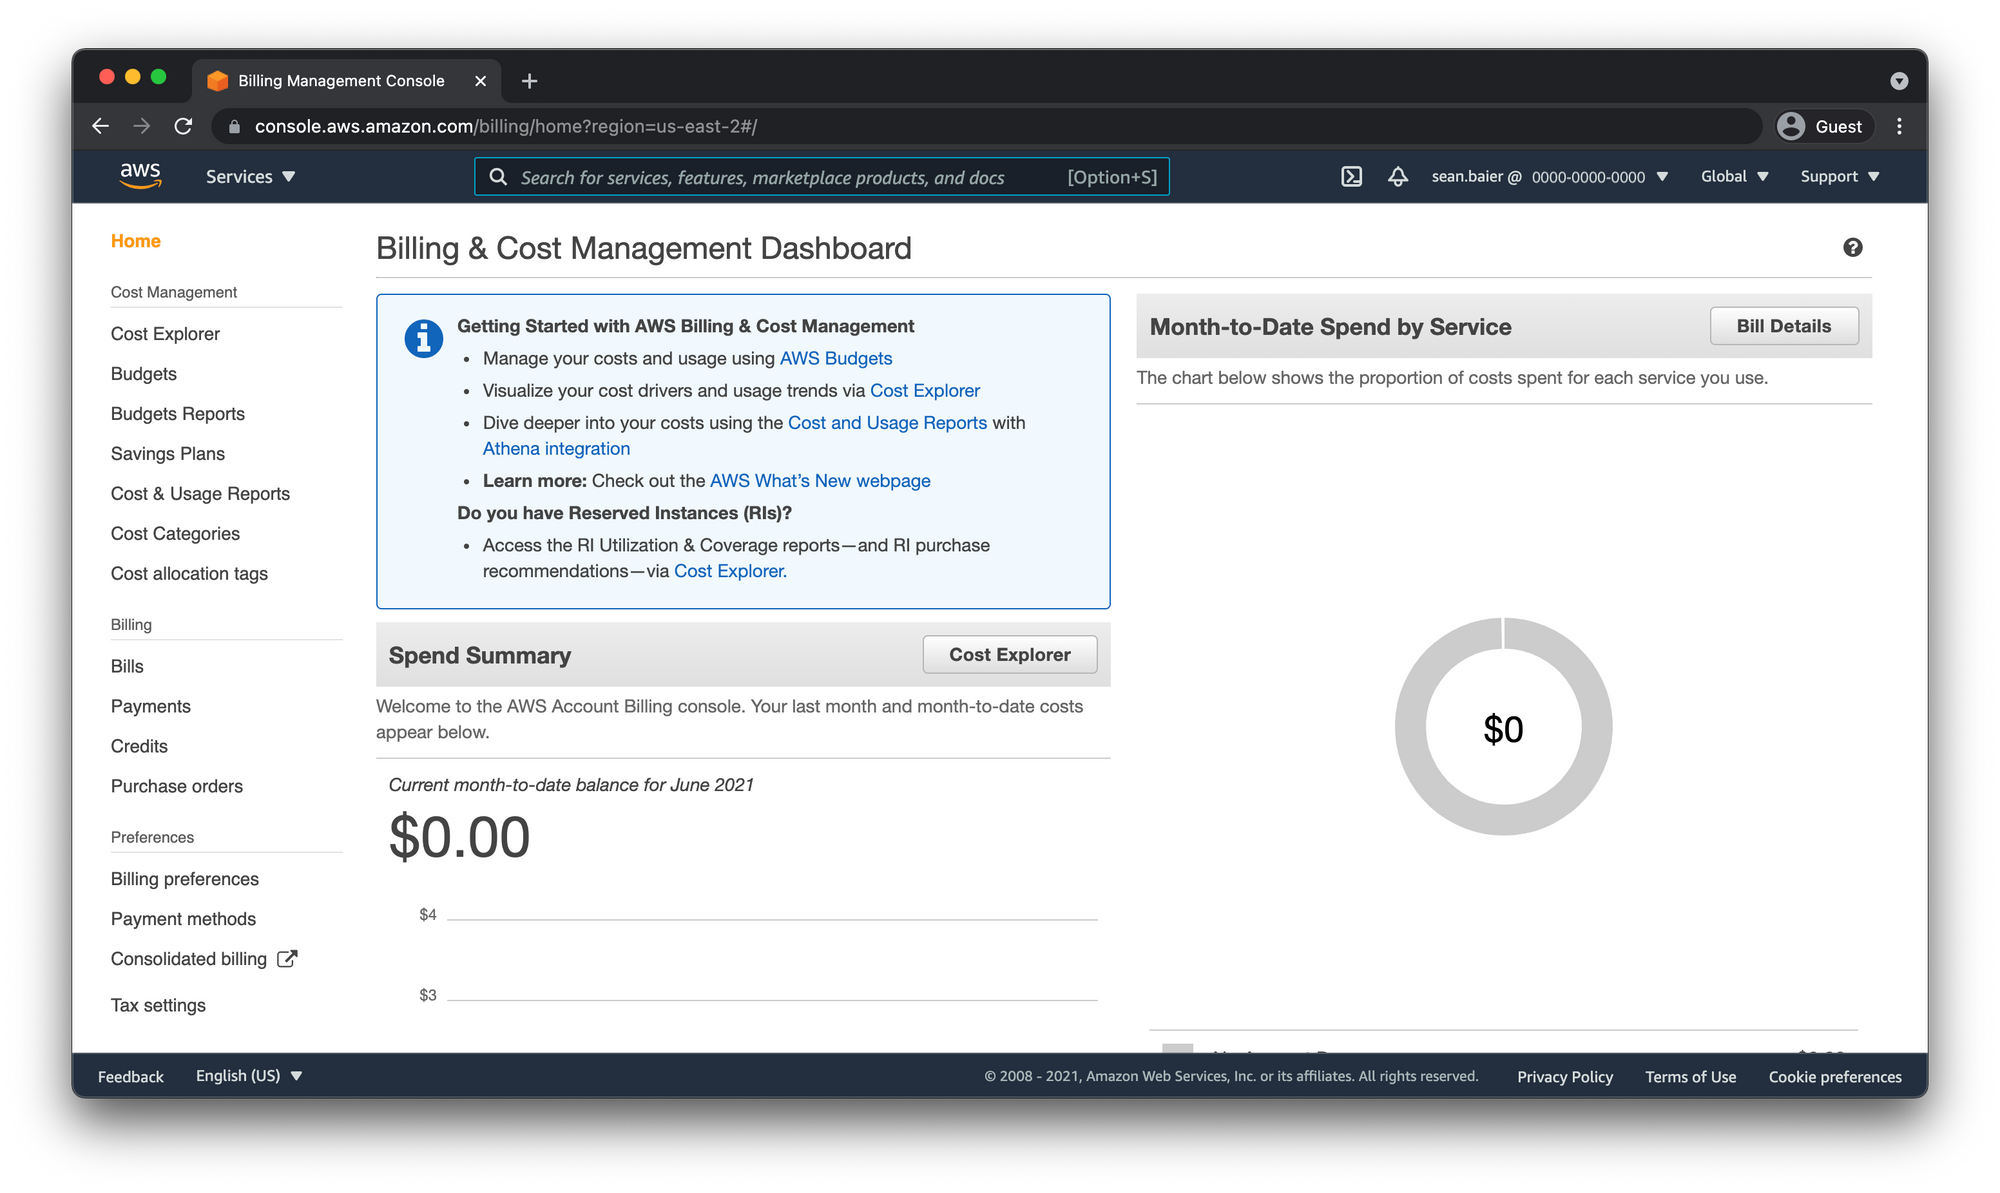
If your billing dashboard looks like this then your user doesn't have access to billing info and you should refer back to the section above to enable IAM User Access to Billing Information.
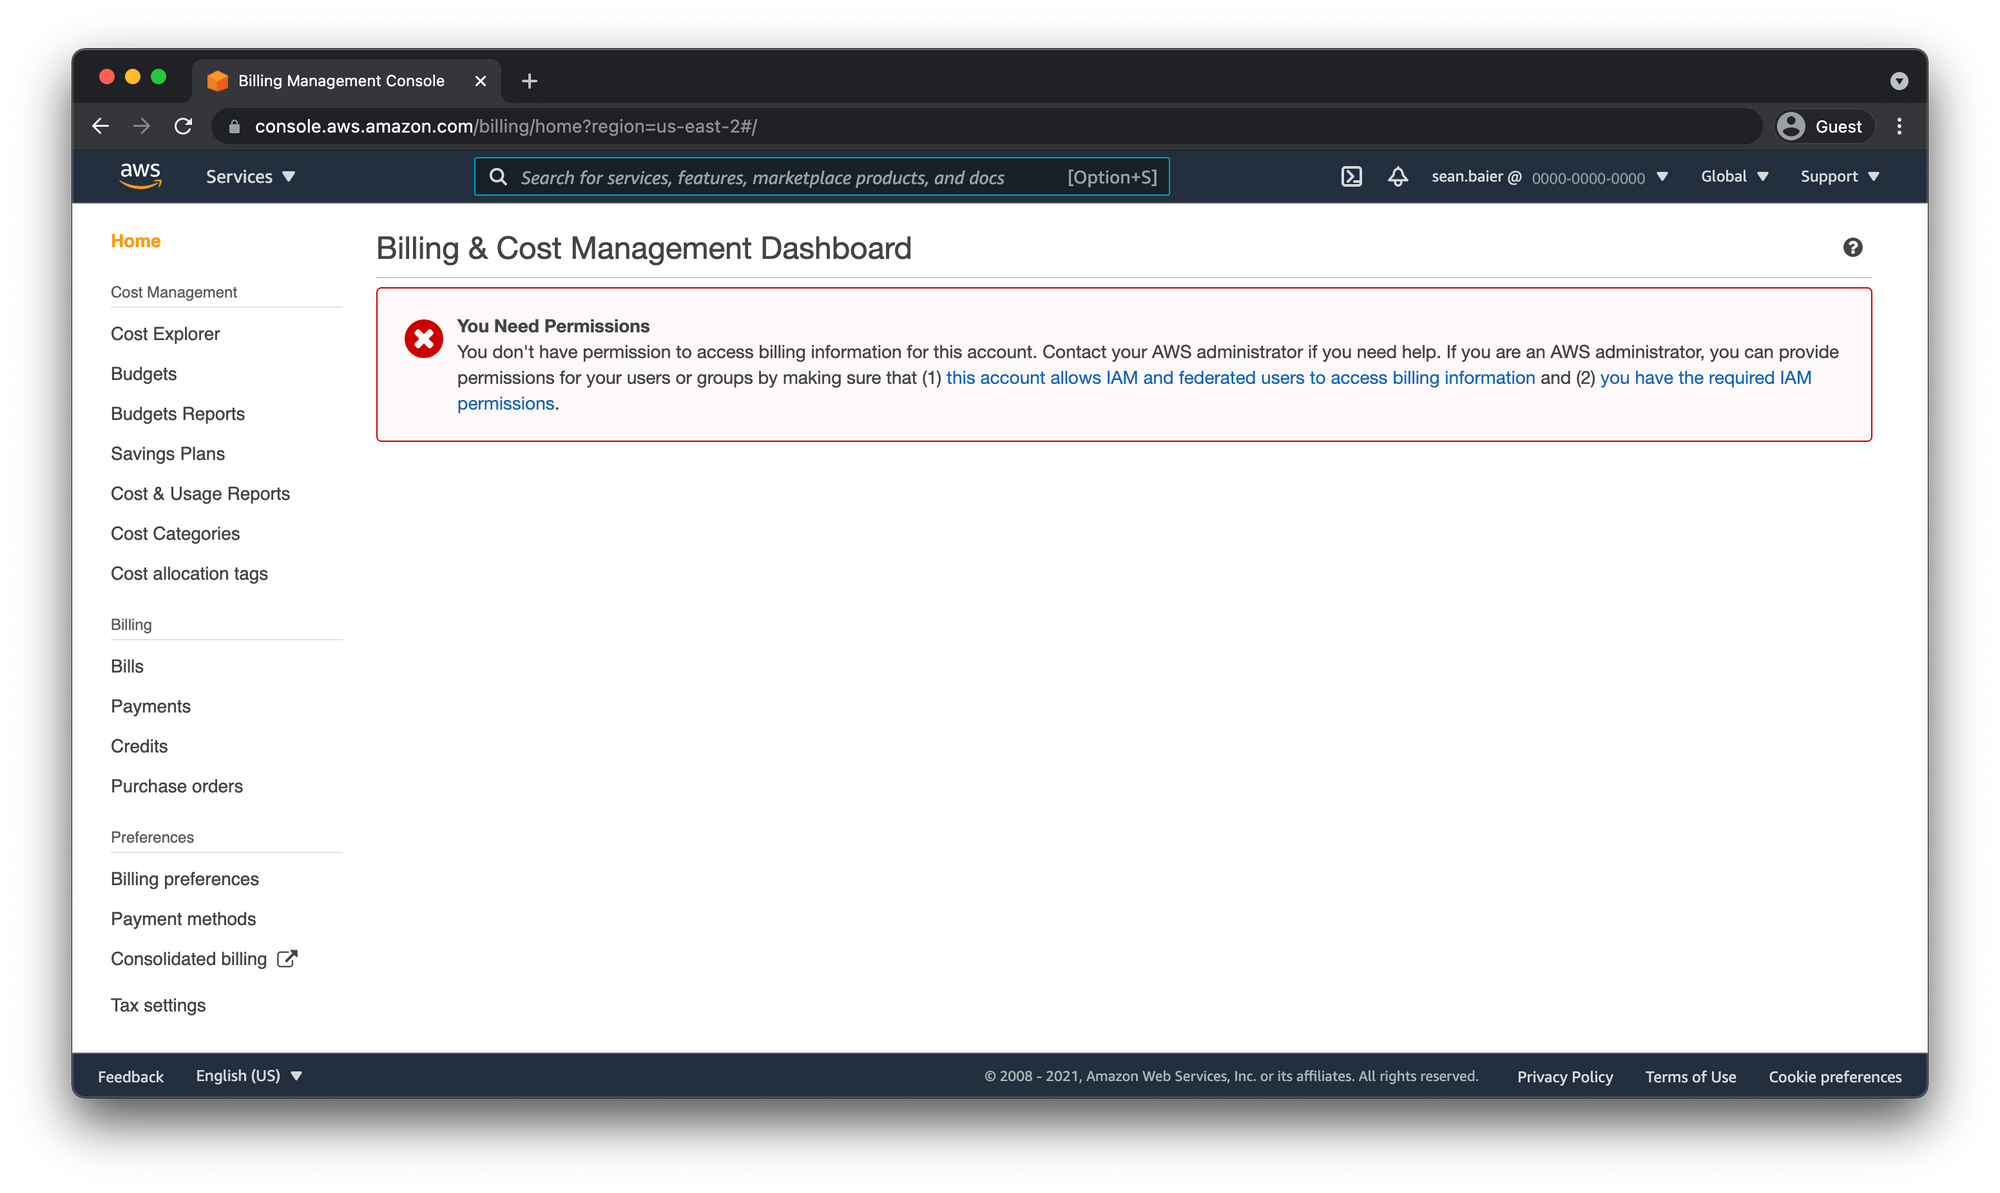
Otherwise, if you see the billing info then you're good to go.
Enable Multi-Factor Authentication
Finally we need to enable Multi-Factor Authentication for our user.
- Navigate to the IAM dashboard and click on the "Users" link in the left-hand sidebar.
- Click the "Security credentials" tab.
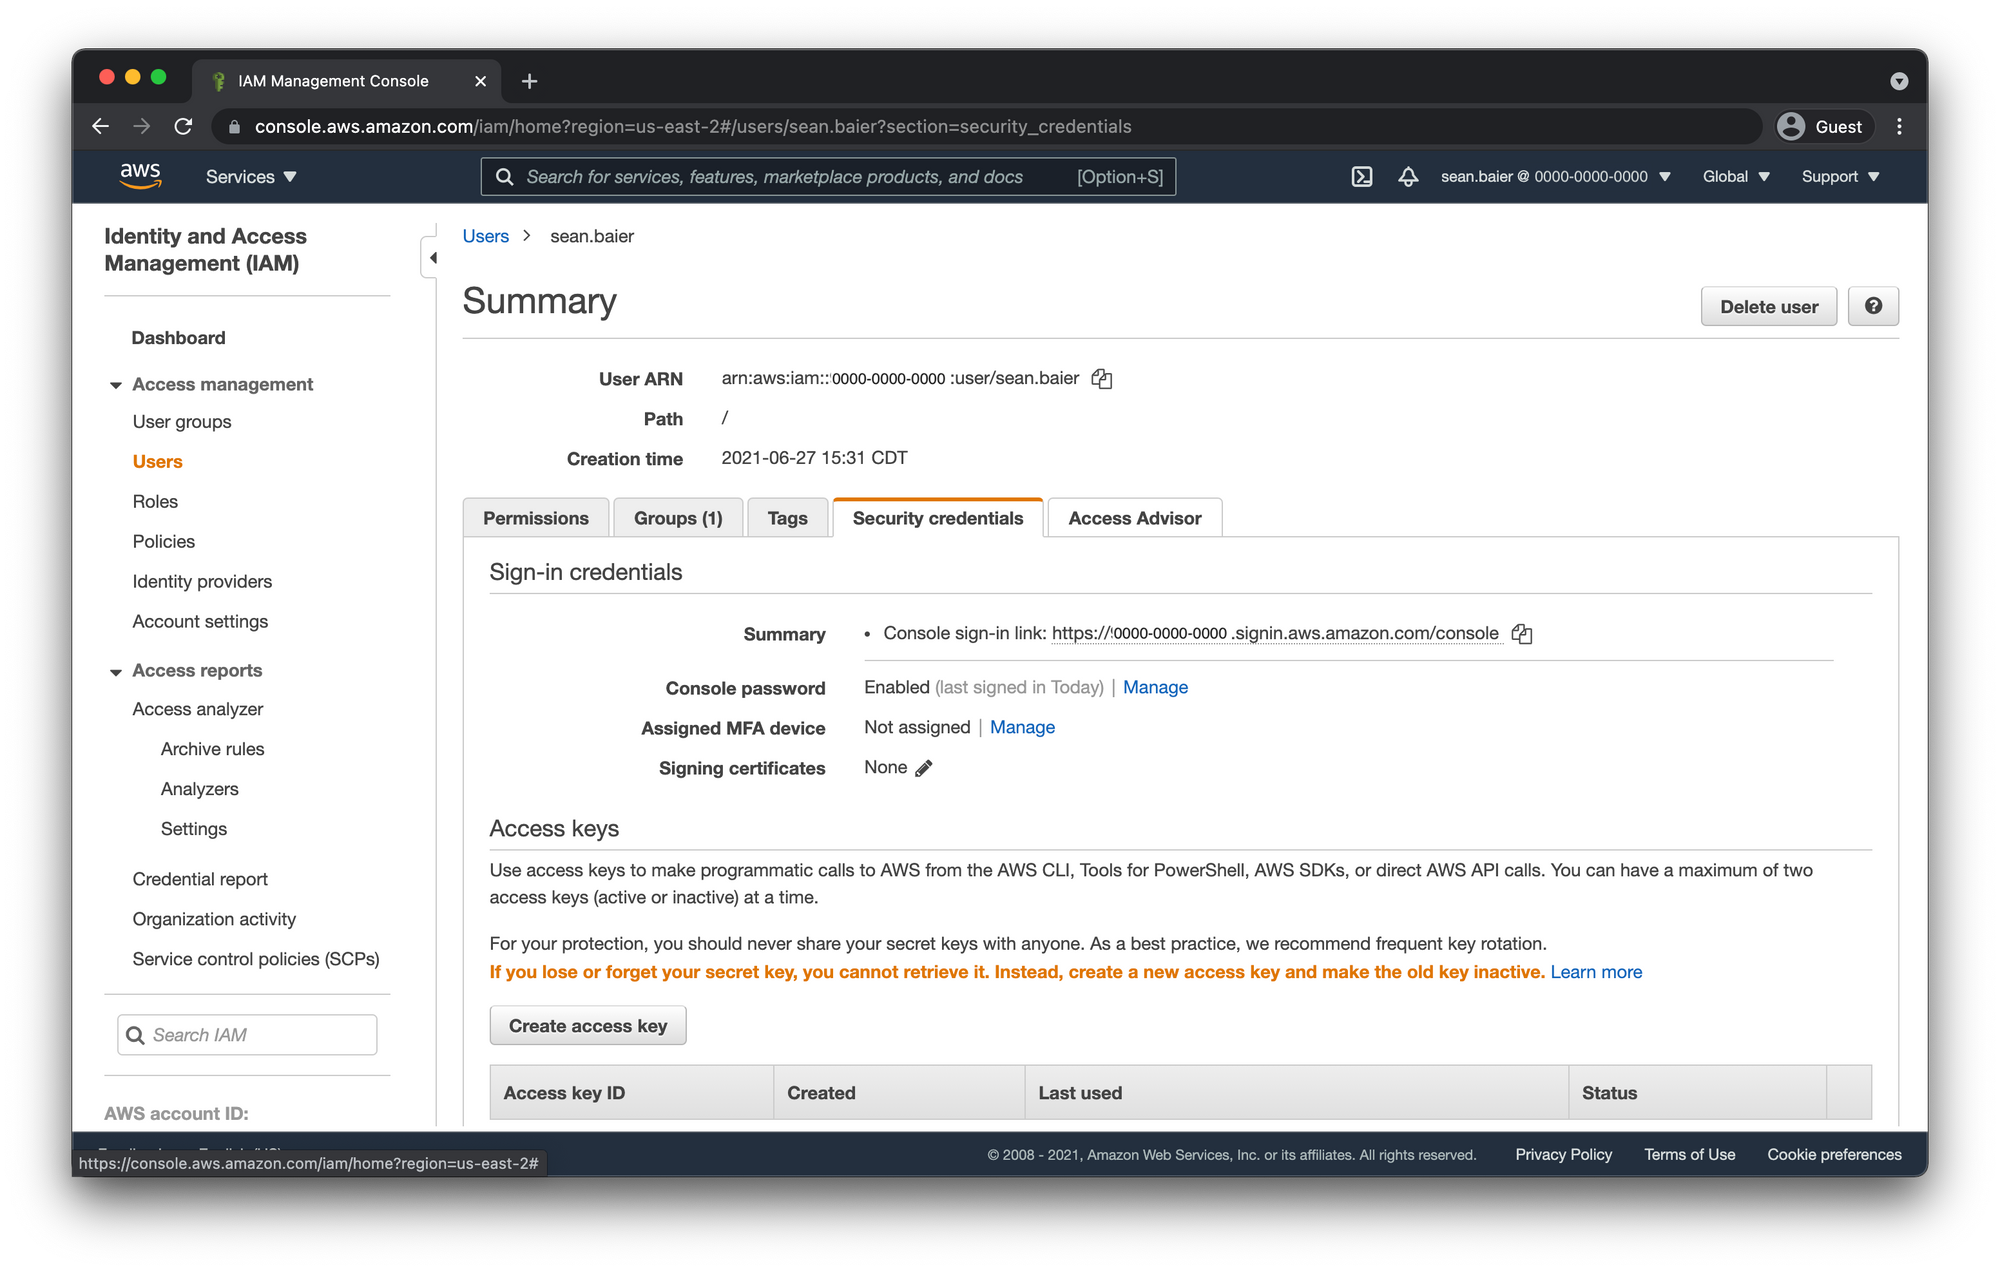
Under Assigned MFA device click the "Manage" link.
Select "Virtual MFA device"
Click "Continue"
- Open the QR code by clicking the box and sync your Authenticator app.
Finally lets double check our MFA works by logging out and signing back in with our IAM User the same way we did before.
Nice.

Setup Billing Alerts
AWS Free Tier Alerts
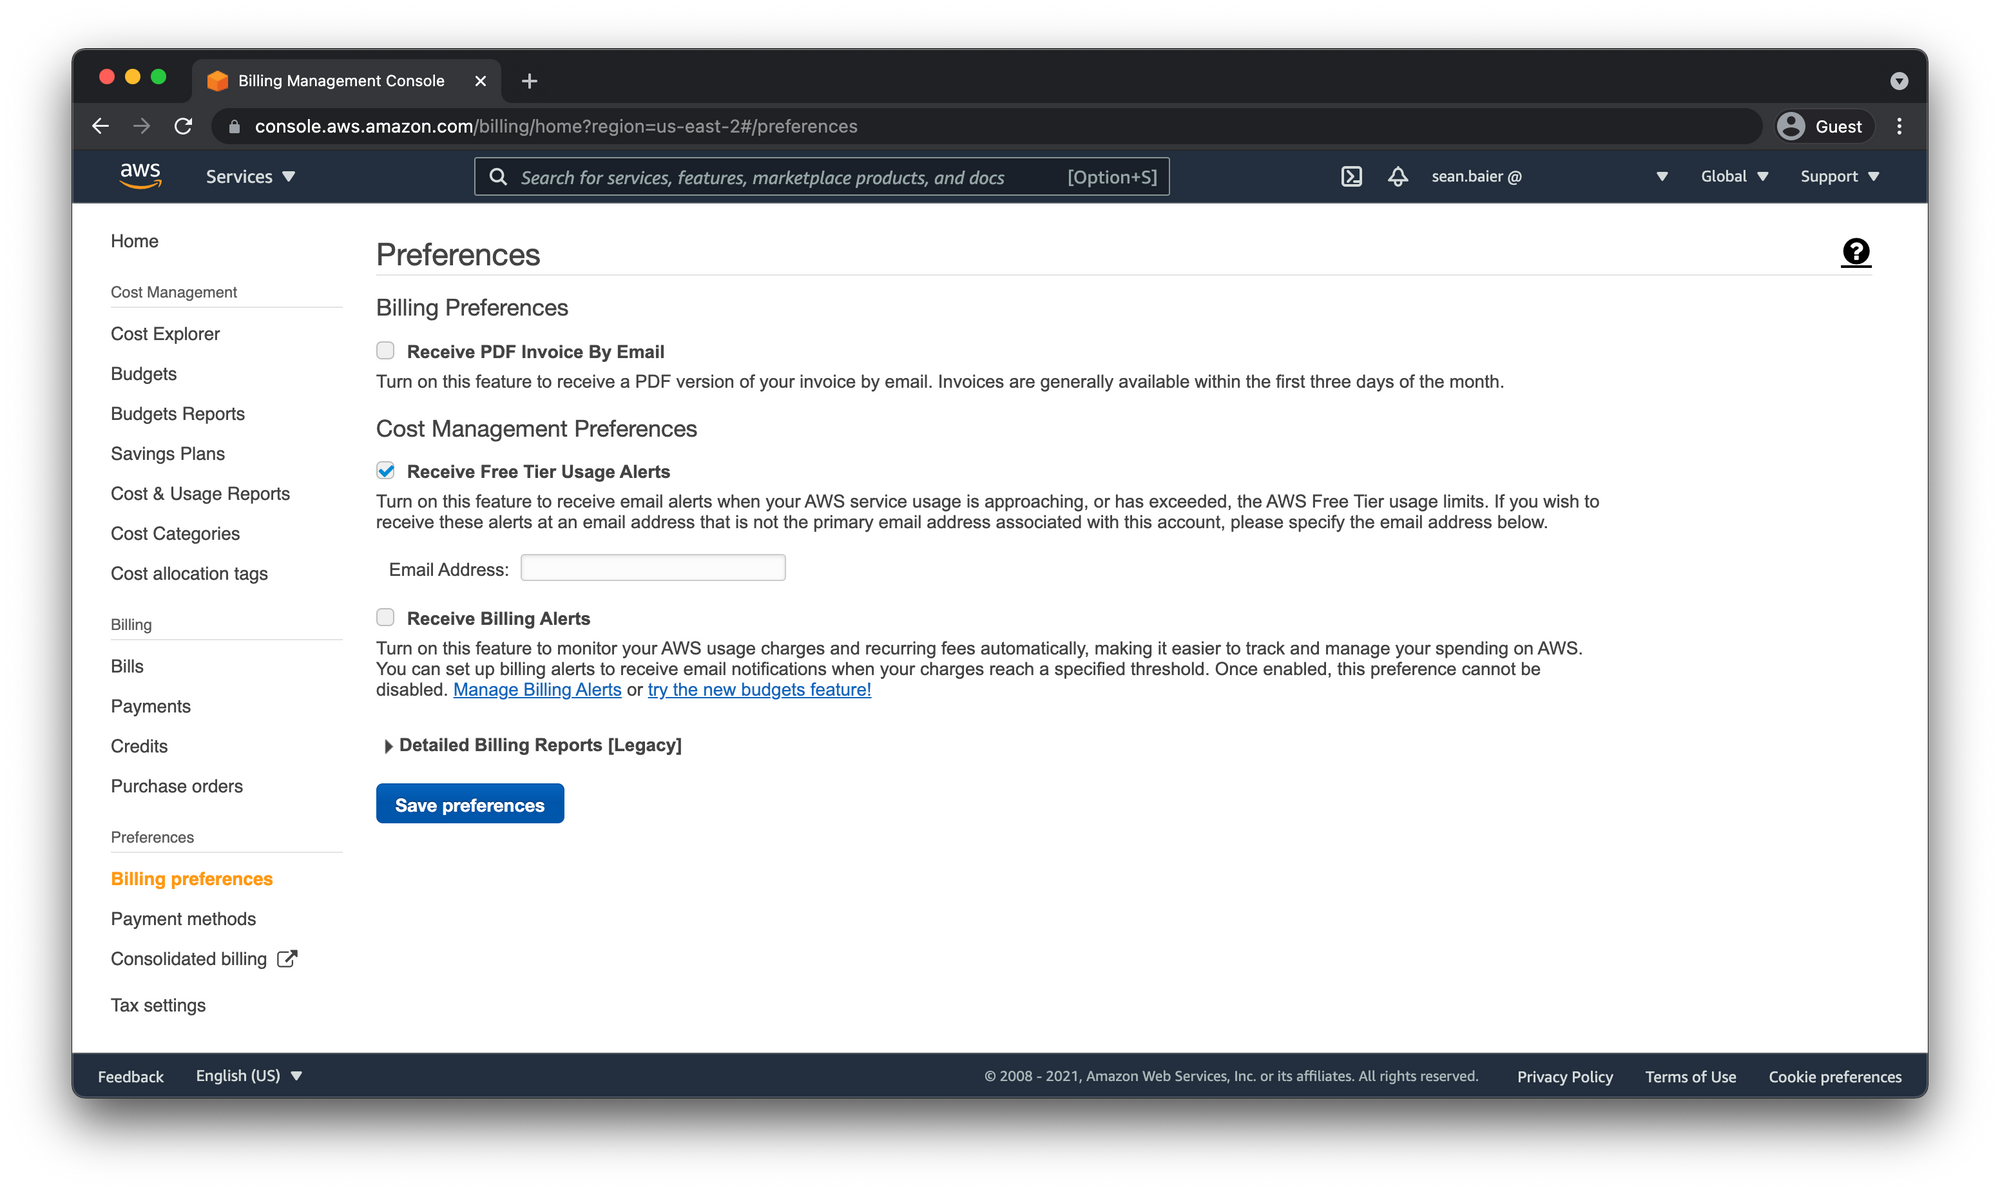
- Open up the billing dashboard and click on "Billing Preferences" in the left-hand sidebar.
- Check "Receive Free Tier Usage Alerts"
- Click "Save preferences"
Billing Alarms
We can also setup an alarm that will notify us if the cost usage exceeds a certain amount.
Enable Billing Alerts
First we have to enable billing alerts. So back in the Billing Preferences dashboard also check the "Receive Billing Alerts" box and click "Save preferences"

Create AWS CloudWatch Alarm
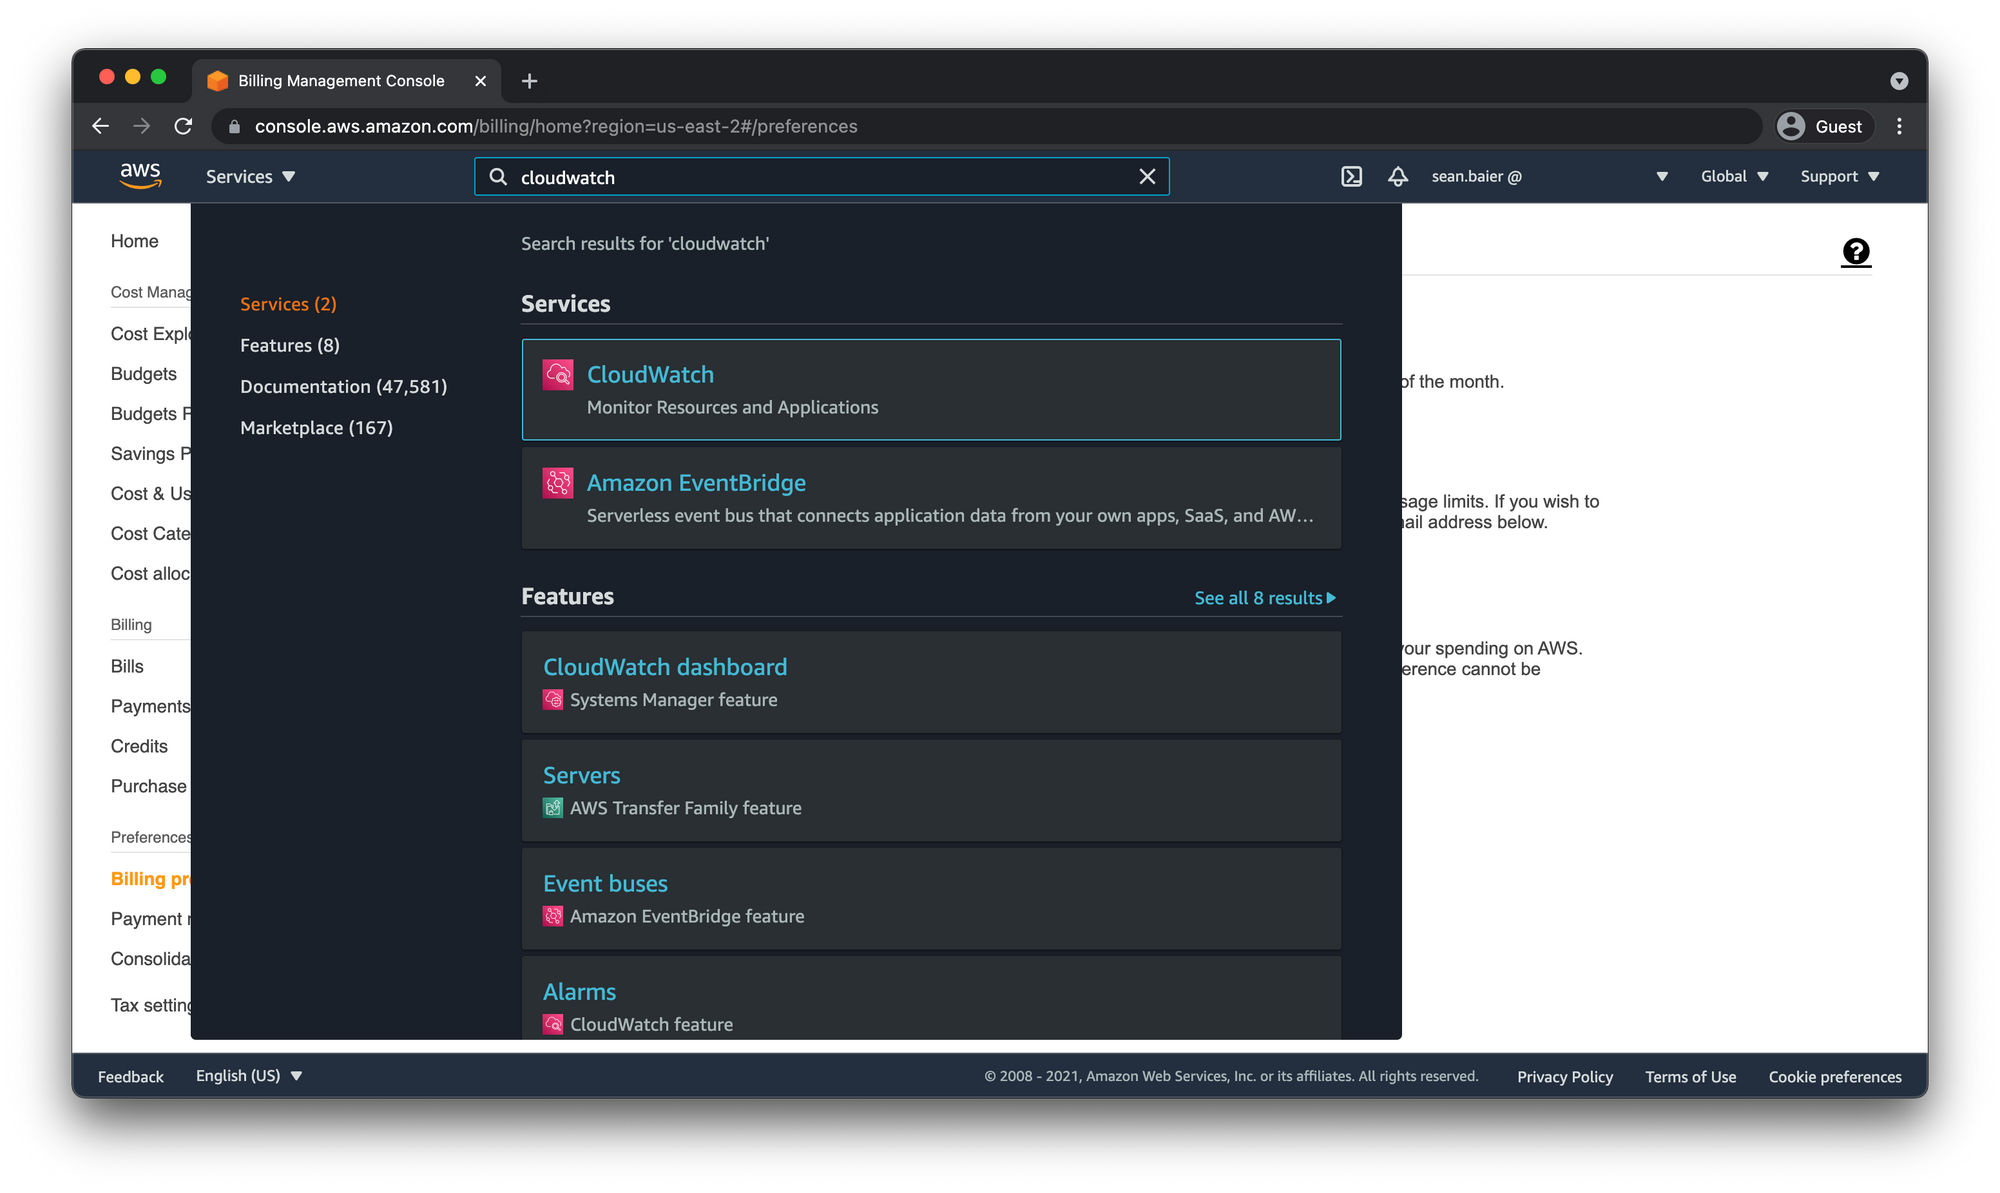
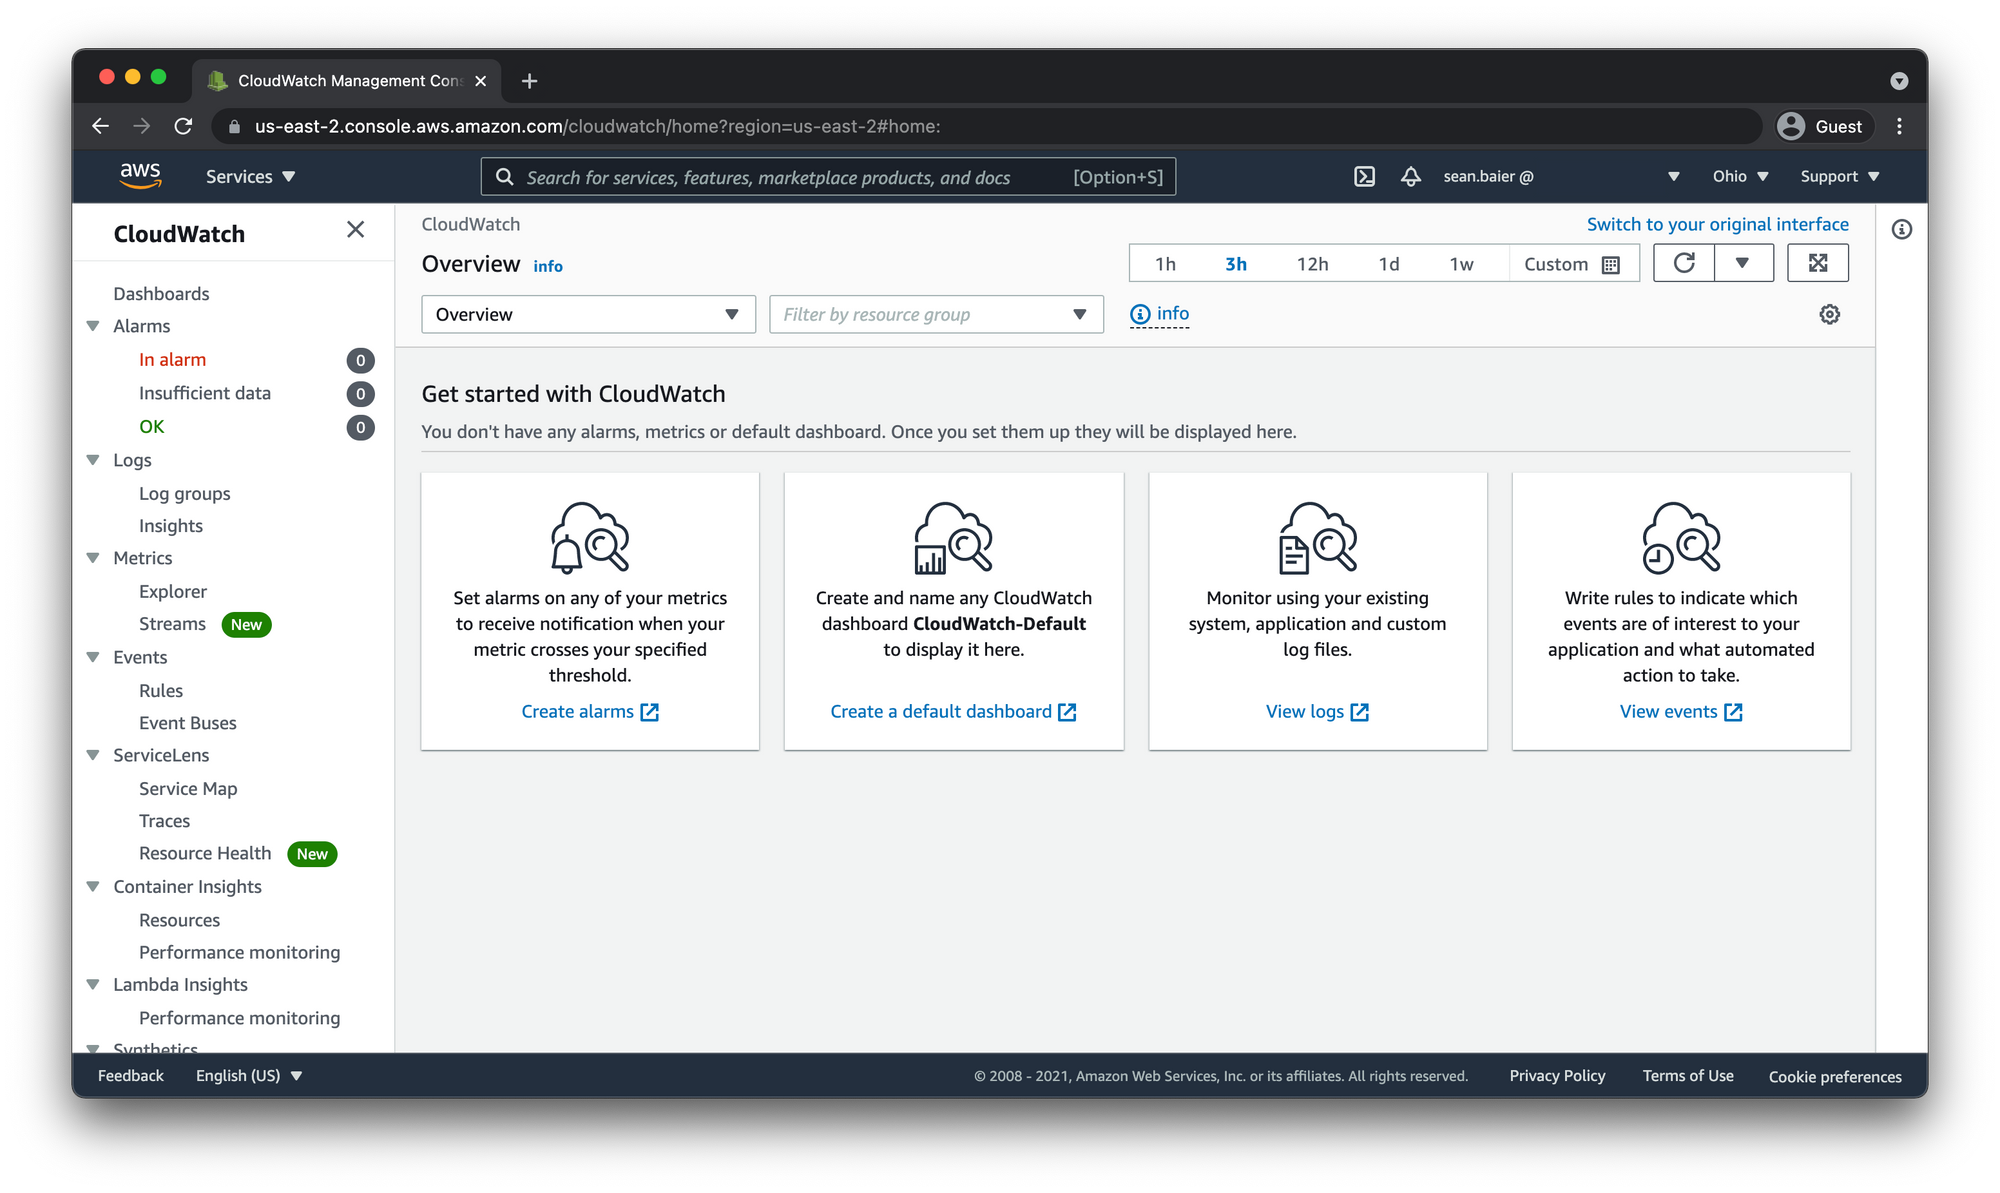
Open the CloudWatch dashboard by searching "cloudwatch" in the top search bar.
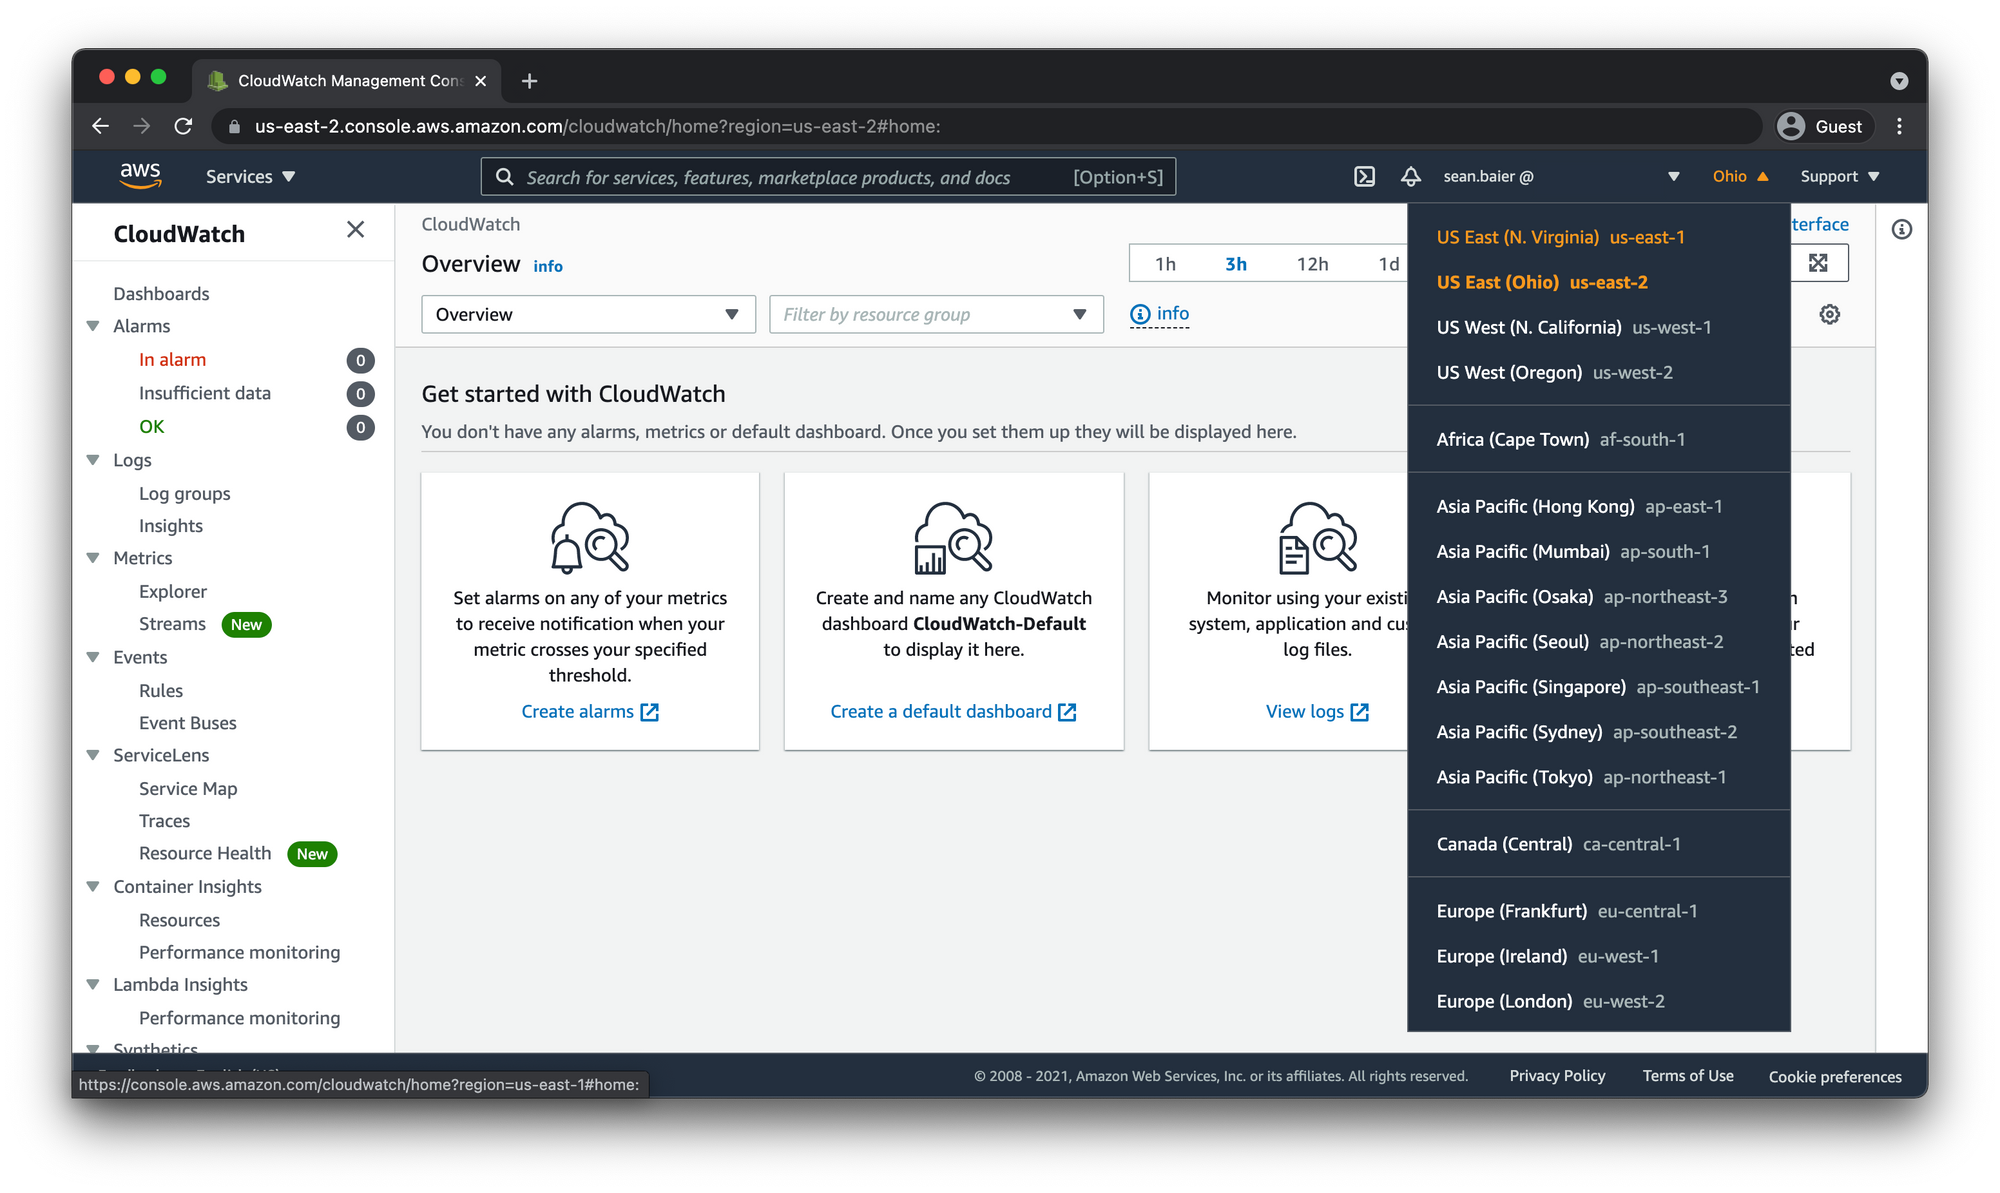
Billing metric data is stored in US East (N. Virginia) region but represents worldwide charges. So switch to that region if need be.
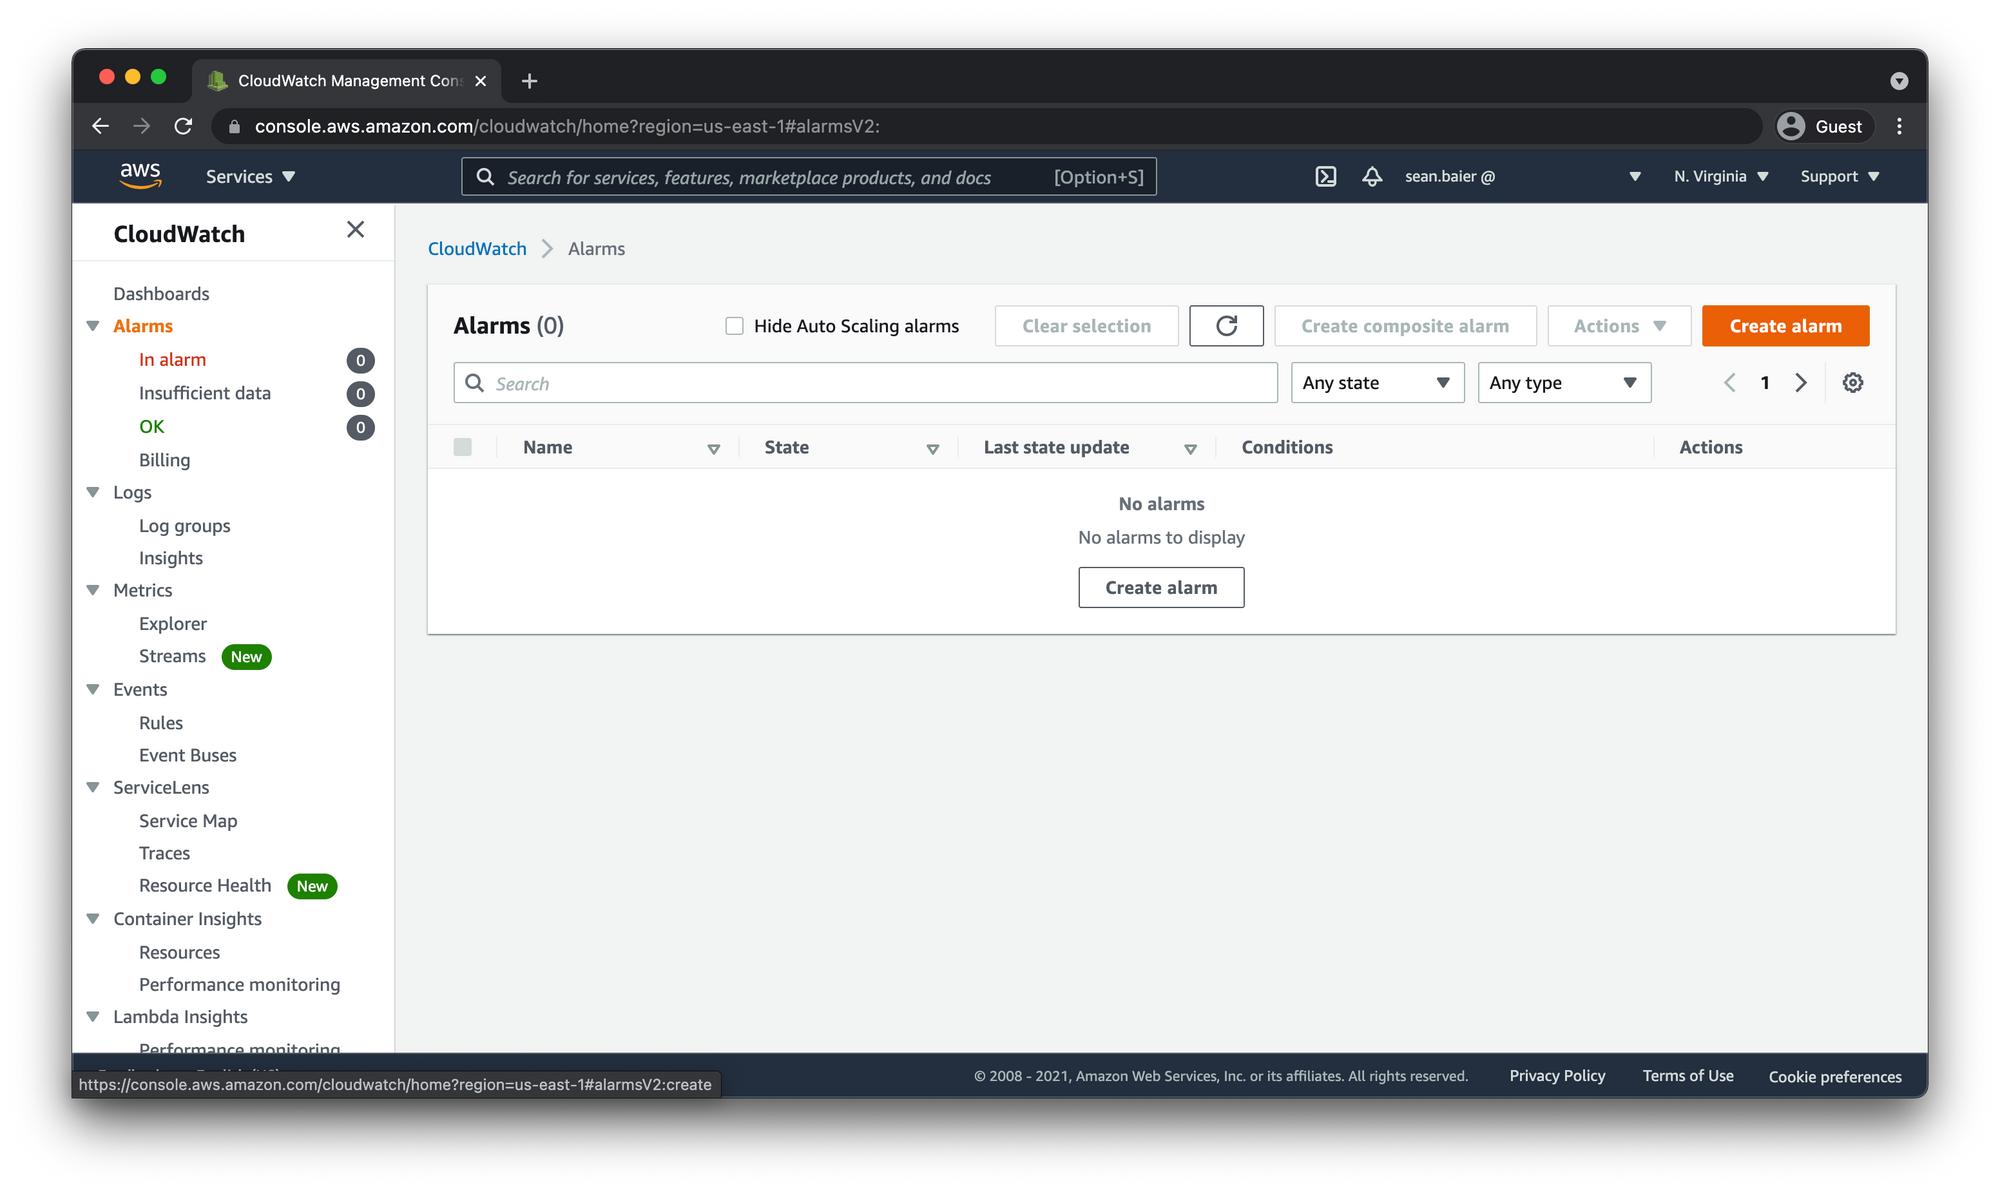
In the left-hand sidebar click "Alarms" then "Create Alarm"
Specify metric and conditions
Choose Select metric. In the All metrics tab, choose Billing, and then select Total Estimated Charge.
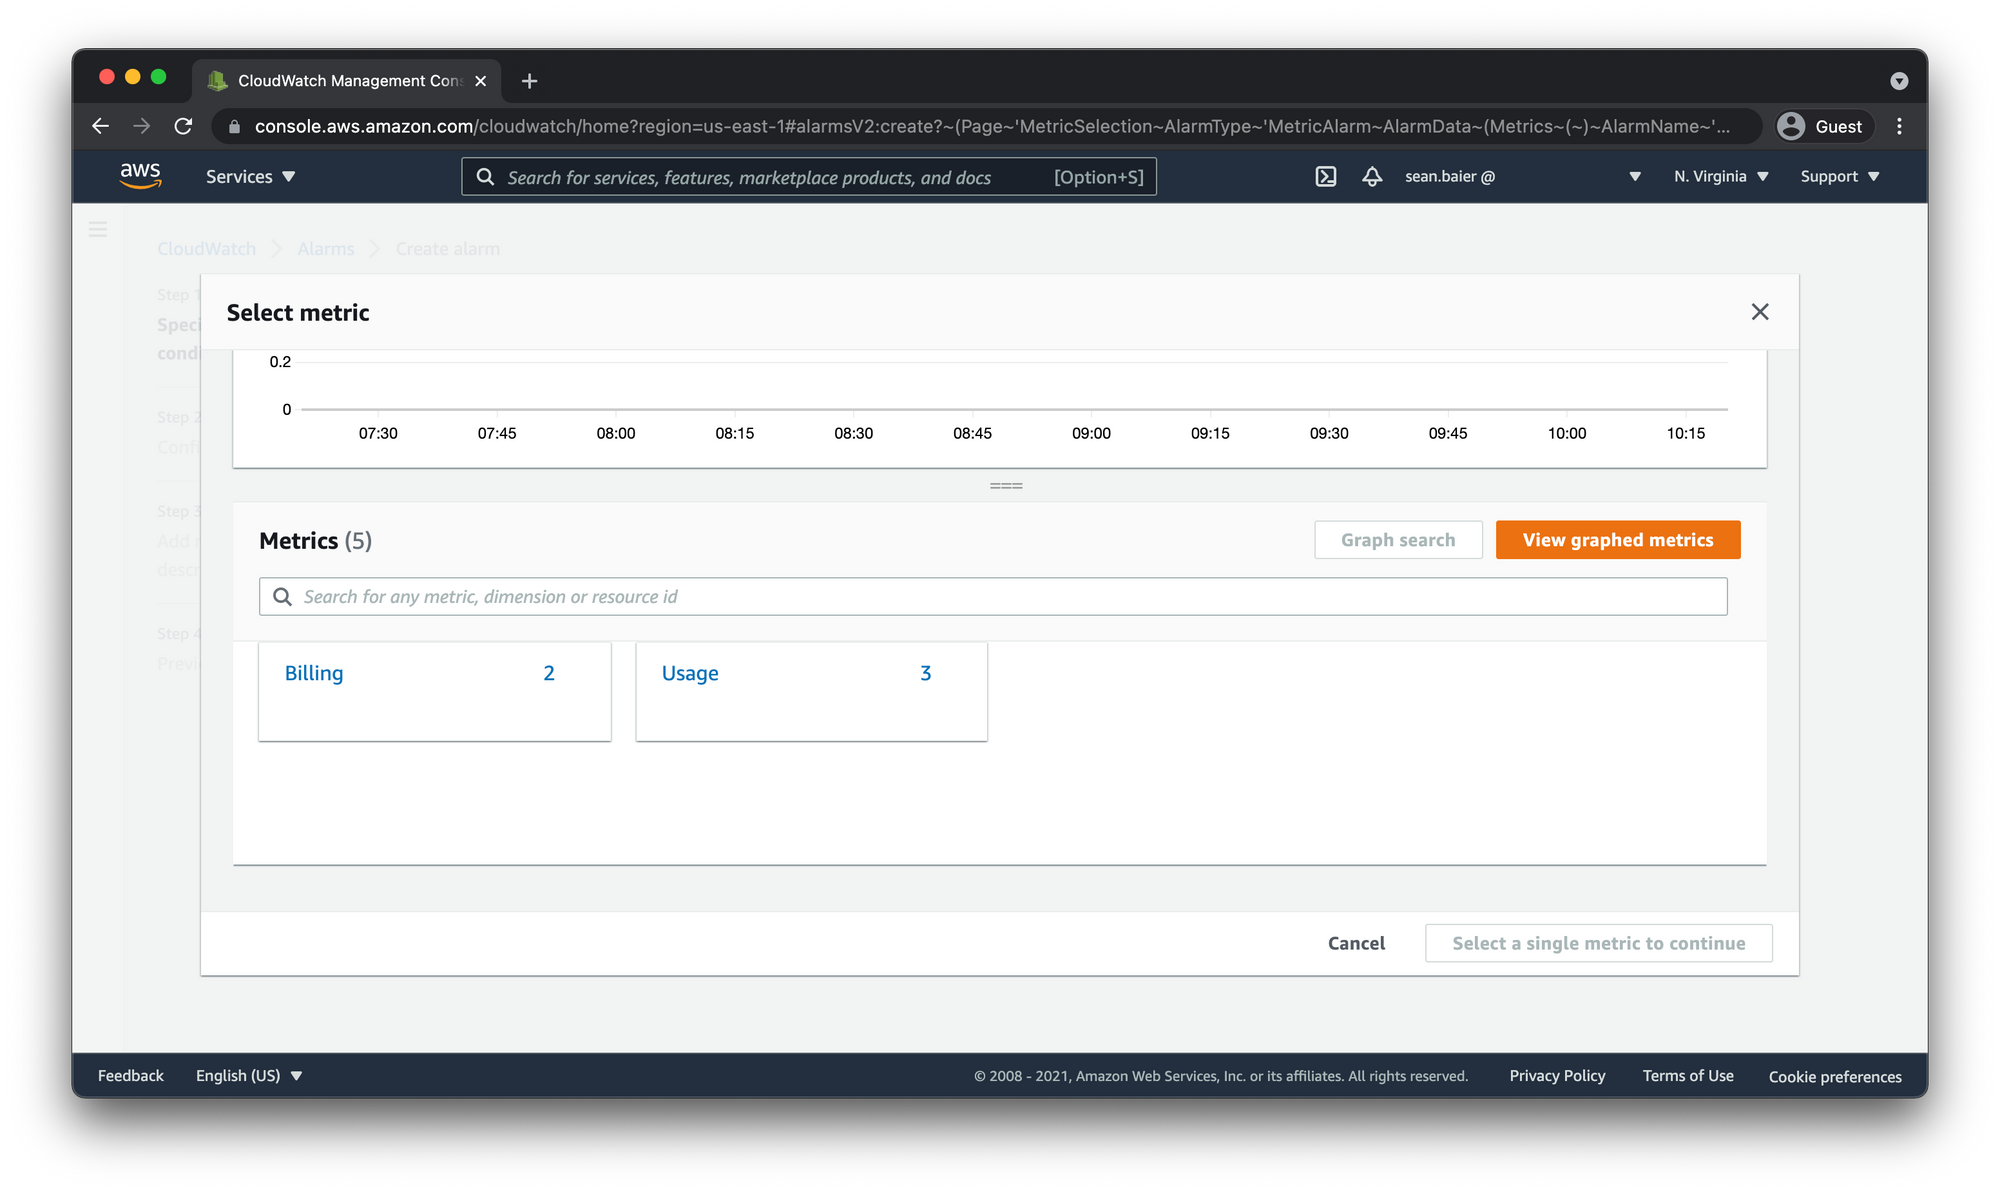
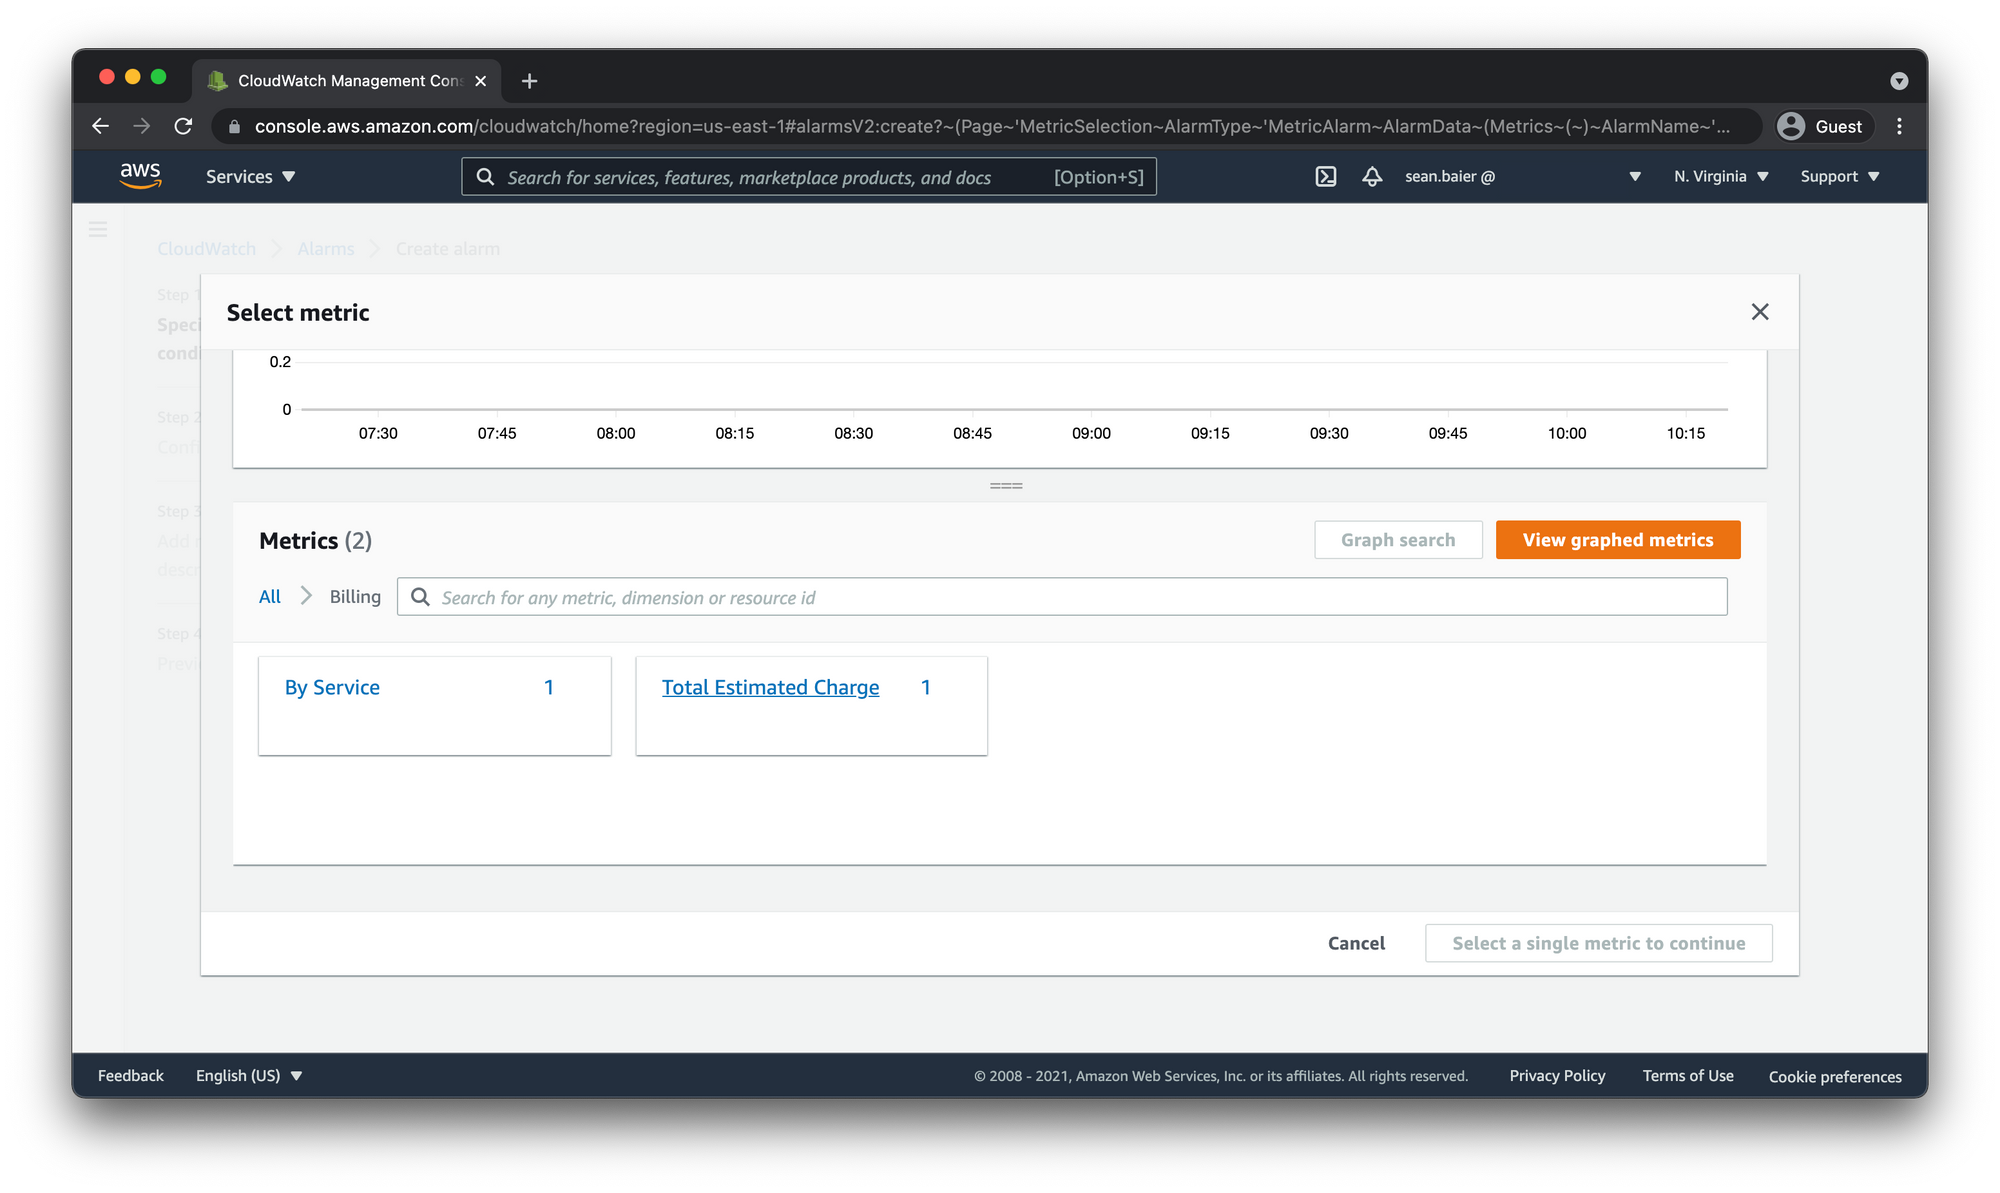
If you don't see Billing or the Total Estimated Charge metric, you may need to enable billing alerts. For more information, see Enabling billing alerts above.
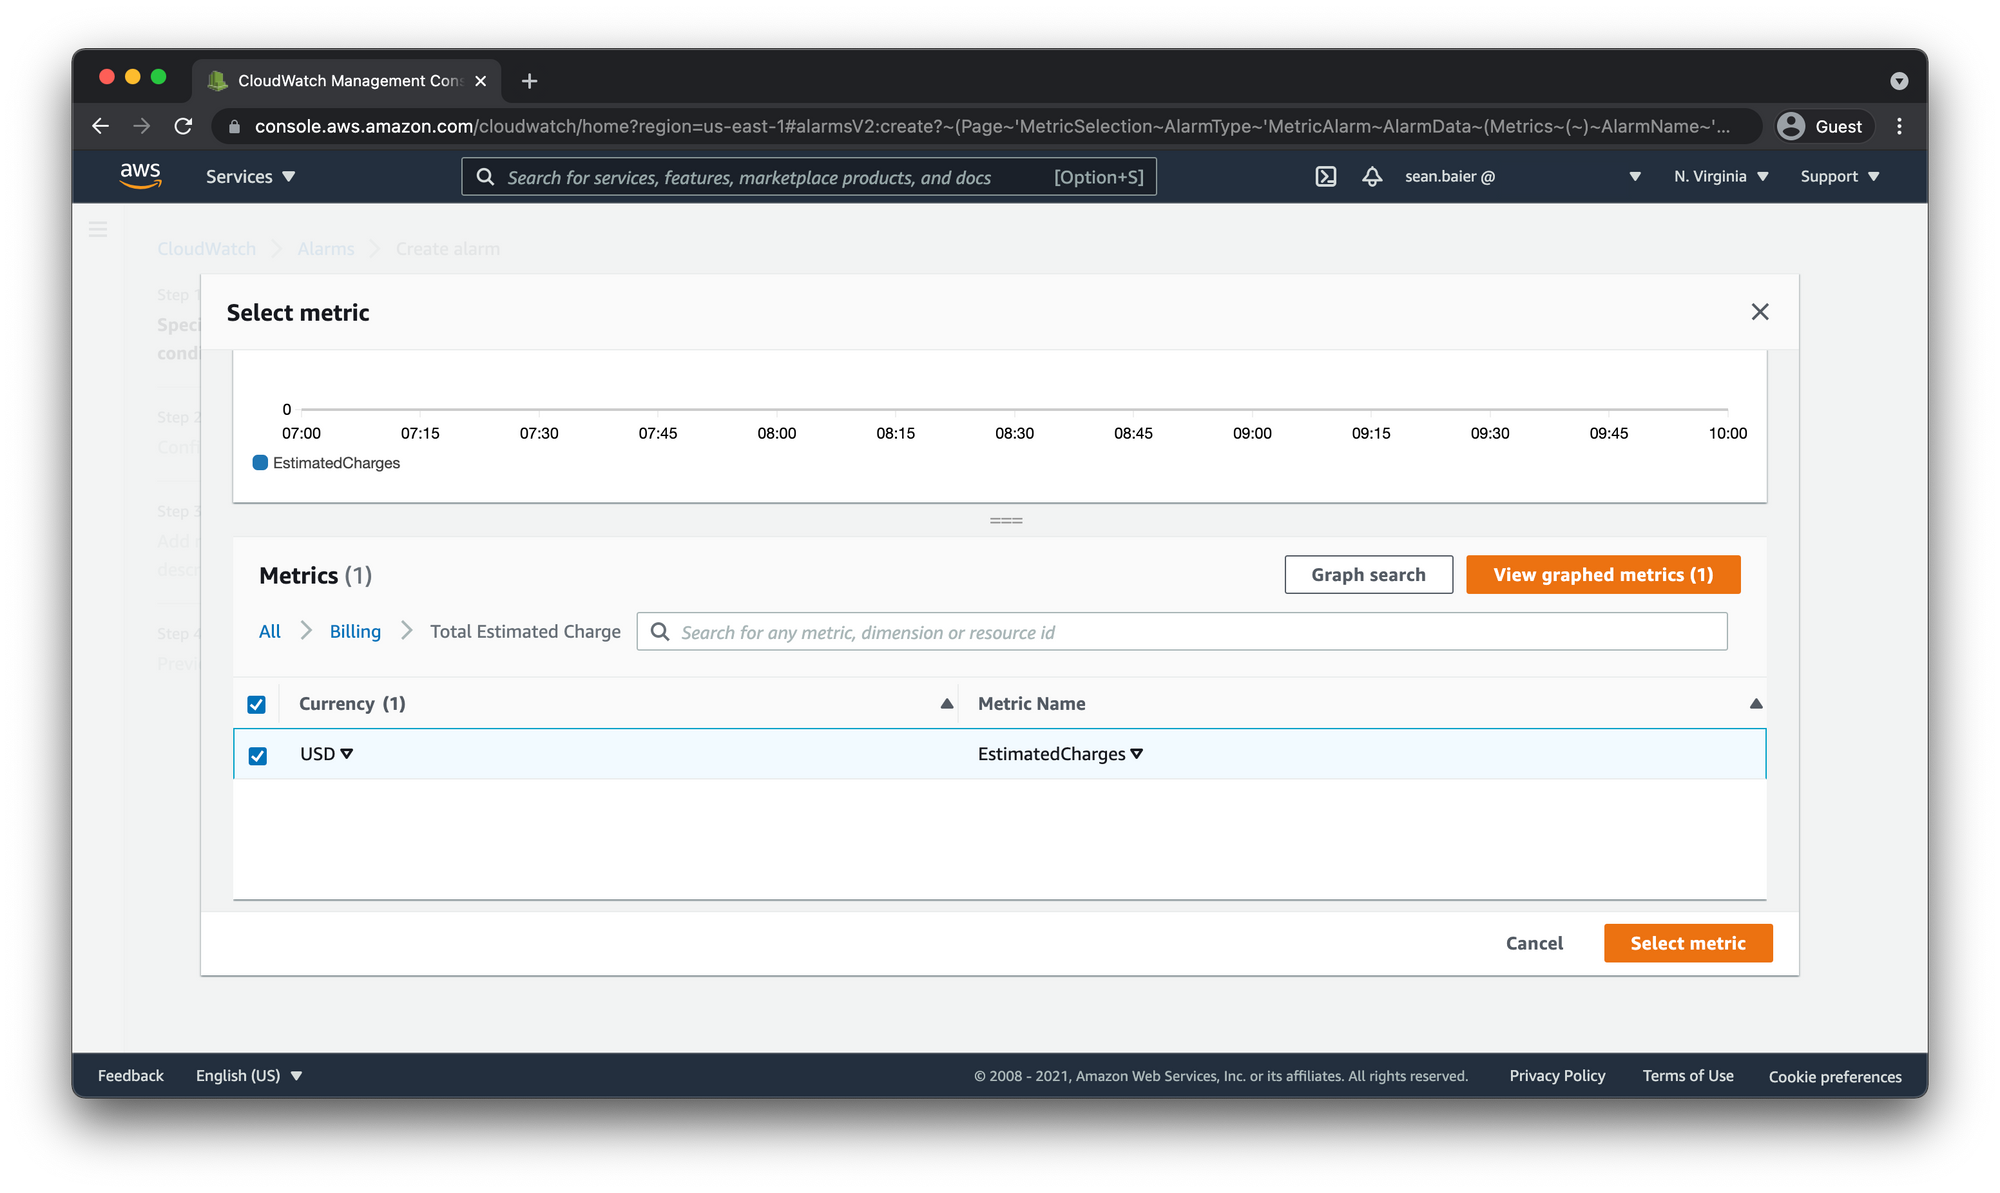
Select the check box next to EstimatedCharges, and choose Select metric.
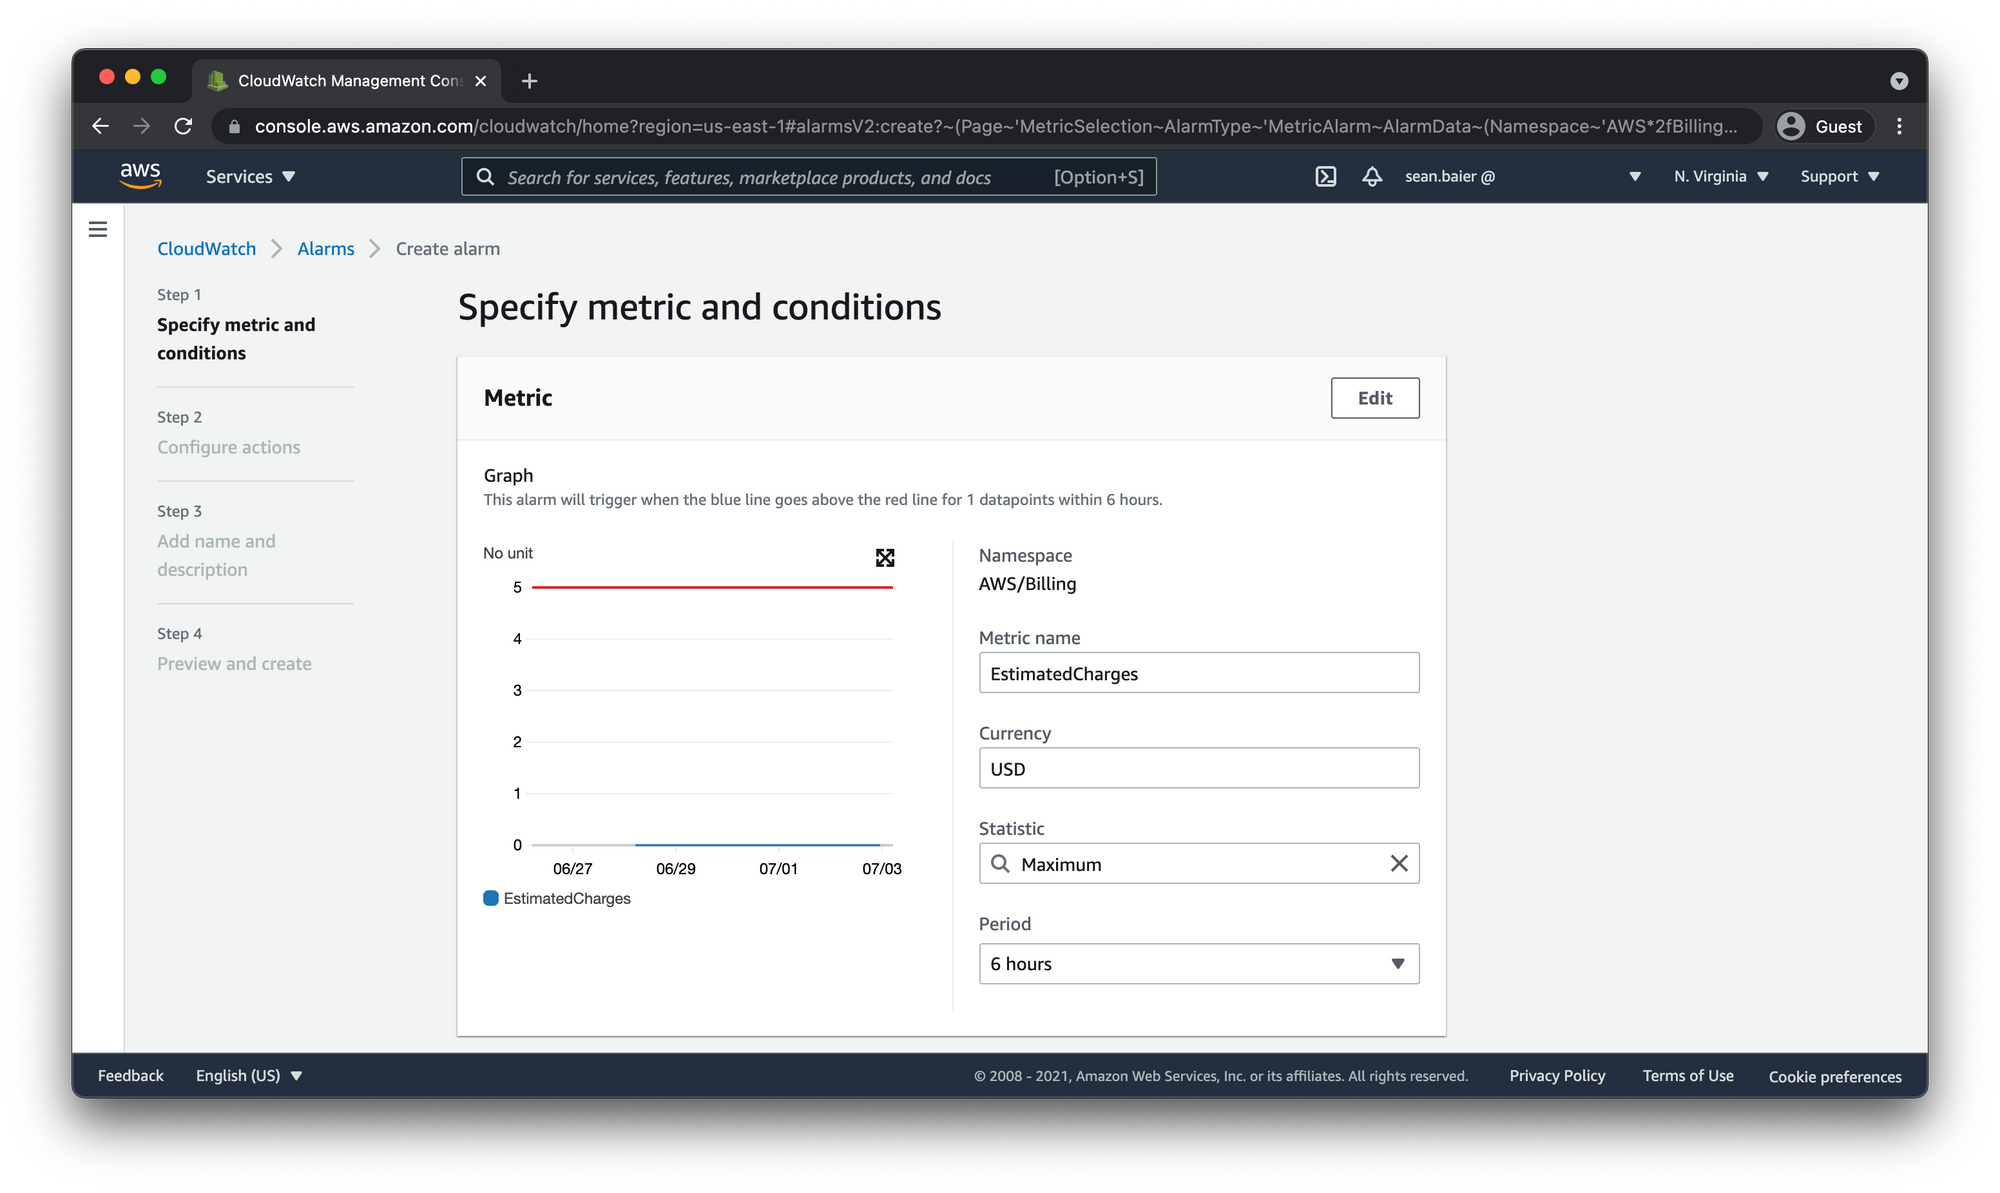
This next section is specifying the details of how you want CloudWatch to respond to your metric. You can leave Metric name, Currency, and Statistic as is. The important one to note here is the Period.
- Period is the timeframe with which CloudWatch will lump together all the data into one data point. If that datapoint falls outside of the designated thresholds for the alarm it will change the alarm state to
ALARMand trigger the alarm.
AWS billing metrics are updated every 6 hours so let's leave it at the default 6 hours.
Under Conditions, choose Static then Whenever EstimatedCharges is, choose Greater/Equal.
For the than part, this is going to be the dollar amount for when you want to be alerted if it exceeds this amount within the month. I'm going to enter 5 so that if my monthly bill is more than $5.00 the alarm will trigger and I will get an email.
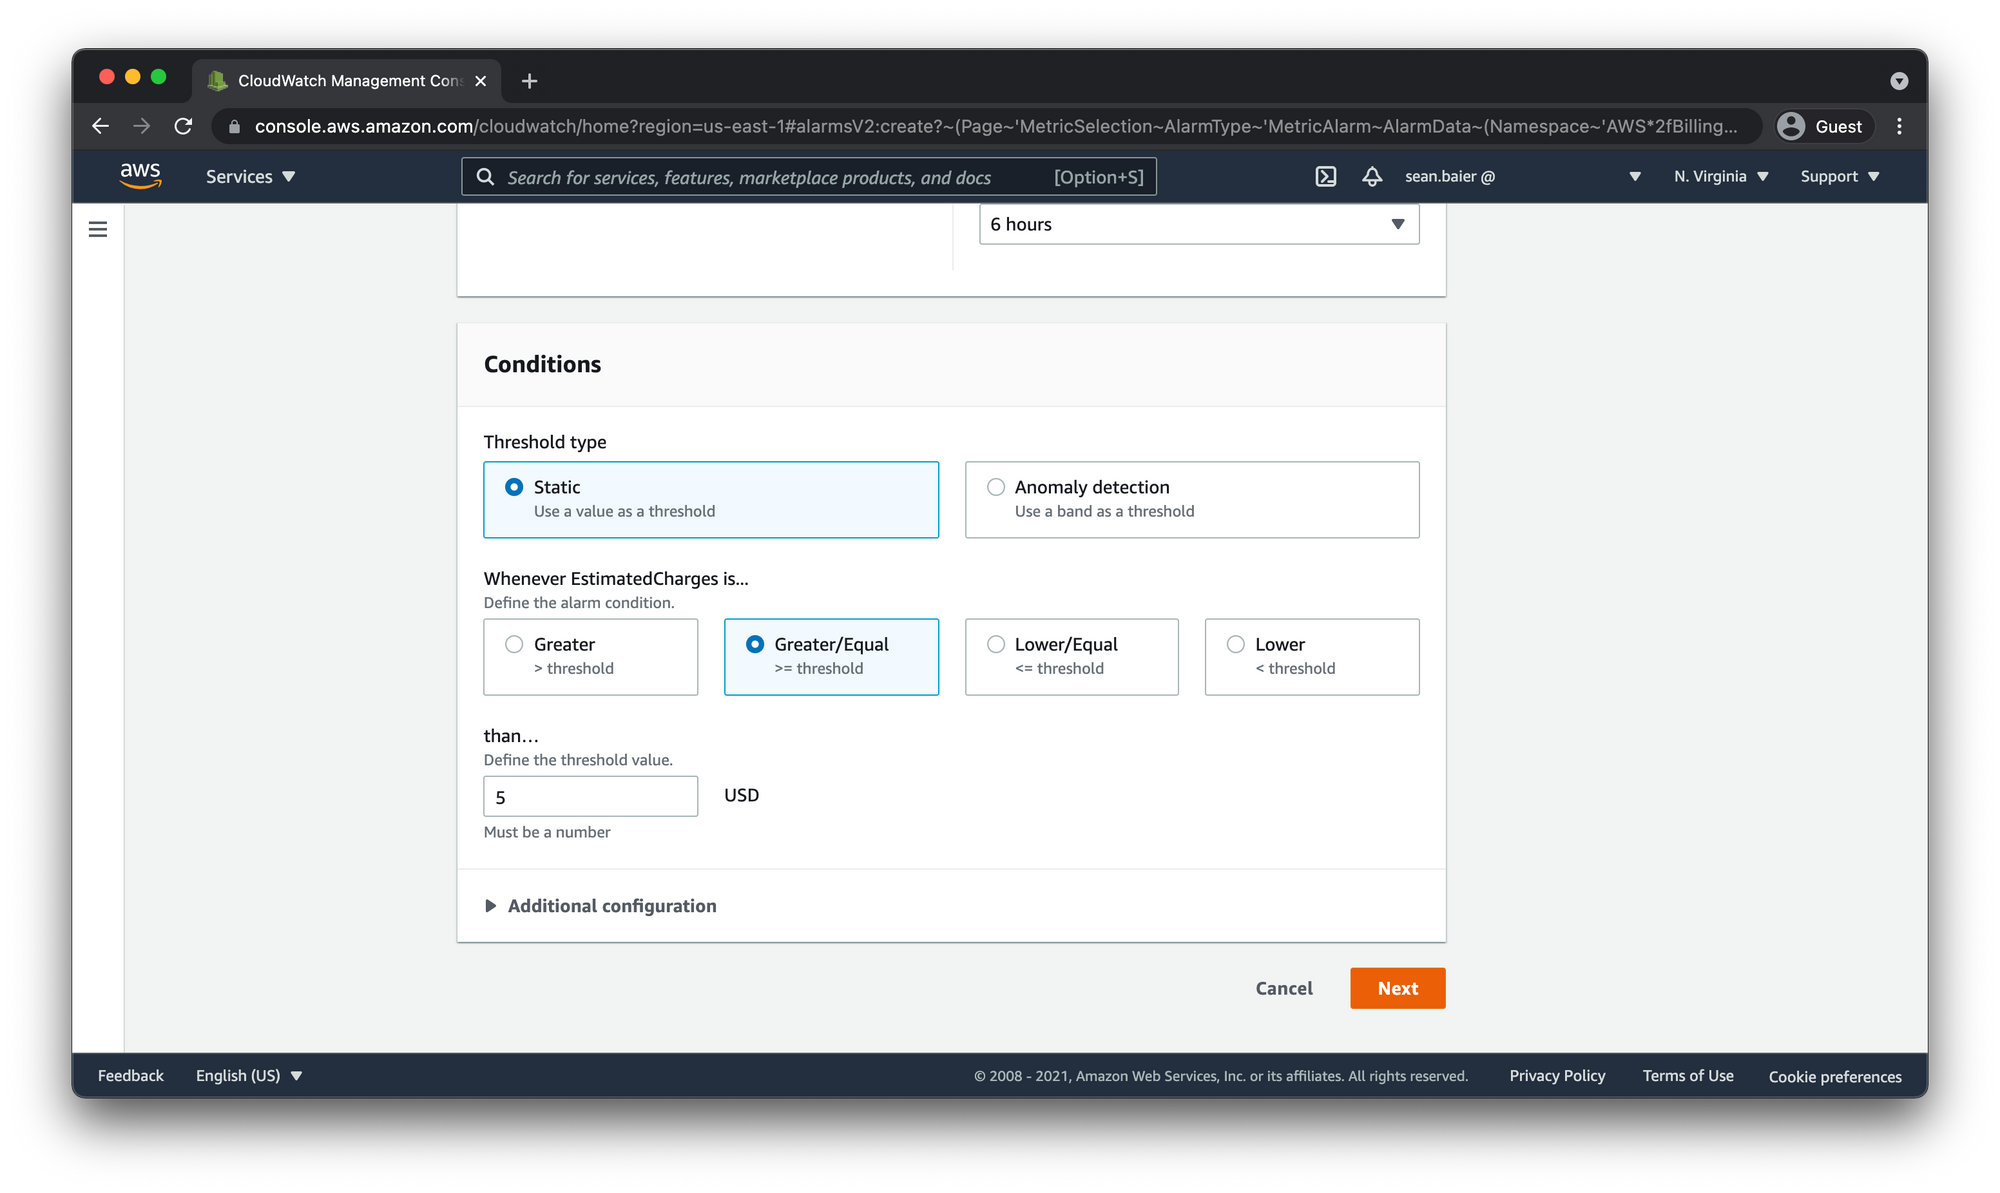
Choose Next.
Configure actions
Select In alarm for the Alarm state trigger
For Select an SNS topic, select "Create new topic" and then in the "Create a new topic..." input box give it a descriptive name. I'm going to call mine costUsageCloudWatchAlarmsTopic
- This is going to be the topic that will be notified when the alarm is in the
ALARMstate.
With AWS SNS Topics you have to subscribe to the topic in order to to receive the notifications.
- However many emails you want to get notified, you can add them here (separated with commas).
- Go ahead and add in the email address you want to be notified with.
- You can also have the alarm send multiple notifications for the same alarm state or for different alarm states, by choosing Add notification. We're going to leave it as is for now.
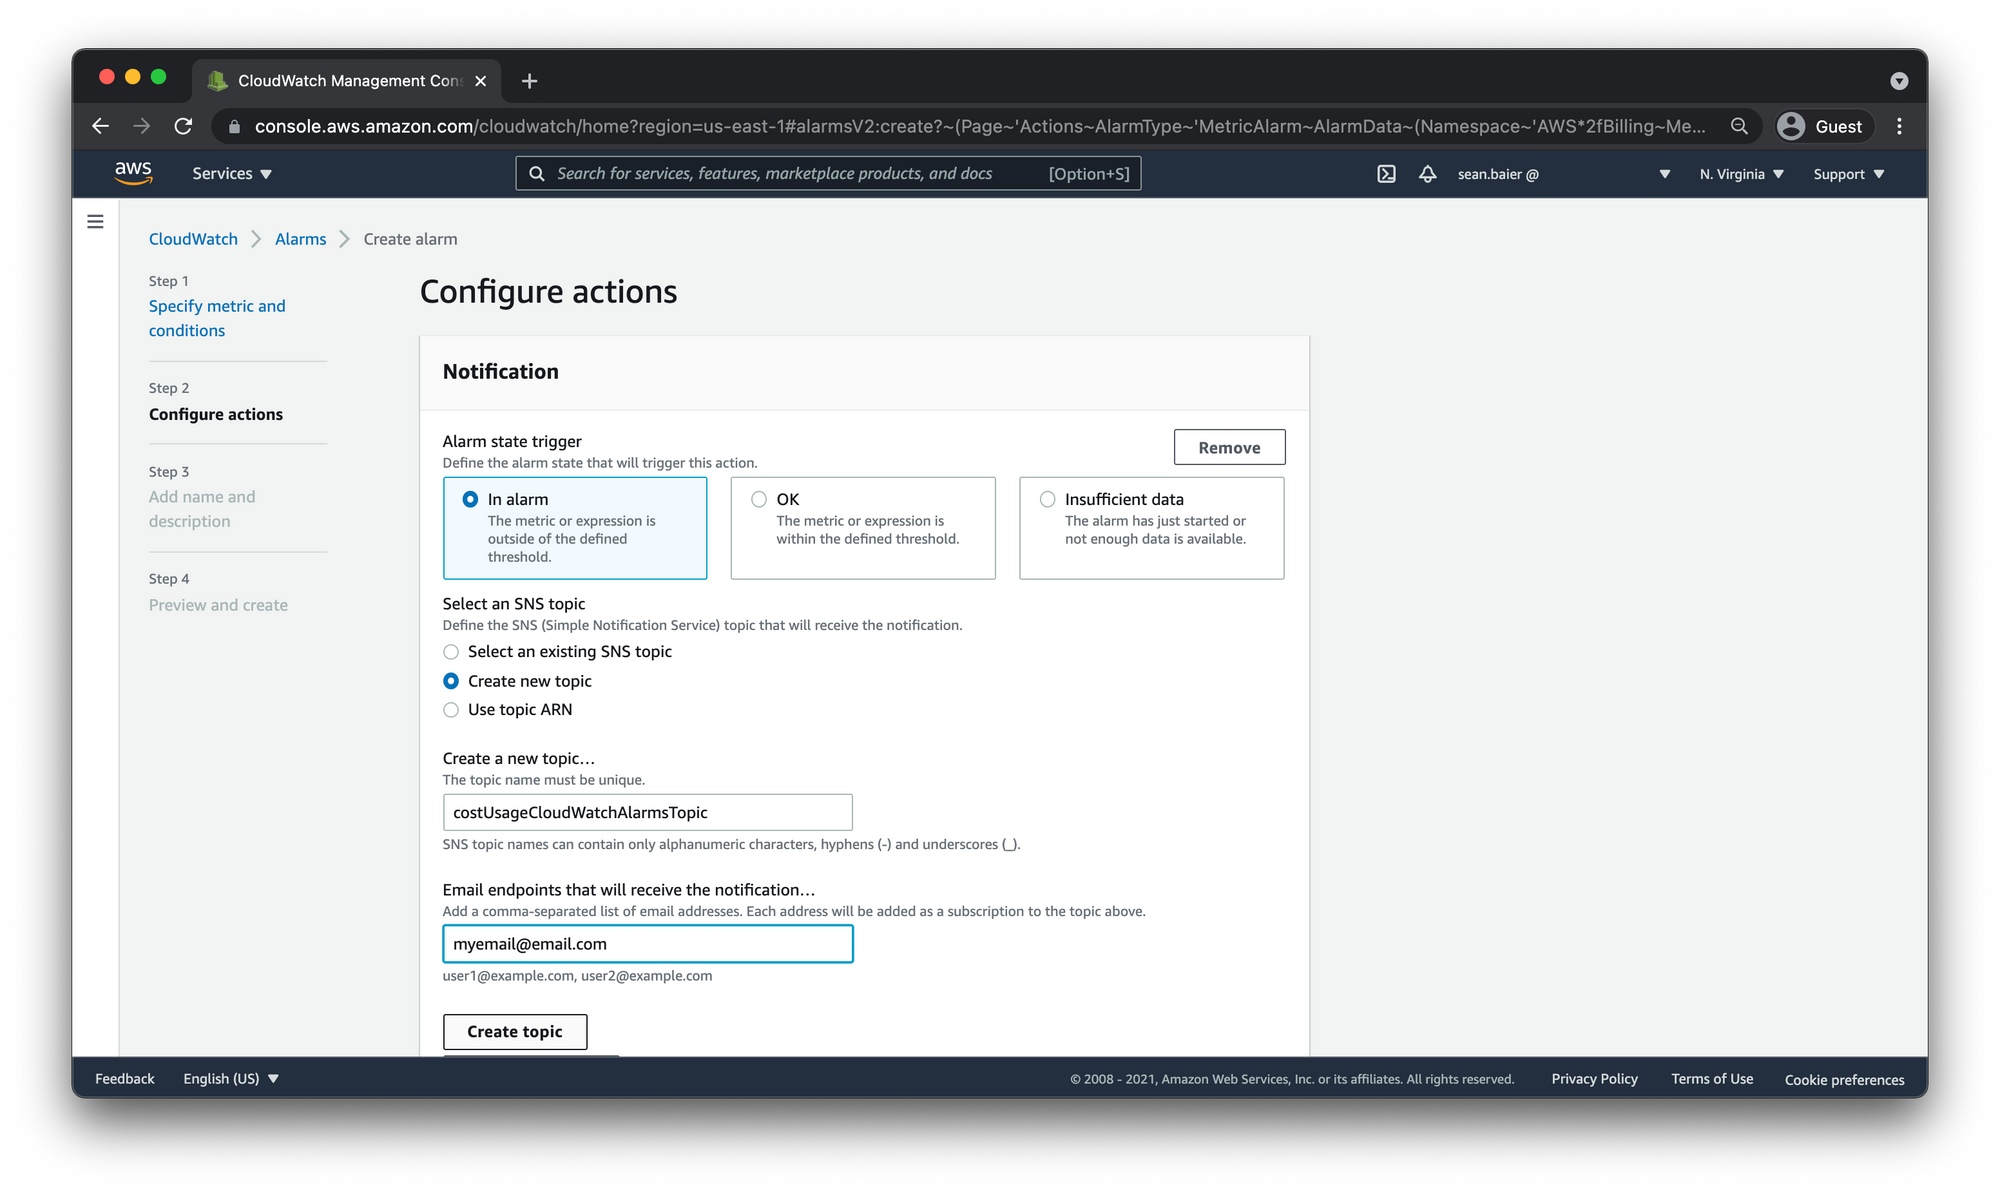
- Once you have the SNS Topic sections filled out click "Create Topic"
- The Select an SNS topic section should switch to have "Select an existing SNS topic" checked since we just created the topic we want to choose.
- Send a notification to... should now have the new topic selected.
- Email (endpoints) should have the email addresses you entered to get notified.
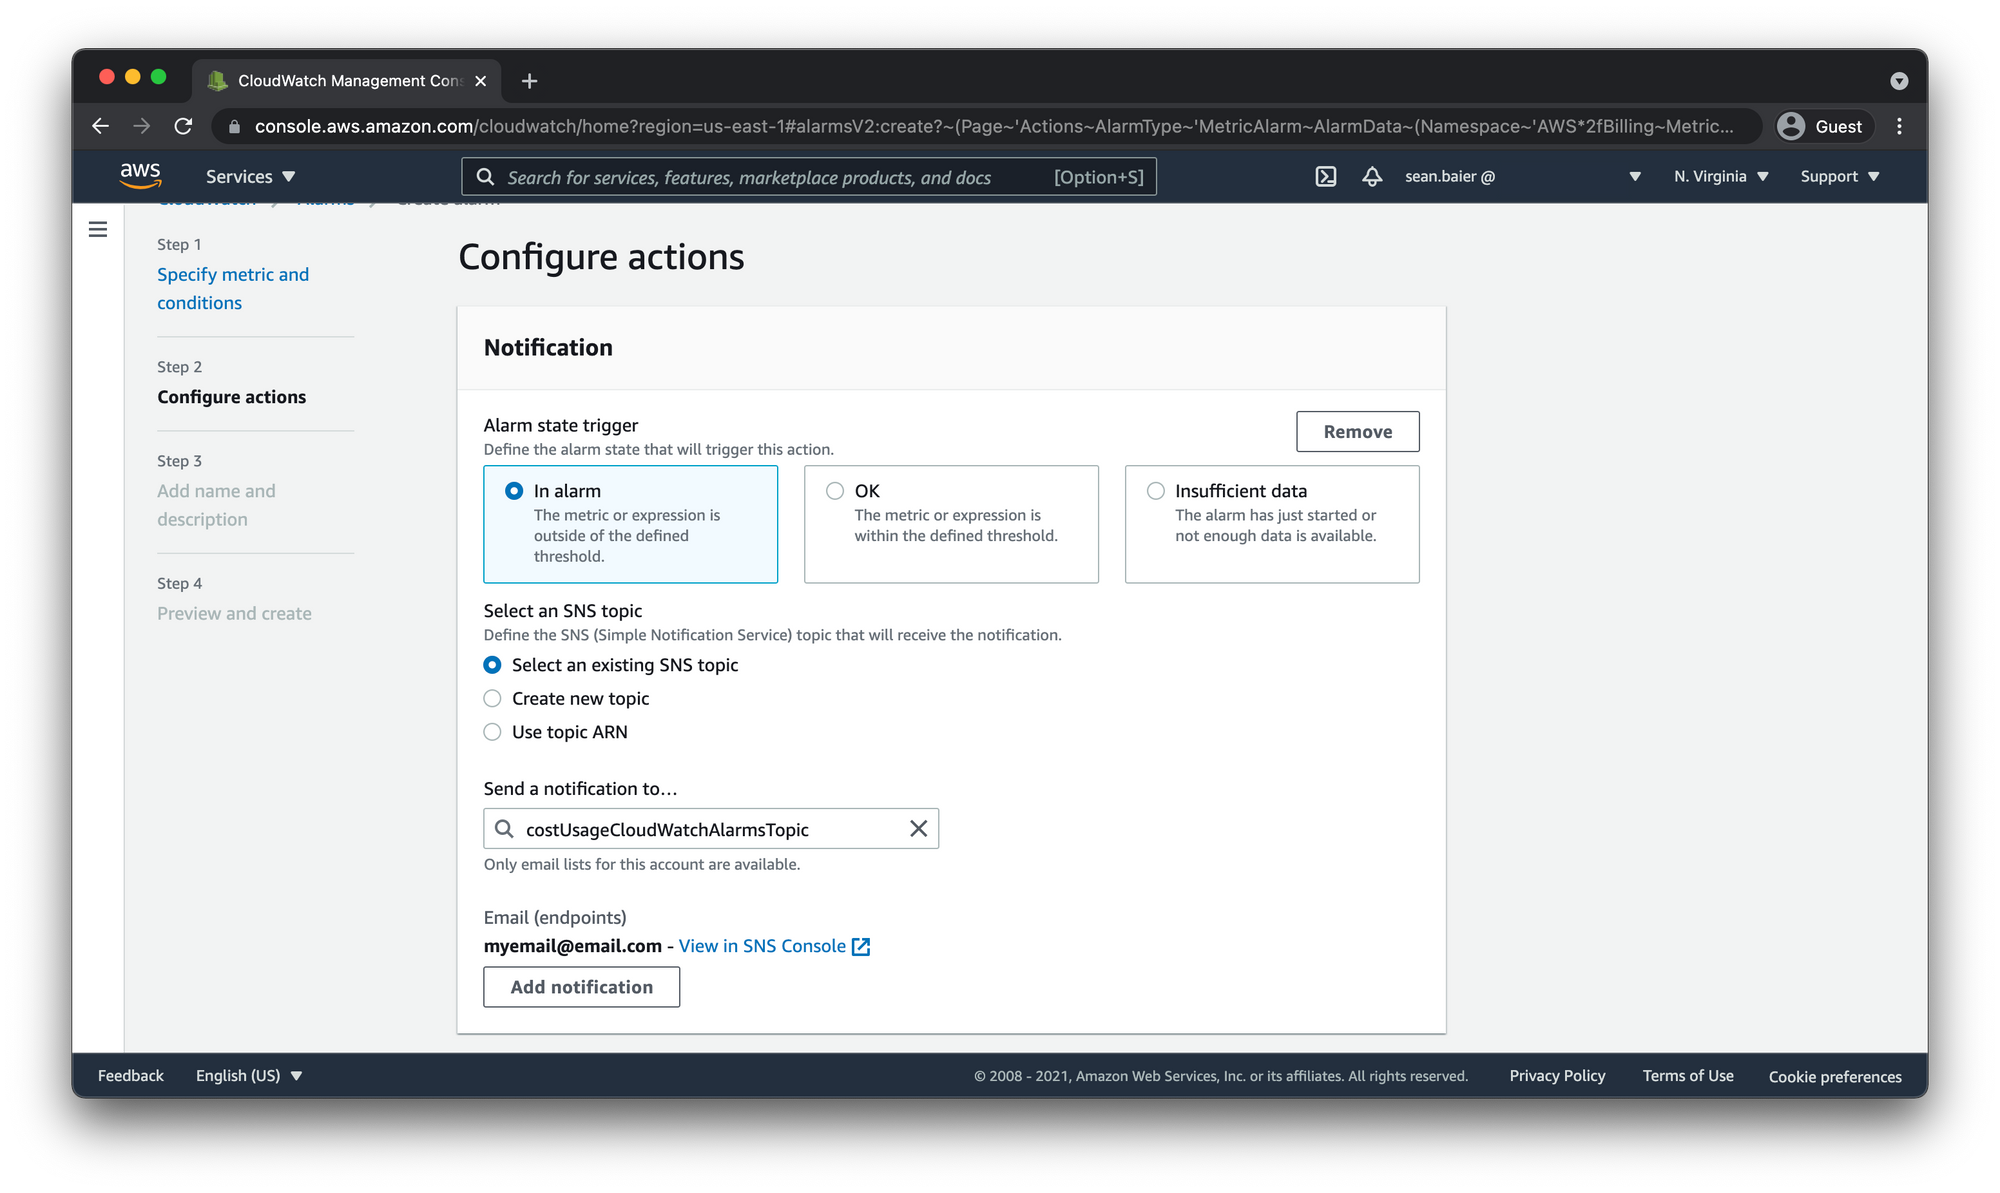
When finished, choose Next.
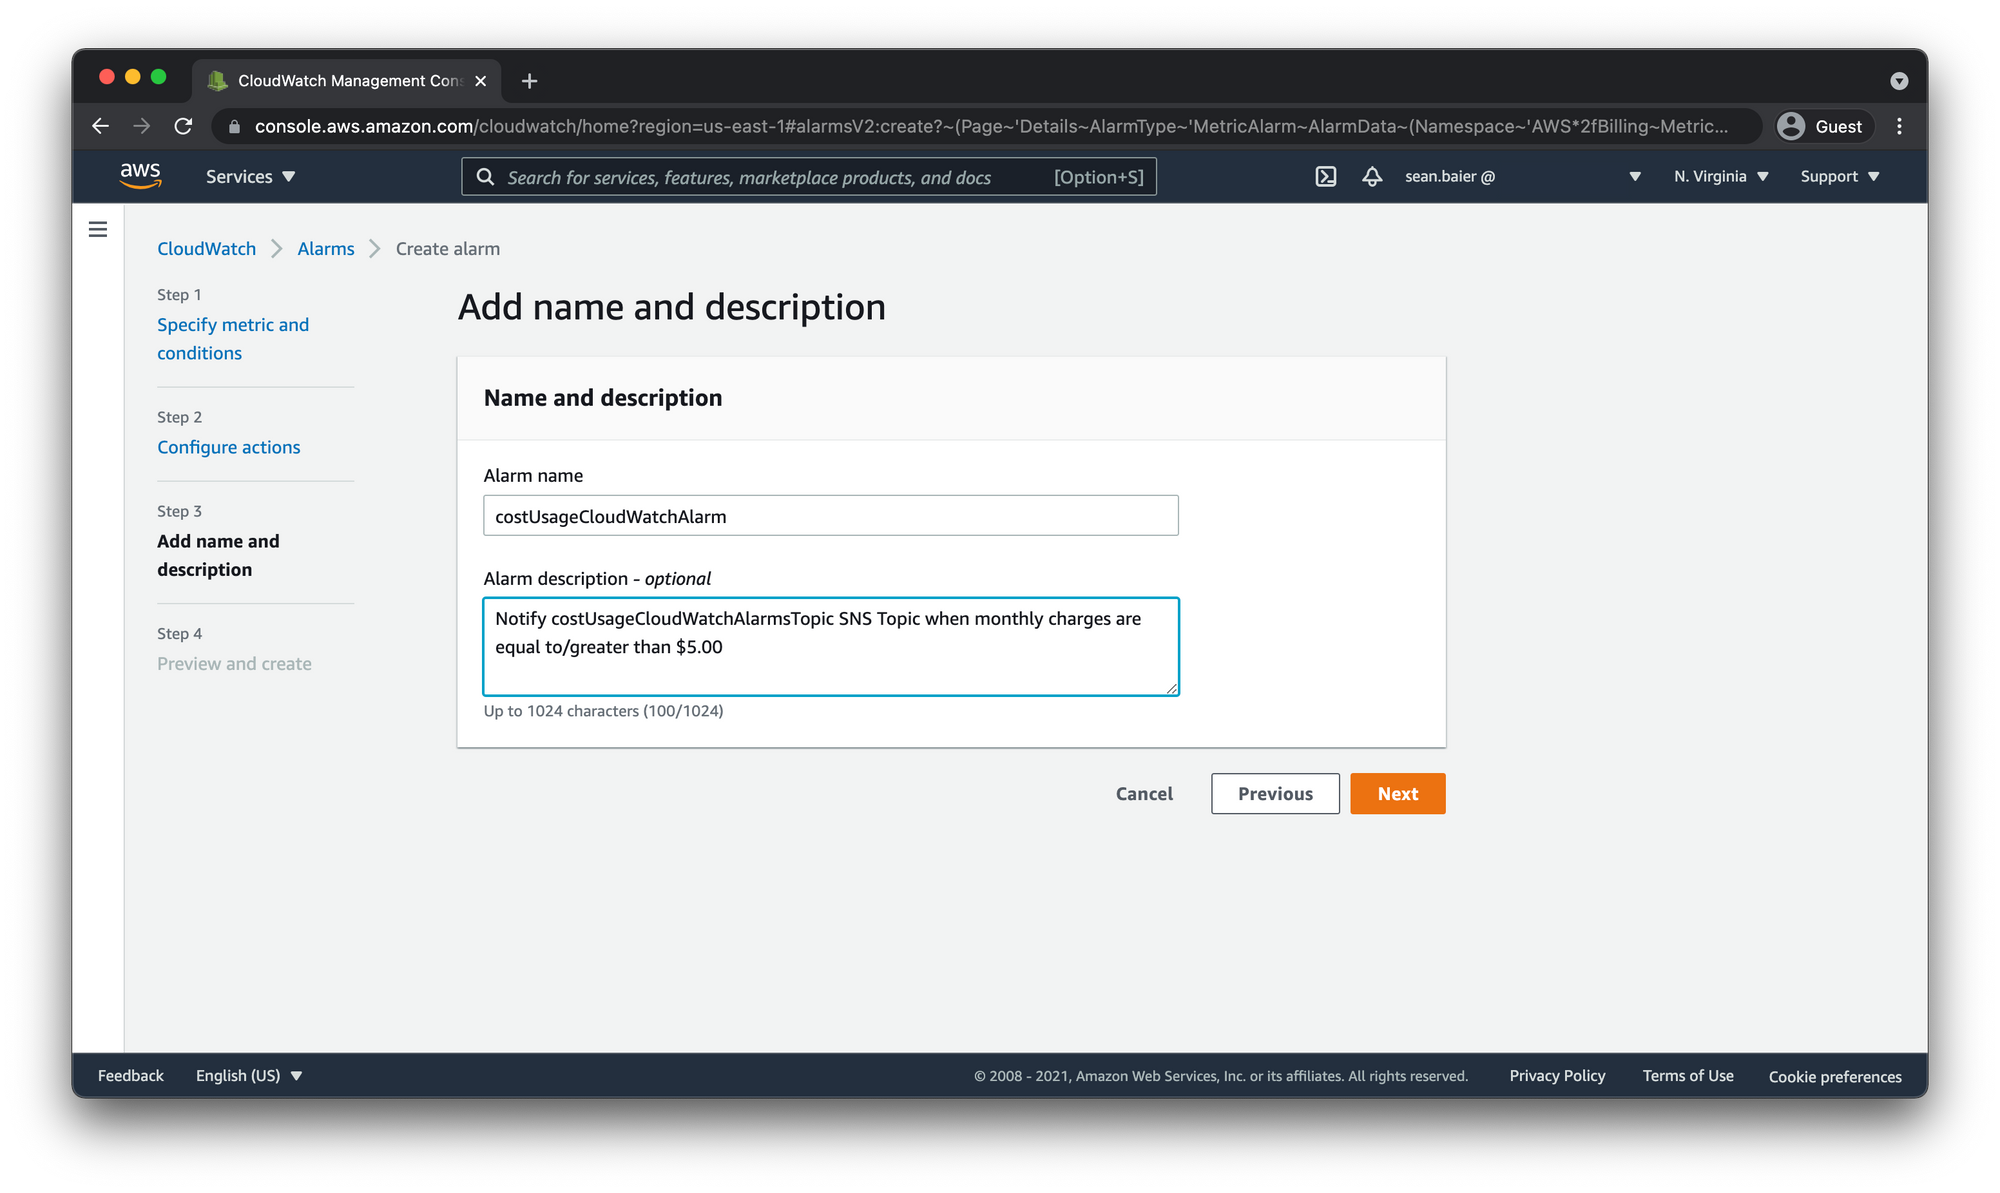
Add name and description
- Enter a name and description for the alarm. The name must contain only ASCII characters.
- I'm going to call mine
costUsageCloudWatchAlarmand give it the descriptionNotify costUsageCloudWatchAlarmsTopic SNS Topic when monthly charges are equal to/greater than $5.00 - Then choose Next
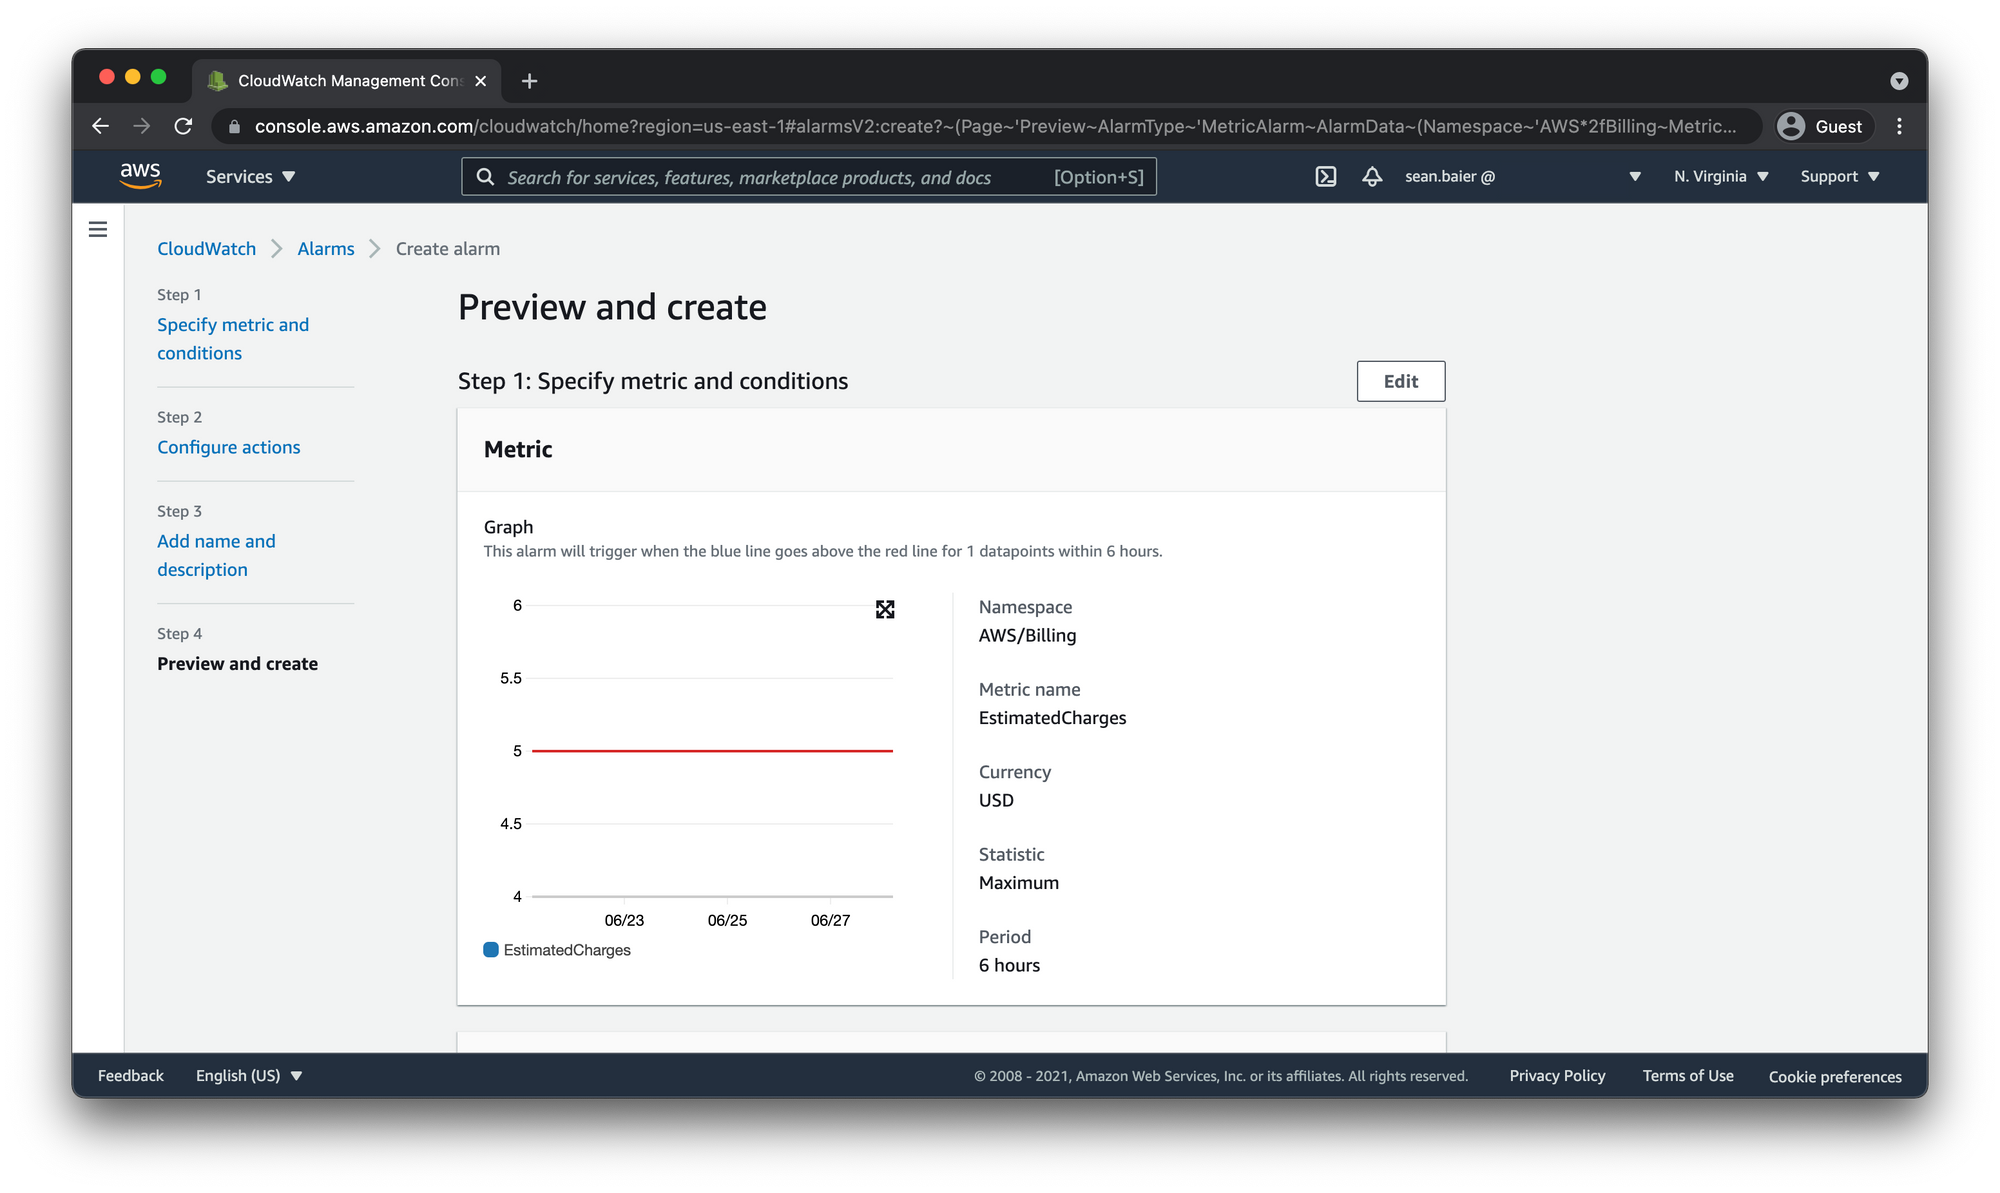
Preview and create
- Under Preview and create, confirm that the information and conditions are what you want, then scroll to the bottom of the page and click "Create alarm."
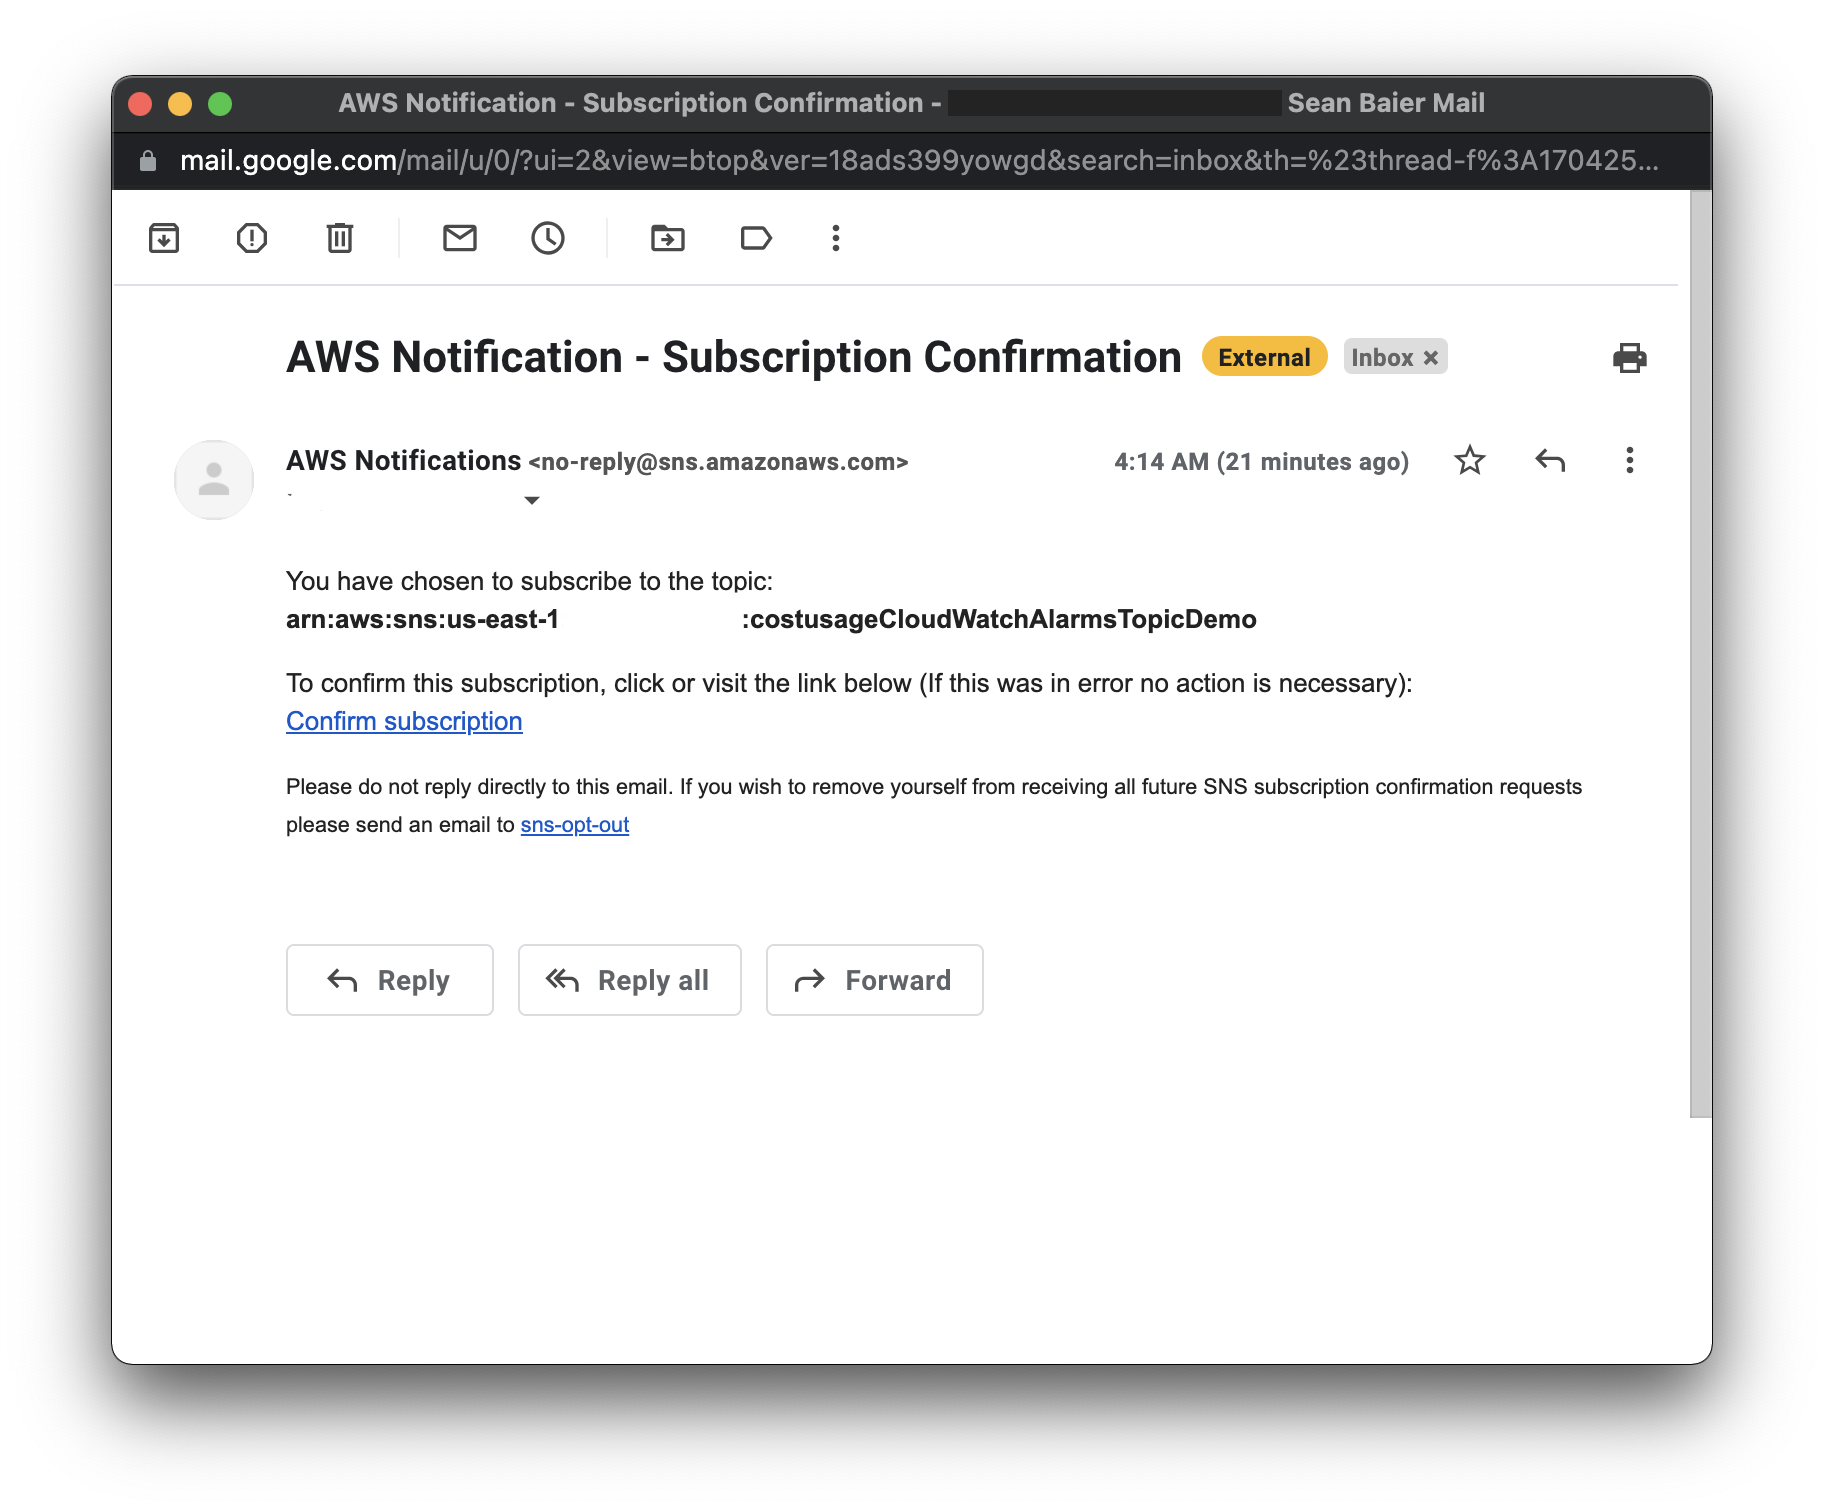
Confirm SNS Topic Subscription
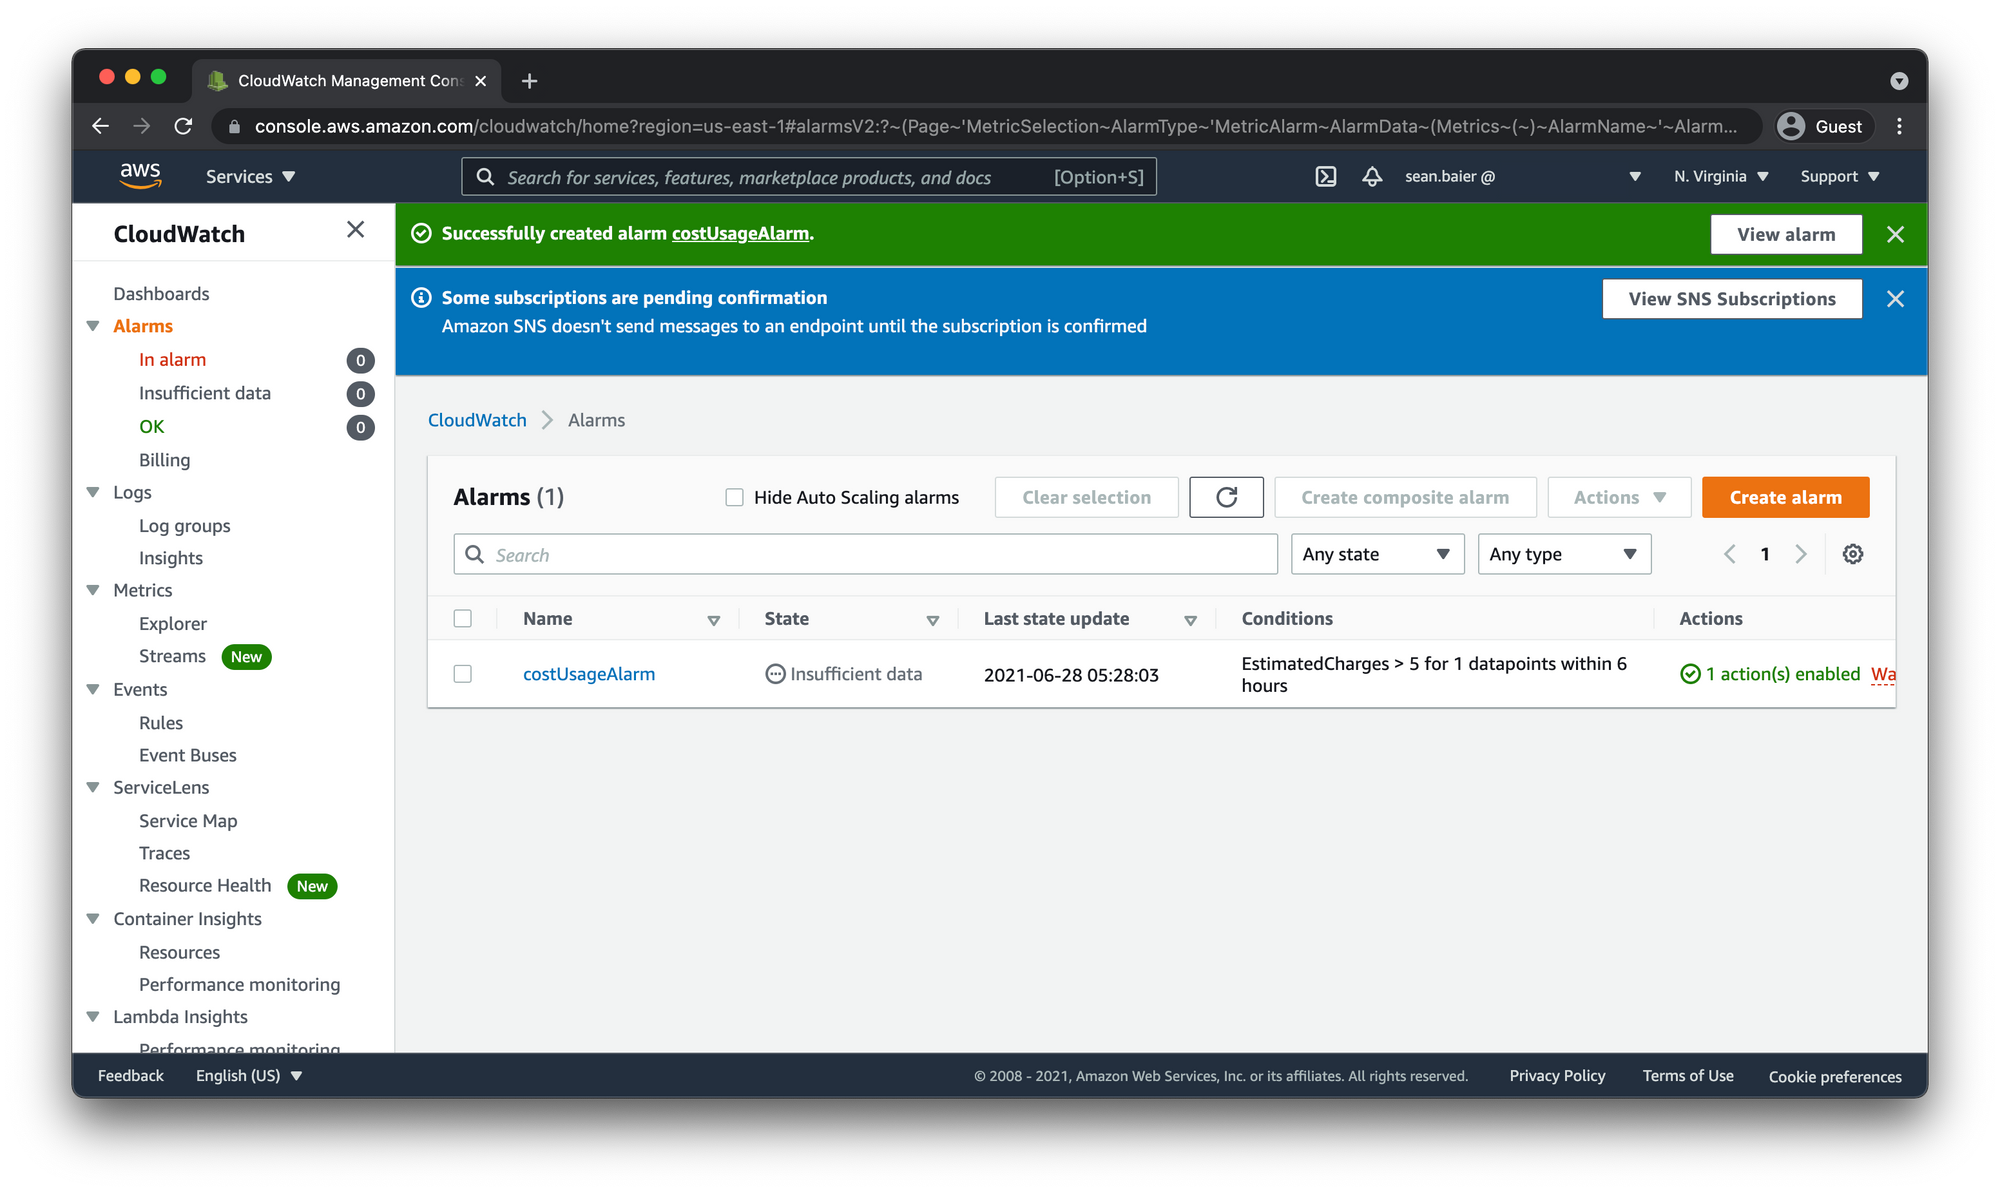
Before you will receive any alerts you need to confirm your subscription to the SNS Topic. You will notice an alert in the CloudWatch Alarms dashboard notifying you of this.
You should have received a email with a link to confirm. Click the "Confirm subscription" link.
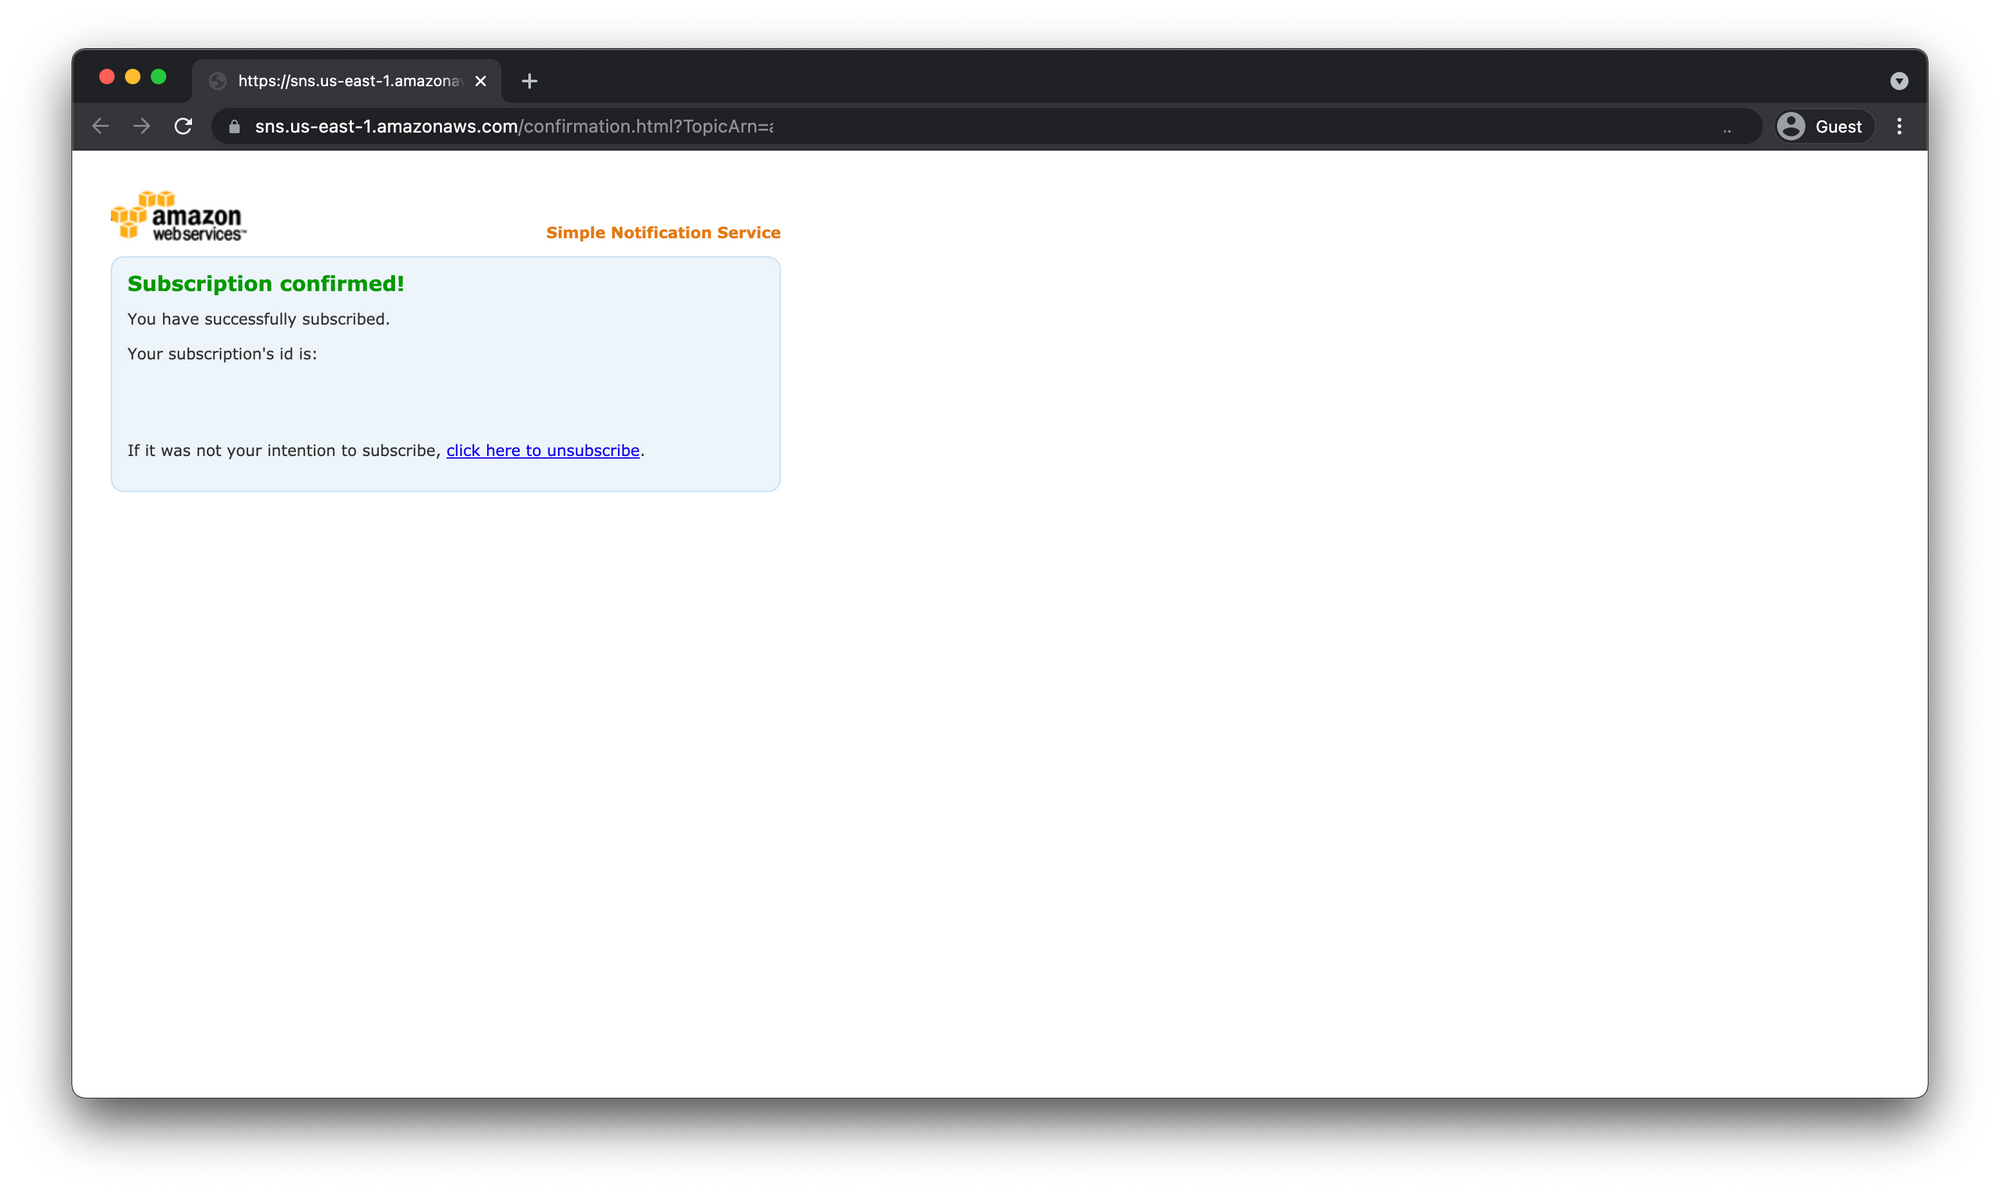
Now if you navigate back to the CloudWatch dashboard in the AWS Console your alarm should show up.

If you click on "Alarms" on the left-hand side, you will see your new alarm in one of three states.
- In alarm - Meaning you are equal to or have exceeded the monthly amount of $5.00 in usages costs.
- Insufficient data - This means that there is not enough data yet for the metrics to be measured against your alarm criteria.
- OK - meaning you are under $5.00
Summary
Easy enough!
- We signed up for our AWS account
- Added MFA to our Root User account
- Created our first IAM User with an Administrator policy and MFA in order to provision resources.
- Finally we enabled billing alerts and created a billing alarm in order to be notified of exceeding the AWS Free Tier and anything going over $5.00.
Join the conversation.