
Setup a basic FastAPI application, with auto generated docs and request parameter validation in minutes.
Easy FastAPI Setup
TL;DR
pip install fastapi uvicorn
2. Create a main.py file
# main.py
from fastapi import FastAPI

app = FastAPI()


@app.get("/")
async def root():
    return {"message": "Hello World"}
3. run the server
uvcorn main:app ---port 8000 --reload
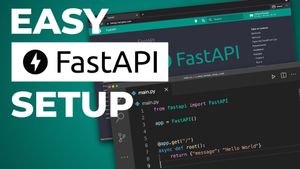
4. Open a browser and navigate to http://localhost:8000/docs you should see autogenerated Swagger UI docs!
Requirements
- Python version 3.6 or higher.
- Familiarity using the command line.
Setting up FastAPI
Create FastAPI Directory
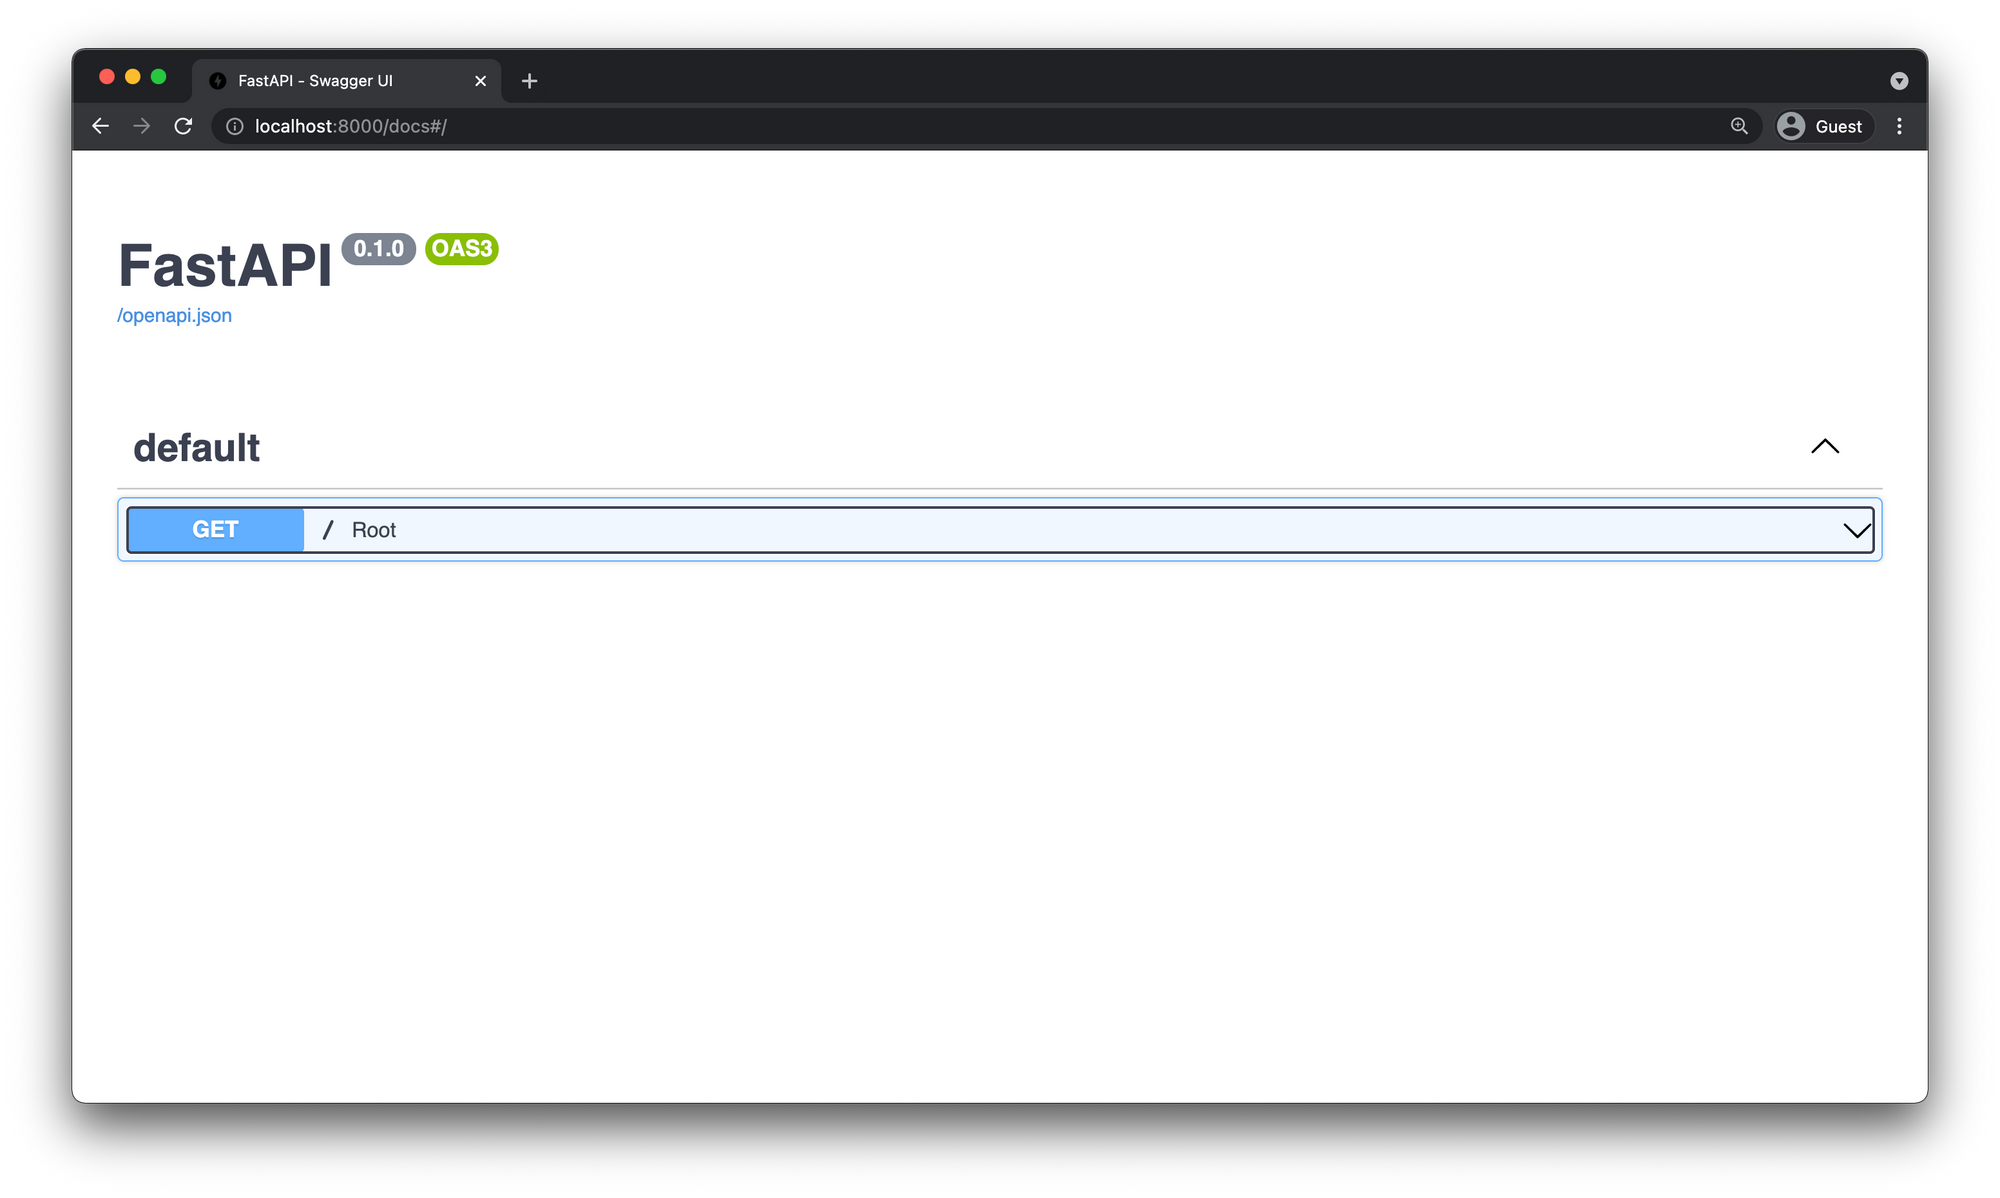
First we need to make a new directory. So go ahead and open up your terminal of choice and run the following command.
mkdir fastapi
Then change directories into it.
cd fastapi
Create a Virtual Environment
We are going to use Python's built in virtual environment tool venv to help manage the packages we are going to install for the app.
This will create a virtual environment so we can install packages for only this app in an isolated directory. This helps mitigate any conflicts with other python packages that may be installed on your computer.
python -m venv .venv
Activate the virtual environment.
source .venv/bin/actiate
Now we have instructed the shell to use the python interpreter within the newly created virtual environment instead of using the global python interpreter.
Install FastAPI
First we need to install FastAPI.
pip install fastapi
pip install fastapi[all]
If you are using zsh you might have to wrap it in quotes.
pip install "fastapi[all]"
FastAPI Code
Create a main.py file in the root of your project and add the following snippet.
from fastapi import FastAPI


app = FastAPI()

@app.get("/")
def root():
    return { "message": "FastAPI!" }
Install Uvicorn
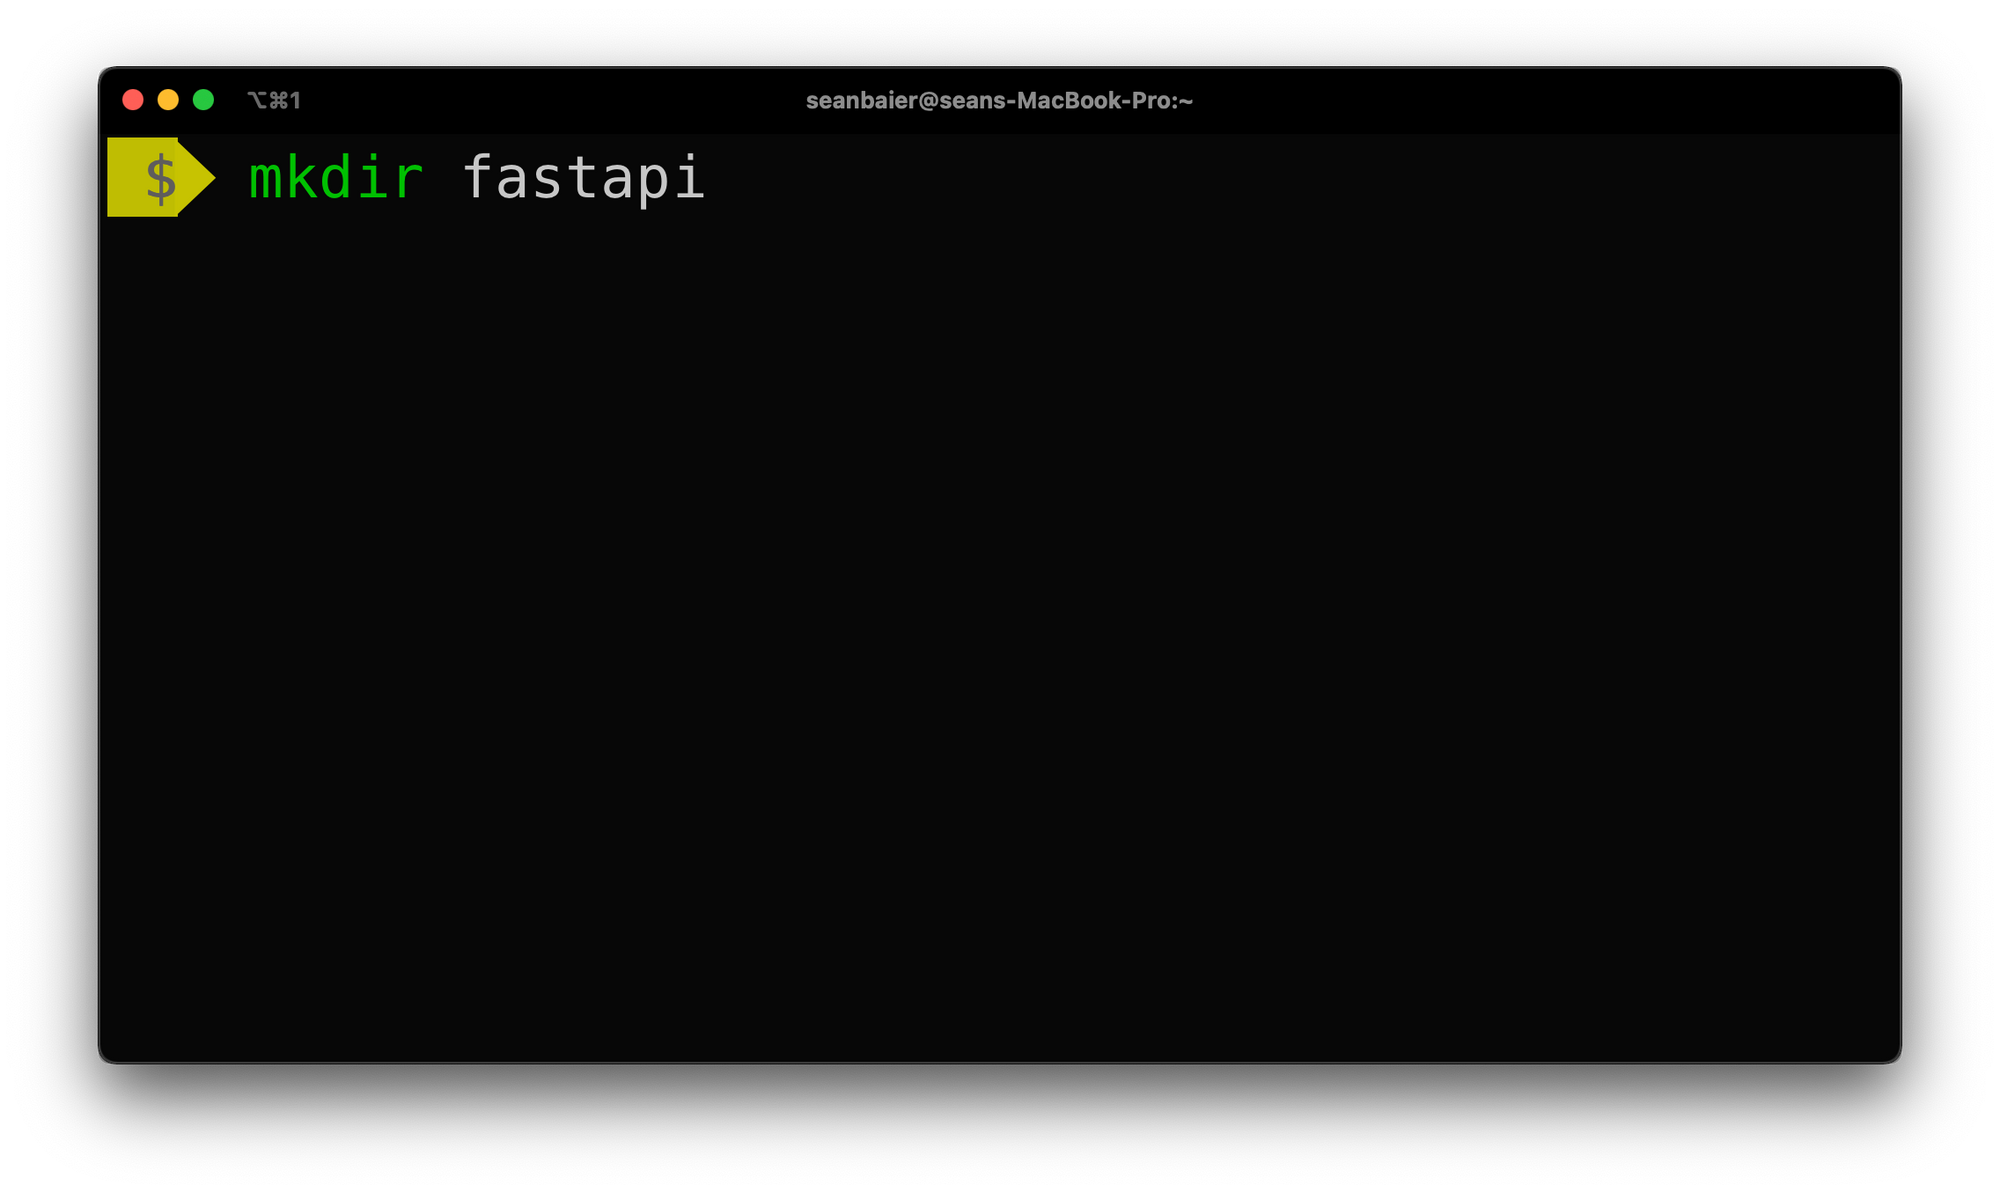
FastAPI is just the web framework for building the API so we will also need an ASGI web server for the framework to run on. The official FastAPI documentation recommends using Uvicorn so we are going to stick with that.
pip install uvicornRun FastAPI
uvicorn main:app --port 8000 --reloadHere main:app tells uvicorn to look for the app object inside the main.py file.
The two arguments --port and --reload are optional parameters that define which port to run on and to restart the server after every change detected while developing.
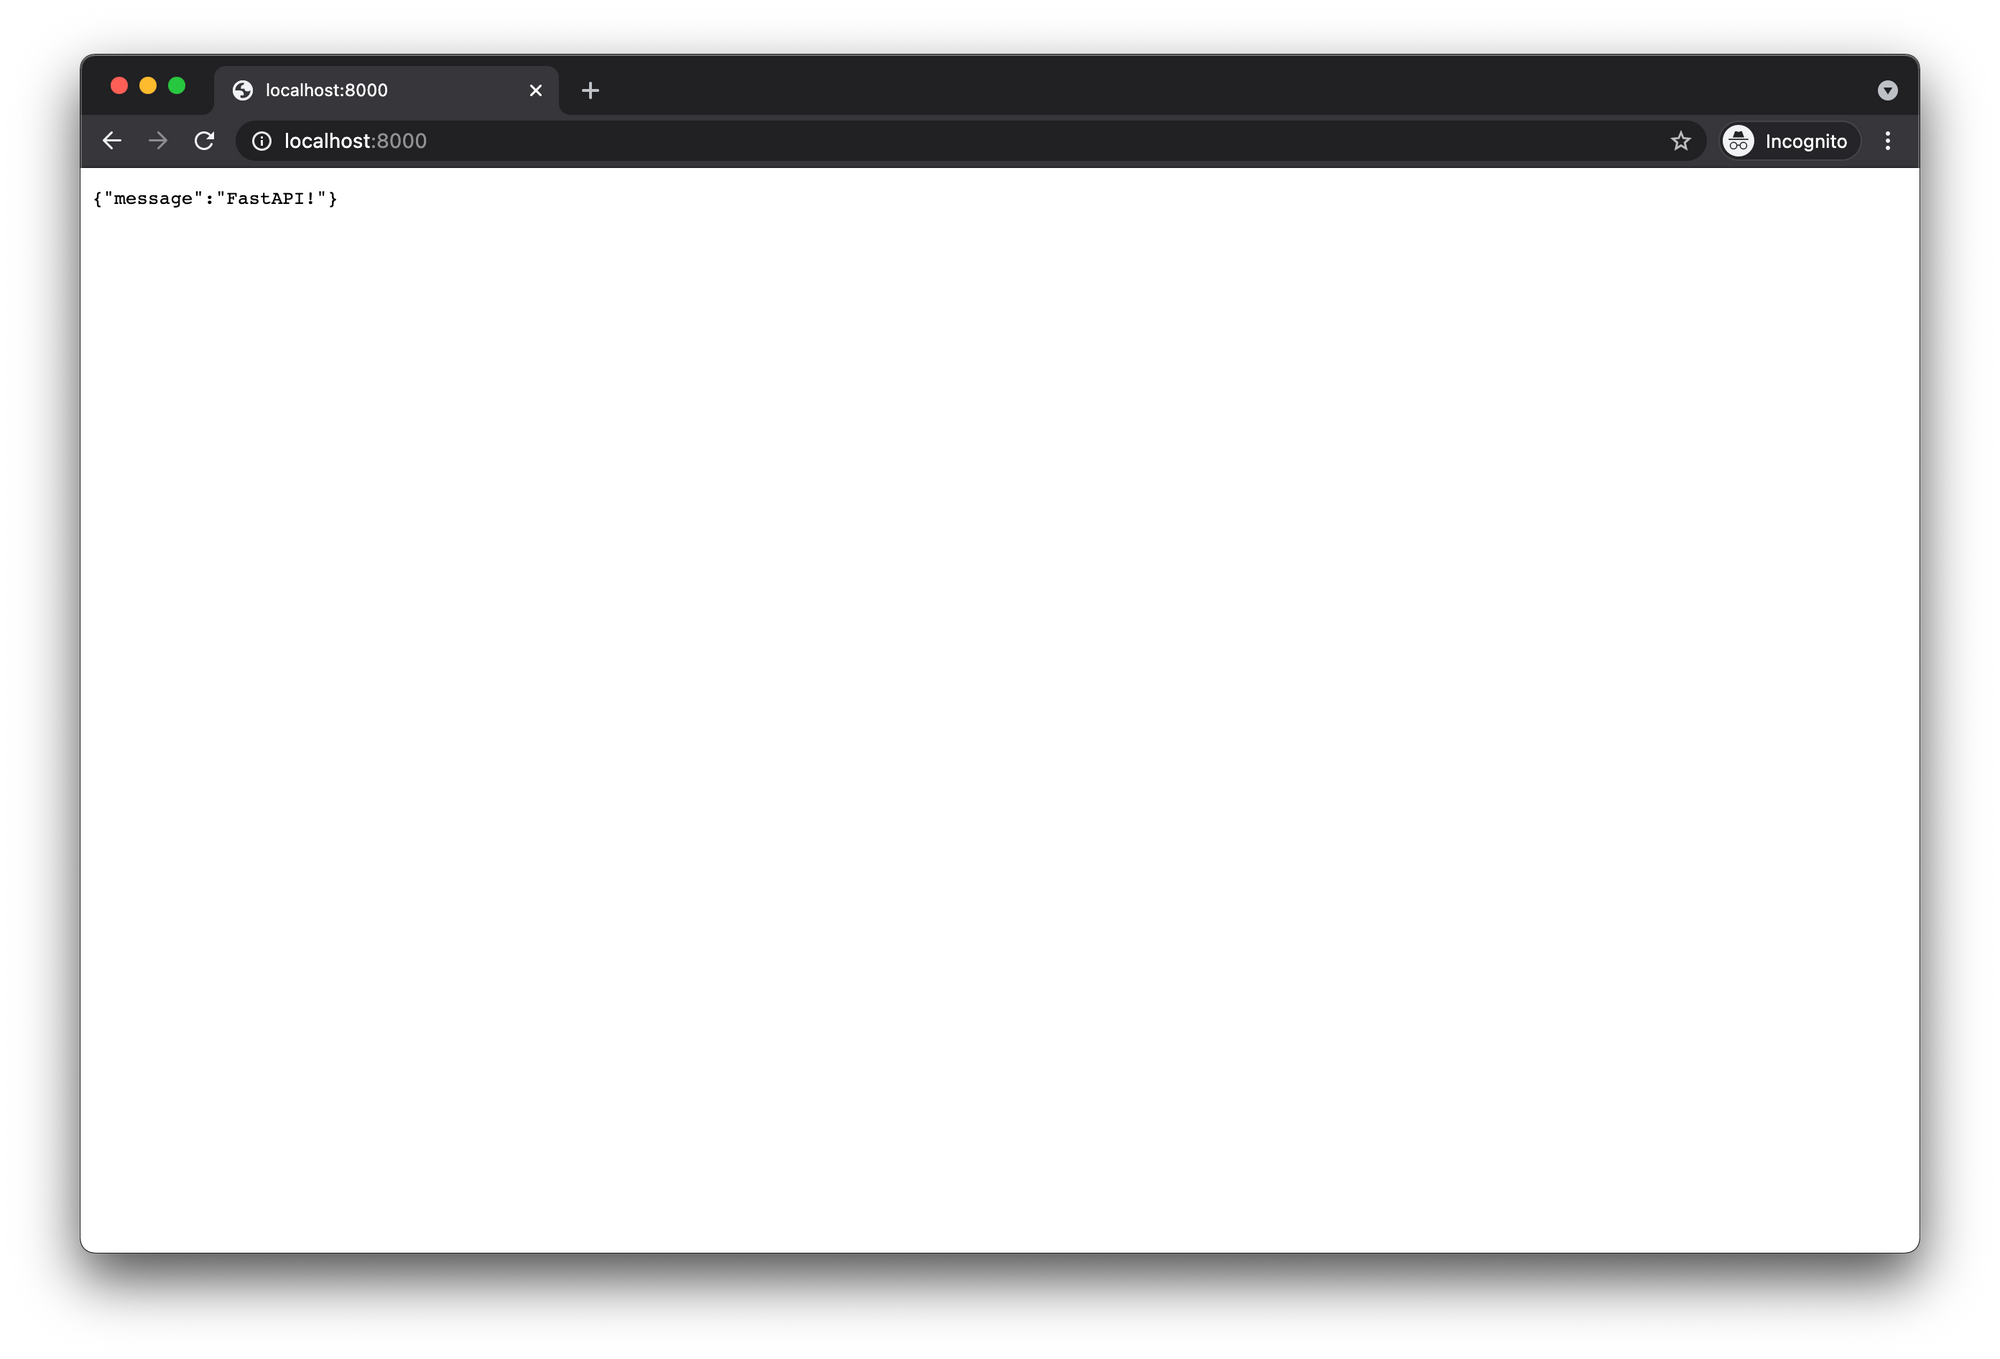
Open a browser and navigate to http://localhost:8000 you should see the JSON message in your browser!
Now navigate to http://localhost:8000/docs and you should see the interactive documentation automatically generated by FastAPI!

Breaking it Down
Importing FastAPI
As you can see on line 1, we first need to import FastAPI so we can use it within our app.
from fastapi import FastAPICreate a FastAPI Instance
Next on line 3 we create a new instance of the FastAPI class and assign it to a variable called app.
app = FastAPI()This is the app referred to in the command to start the uvicorn server. uvicorn main:app --reload --port 8000
Path
A website URL (Uniform Source Locator) is made up of several different parts. For the sake of this demo let's just talk about the Scheme (Protocol), Authority (Domain), and Path.
So in the example https://deadbear.io/fastapi
- Scheme -
https://- The scheme tells your browser which protocol to use when communicating with a website's server. - Authority -
deadbear.io- This includes both the domain and the port. The port is usually omitted if using the standard forHTTP (80),HTTPS (443)protocol. - Path -
/fastapi- The path directs the browser to a particular page on the website.
We will be focusing on the Path or as its often referred to as a "route" or "endpoint".
Operation
The Operation refers to what kind of HTTP method is allowed to be used on that particular path.
More often then not these will usually be POST, GET, PUT, and DELETE. FastAPI supports all of these and they are defined by using a Python decorator.
Here is a great article on Python Decorators over at RealPython.
Line 5 in our main.py defines our route and informs FastAPI to take any GET operation request to the path / and forward it to the function directly below it.
@app.get("/")The other path operations would be defined like so.
@app.post()- CREATE@app.get()- READ@app.put()- UPDATE@app.delete()- DELETE
These are the four basics also known as "CRUD". However, they are not enforced they are just standard guidelines. For example, nothing will stop you from defining a GET endpoint that creates data.
Path Operation Function
Finally on lines 6-7 we define a Path Operation Function which is a Python function that the decorator passes the request to, in order for you to do something with it and return a response.
def root():
return { "message": "FastAPI!" }@app.get("/")
async def root():
return { "message": "FastAPI!" }
FastAPI in Action
Open a browser and navigate to http://localhost:8000 you should see the JSON message in your browser!
Autogenerated Documentation
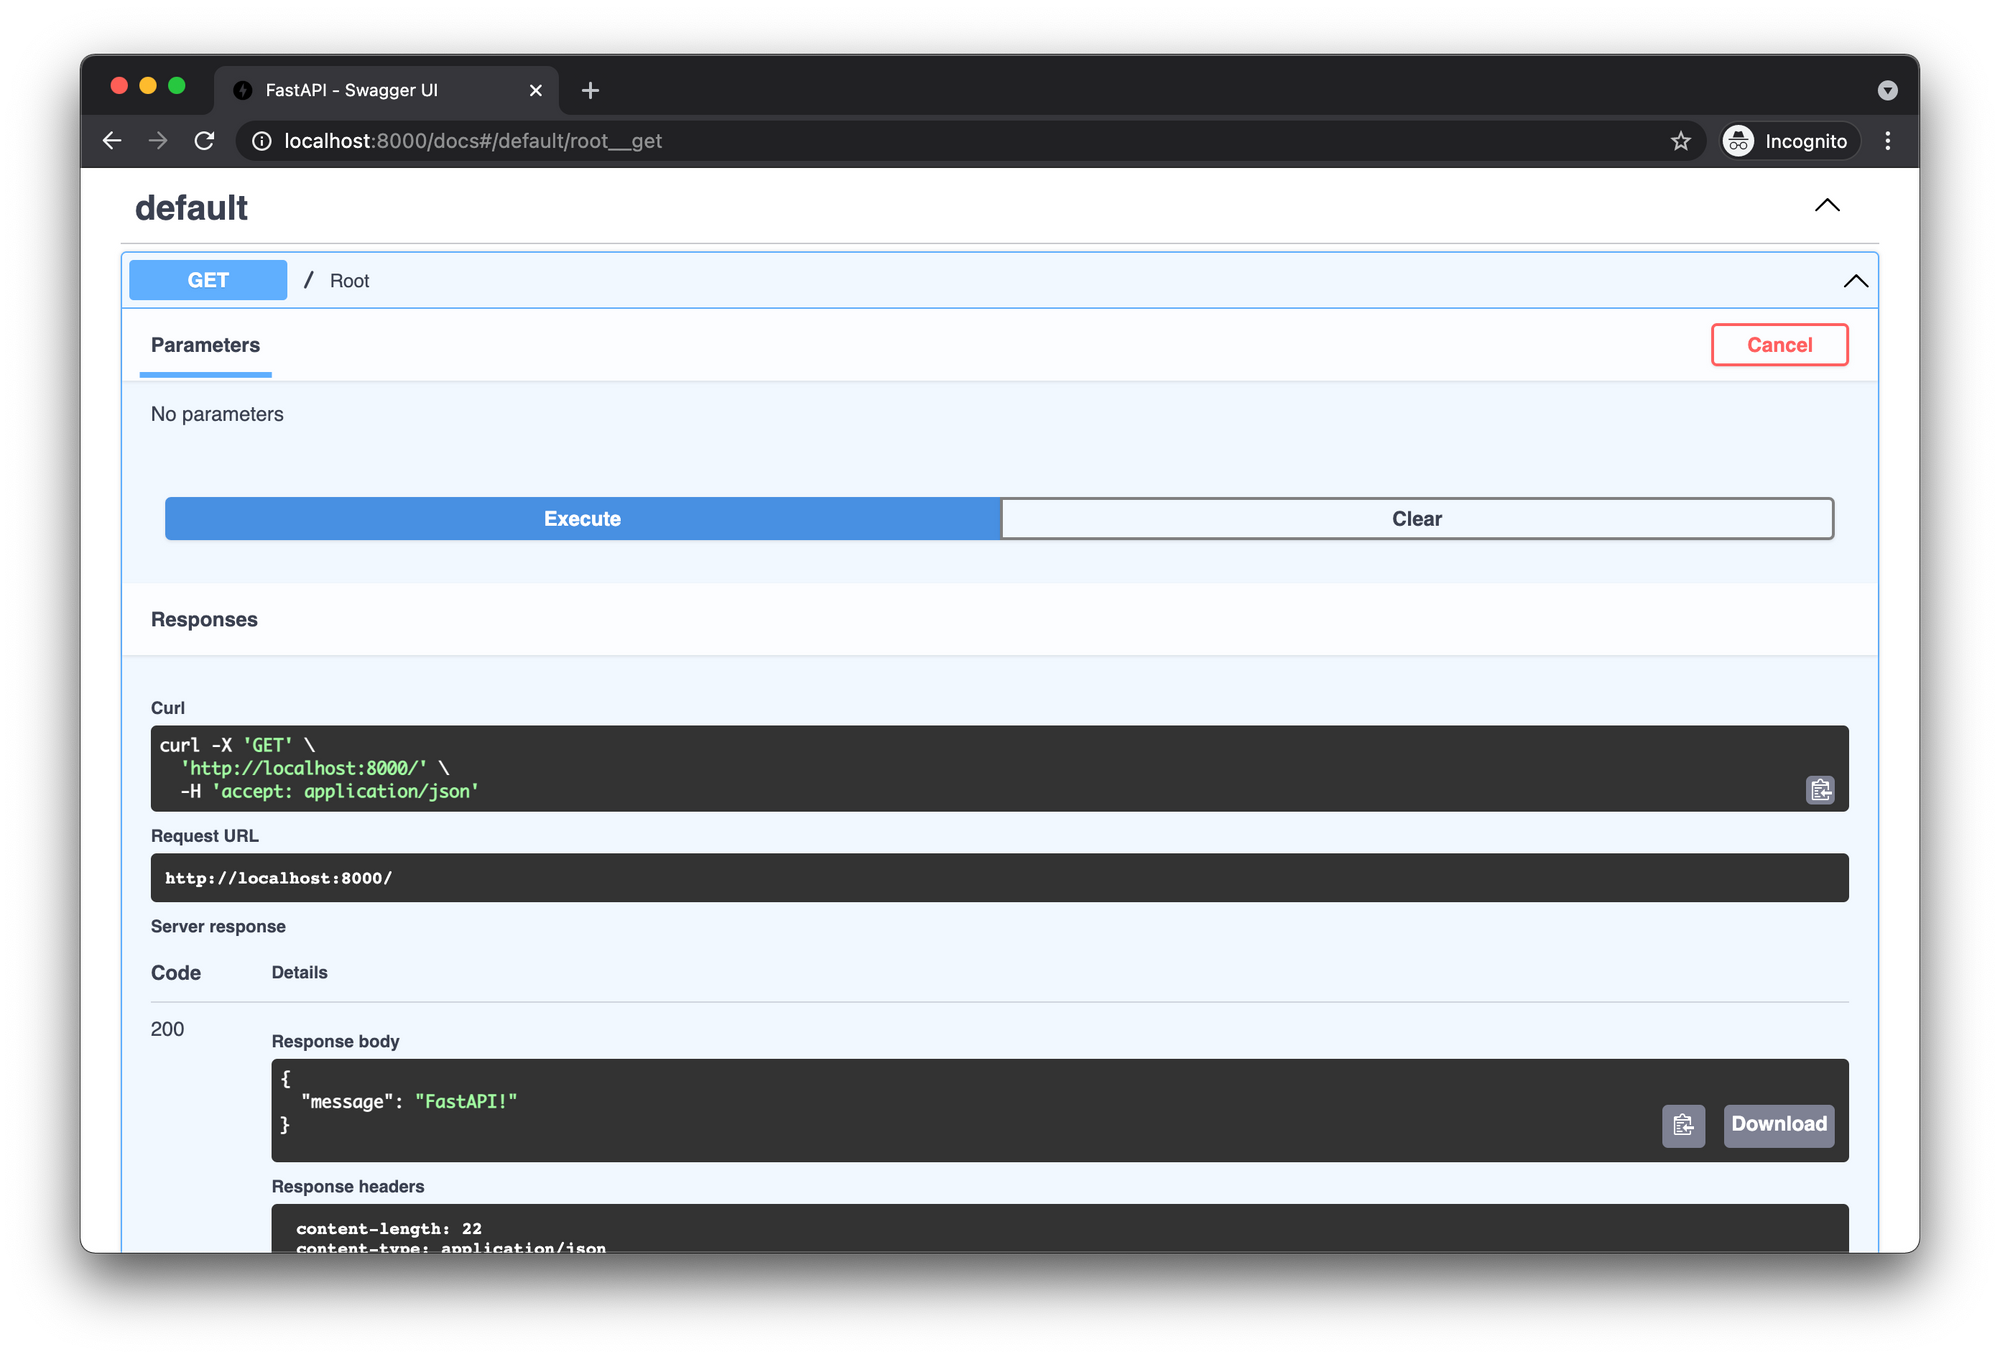
Now if you navigate to http://localhost:8000/docs you can see the interactive API documentation provided by Swagger UI
If you click the route we just created and then click the Try it out button you should see an Execute button that will invoke the http://localhost:8000/ root endpoint.
Since FastAPI is built on the OpenAPI standard it supports alternate flavors of documentation UI's and comes with ReDoc baked in as well which you can see by visiting http://localhost:8000/redoc.
FastAPI also supports pretty much any library for this as long as it conforms to the OpenAPI spec. Check out the FastAPI documentation for more info on how to implement this.OpenAPI
Throughout working with FastAPI you will encounter the term Schema quite often. This refers to the definition of something and not the actual implementation of it.
API Schema
The API Schema defines what the actual API looks like and how to use it.
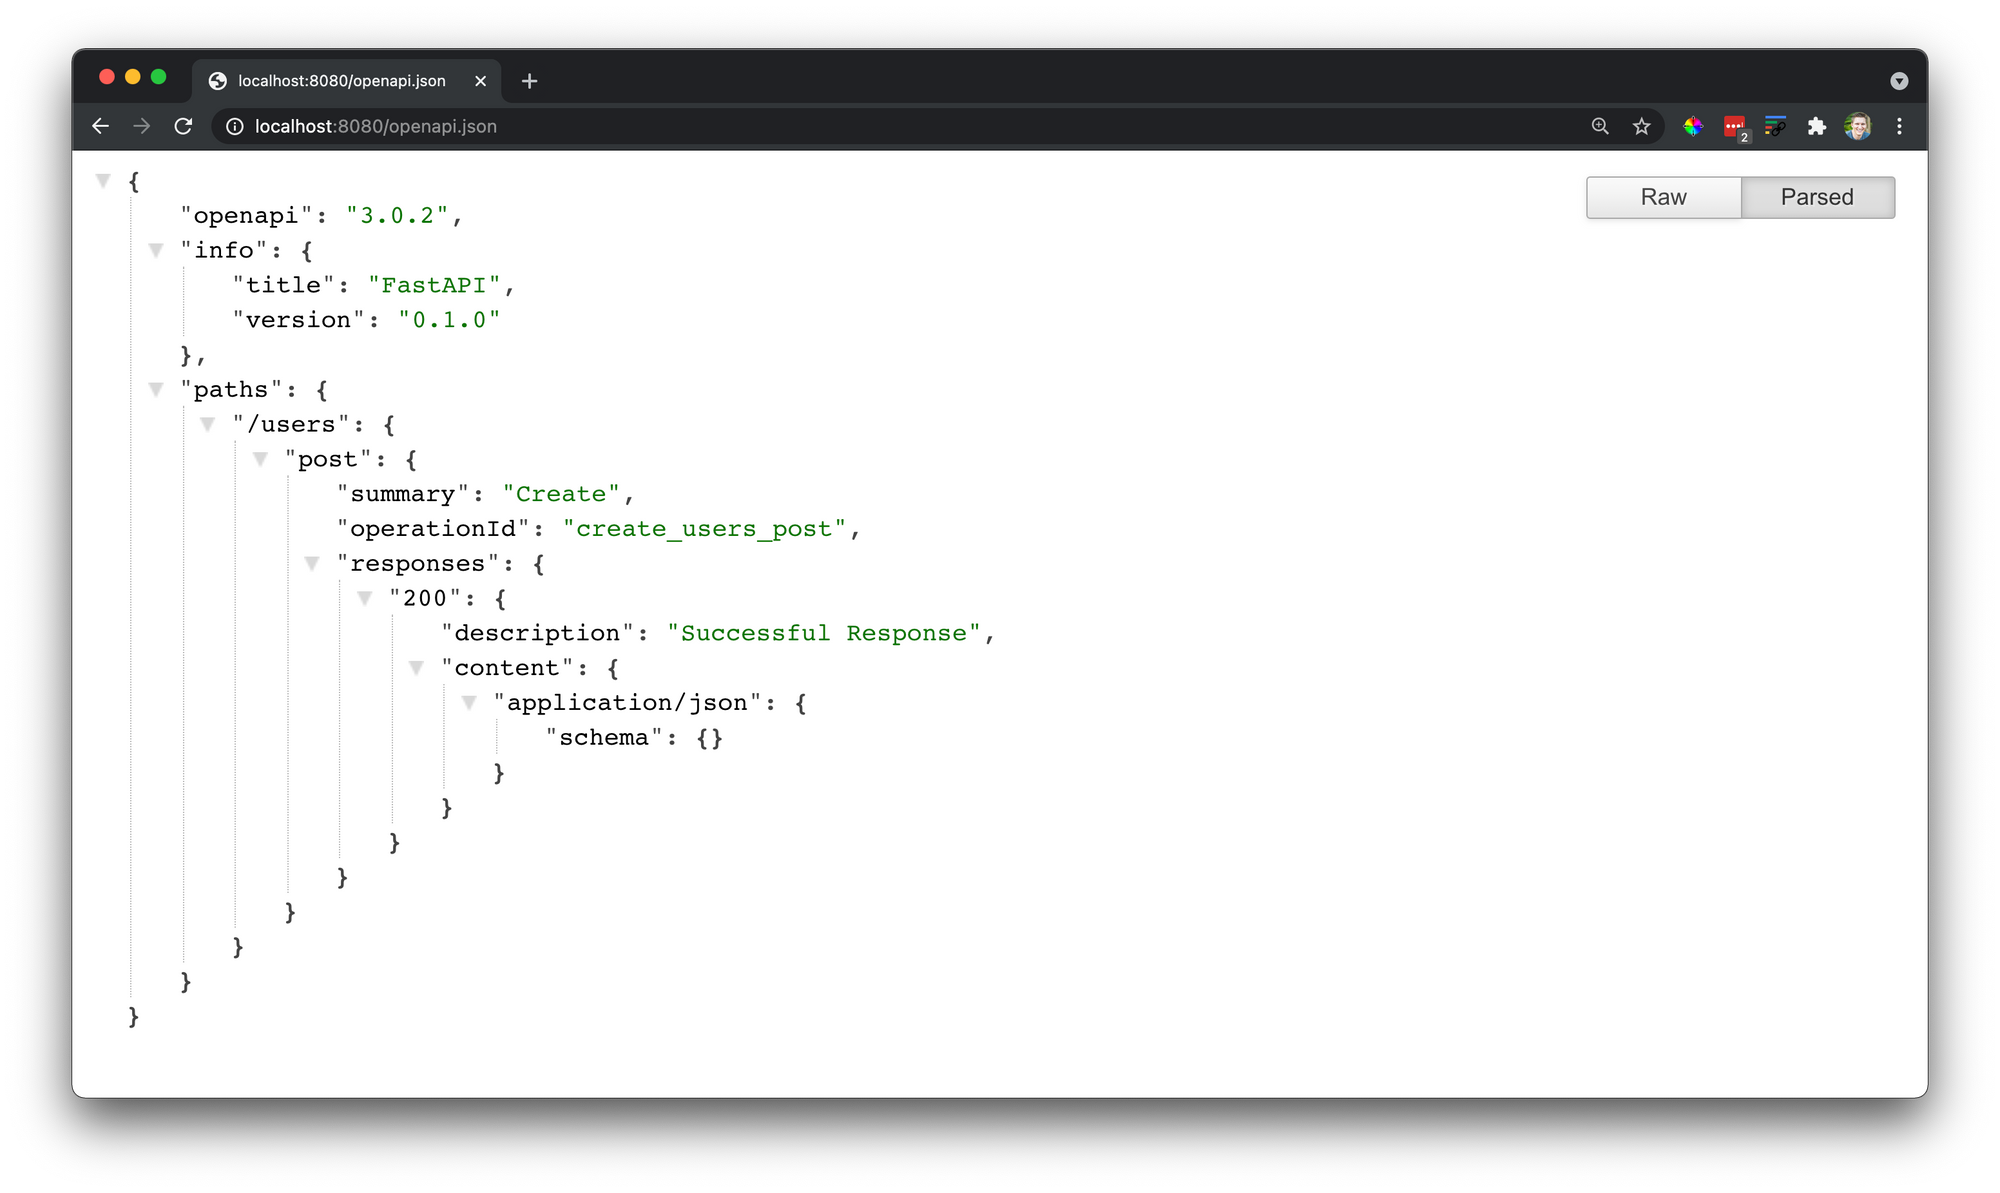
For example the following code would implement an endpoint with a POST operation to the path /users that would look like http://localhost:8000/users.
from fastapi import FastAPI


app = FastAPI()

@app.post("/users")
def create():
    return {"message": "Successfully created a user!"}
and FastAPI will automatically generate the OpenAPI Schema for it as an openapi.json file that you could see in the browser by visiting http://localhost:8000/openapi.json
Data Schema
The Data Schema refers to the shape of the data that the API is allowing to be sent and accepted.
We can implement this by creating a User Python class, using Pydantic's BaseModel class, and passing it as an argument to the Path Operation Function (more on this later).
from fastapi import FastAPI
from pydantic import BaseModel

app = FastAPI()

class User(BaseModel):
    snacks: list

@app.post("/users")
def create(user: User):
    return {"message": "Successfully created a user!"}
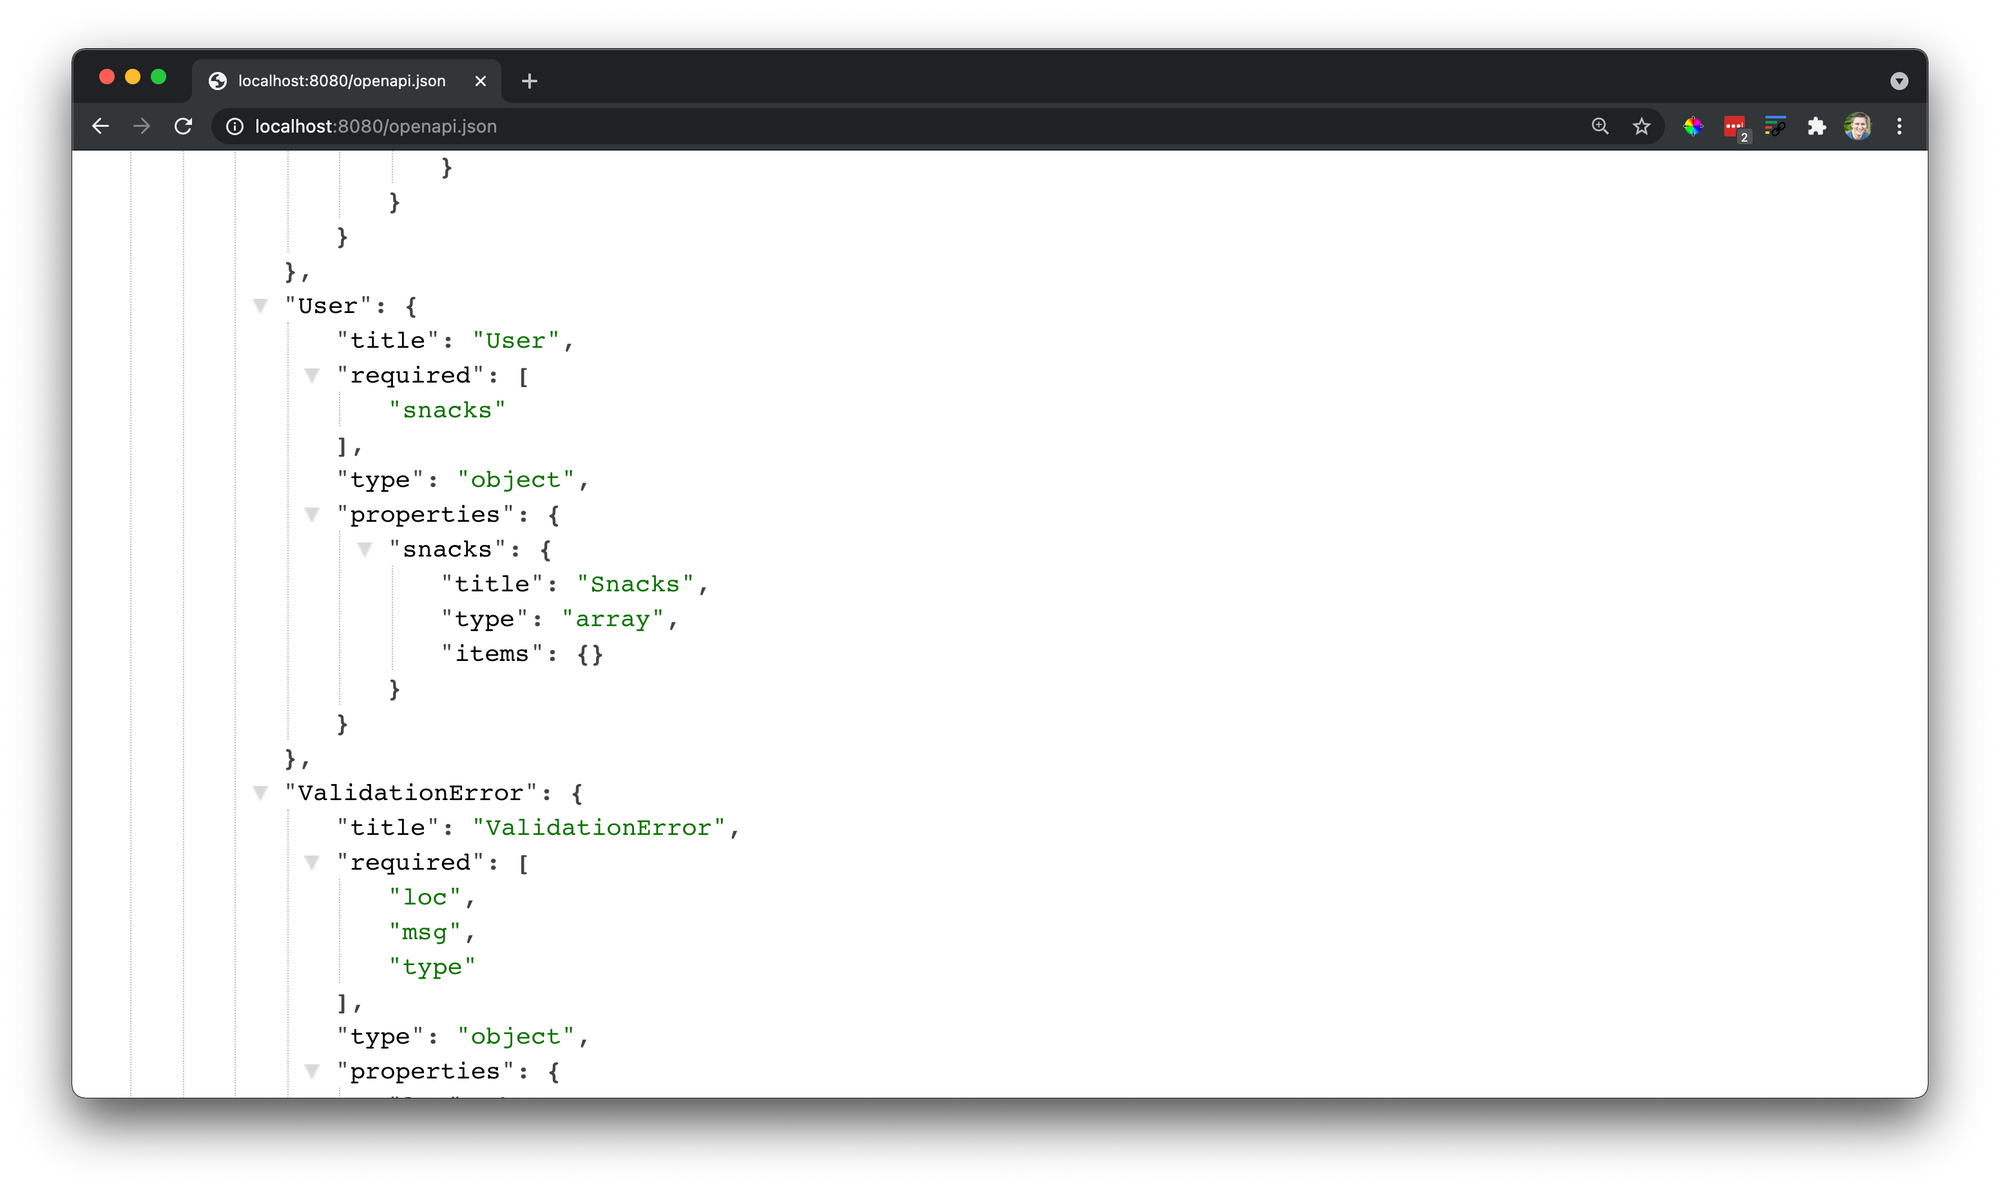
In this example the "data schema" is going to define the User and give it a property snacks that must be type list.
and this would show up in our OpenAPI Schema.
Summary
- Import FastAPI.
- Create the FastAPI instance and assign it to the app variable.
- Declare a Path Operation and Path.
- Define the Path Operation Function to handle the request and return a response.
Fintech Example
Since we just setup the boiler plate for our FastAPI backend there isn't much else to do yet for the Fintech app. In the next section we'll go over setting up Plaid and our Frontend.
Course Schedule
If you want to be notified of when each video comes out you can subscribe to the DeadbearCode YouTube channel where the videos will be posted.
Subscribe
Join the conversation.